Wednesday, June 25, 2014

Completing the Jacket Fronts...Tailoring nerds rejoice!

I know that many of you enjoy seeing the tailoring process, so this post's for you! For some, this may look like torture, but I actually enjoy all this hand work. Maybe you do too. It may look complicated, but in reality it's pretty basic stuff. There's a real sense of constructing something as I work through these steps. Tailoring a jacket or building a boat, it's all the same in a way. One little step at a time.


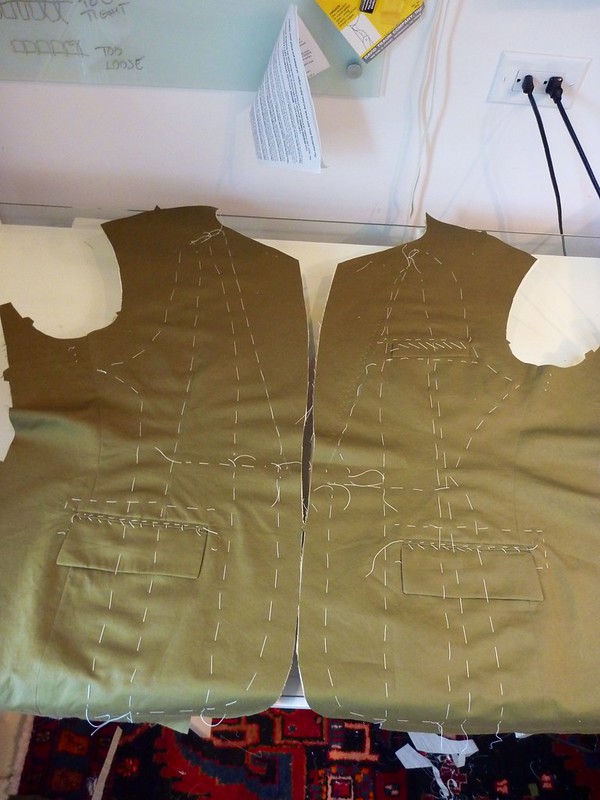
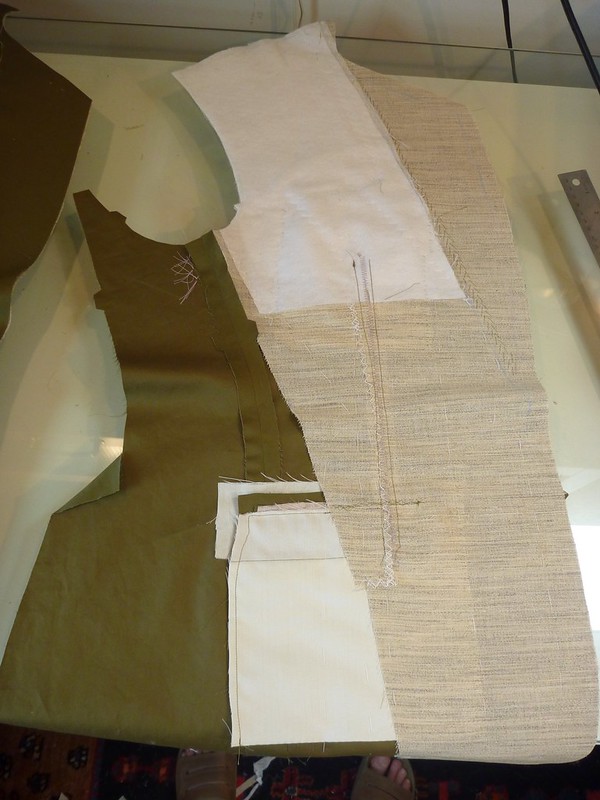
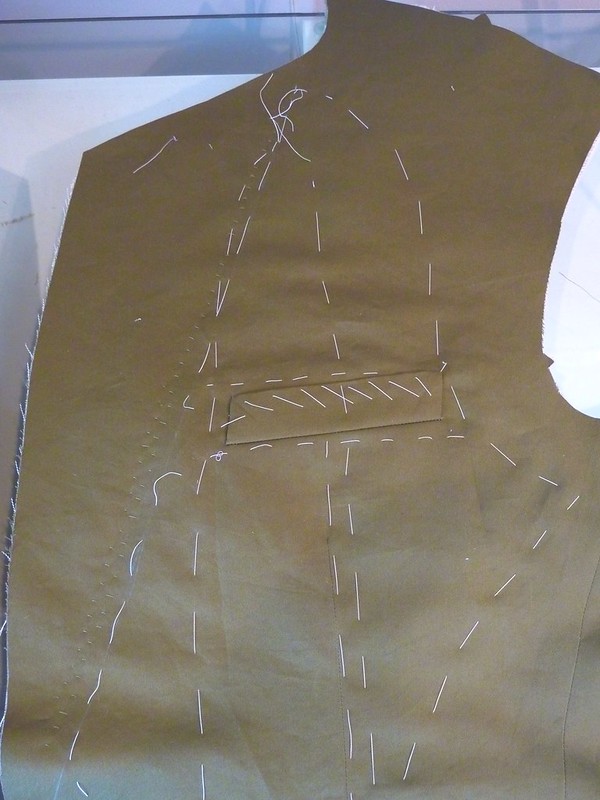
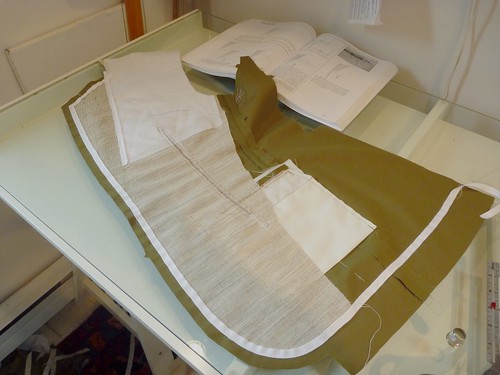
With the canvas basted to the jacket fronts, I move on to pad stitching the lapels. Working parallel to the roll line, small diagonal stitches are worked up and down along the lapel. This job is made infinitely easier with silk thread, and I can't recommend it highly enough. Why? Because it's virtually tangle free in addition to being incredibly strong. I run the thread once through beeswax and stitch away. This is a labor intensive step, so if something as simple as silk thread can make it go easier and faster, I'm all for it.


The stitch should be very small, just catching the fashion fabric under the canvas. Roberto Cabrera says it should just be a "pinprick". That would take more skill than I have. My stitches are clearly larger than that. The underside of the lapel will be peppered with tiny stitches, none of which will be visible in the finished jacket, so I'm not going to agonize over the size of my stitches.


The next step is kind of hard to describe and harder to photograph. After pad stitching about 1 1/2" from the roll line, the work is turned around and the lapel is folded back into the position that it will ultimately take on the finished jacket. Holding the lapel back, the pad stitching continues in rows until the whole lapel is covered. This step puts a permanent curve on the lapel and will make it want to hug the chest when the jacket's worn.


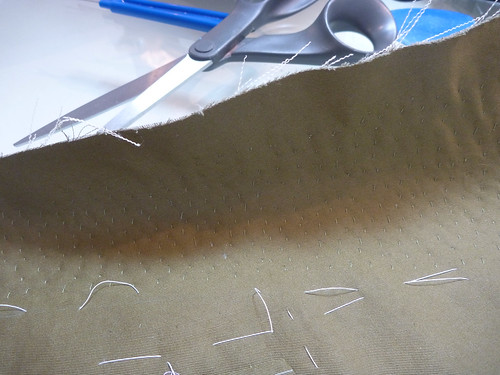
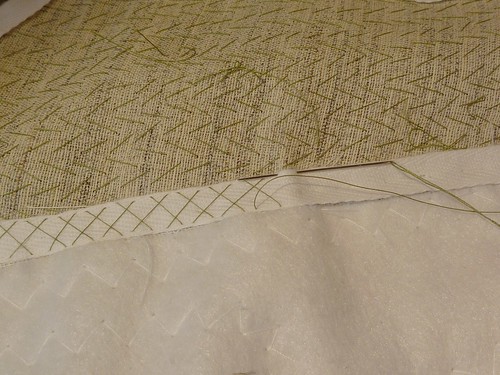
Here you can see all the little stitches on what will be the backside of the lapel. (Bigger than pinpricks I'm afraid!) The shadow hopefully shows how the pad stitching has built a curve into the lapel.

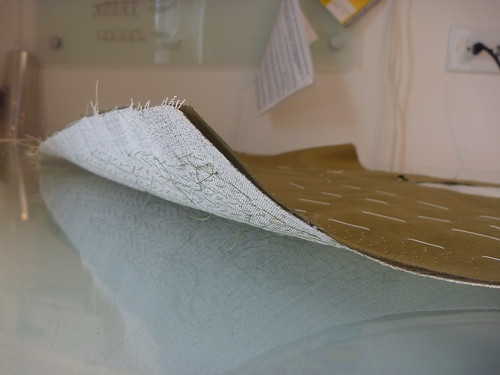
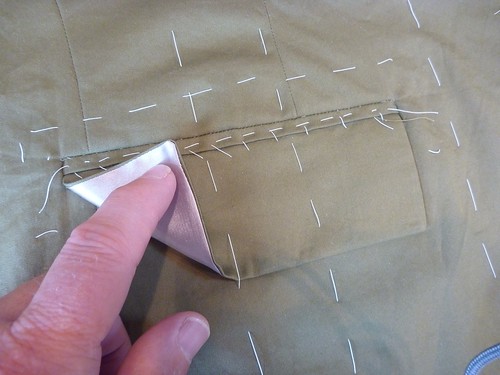
Here the lapel is lifting up off my glass top work table. This always amazes me! The next step is taping the edges of the jacket and the roll line.


The seam allowance of the canvas is very carefully trimmed off prior to taping. The tape is a 3/8" cotton twill tape that has been soaked in cold water to preshrink it. Starting at the neckline the tape is basted along the lapel edges, down the jacket front and across the hem. Tape is also basted over the top 2/3rd's of the roll line.


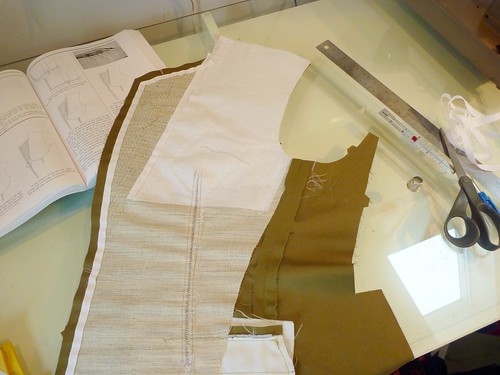
The tape over the roll line is cross stitched into place. The stitches should be at the outer edges of the tape. Again, silk thread will make this much easier.


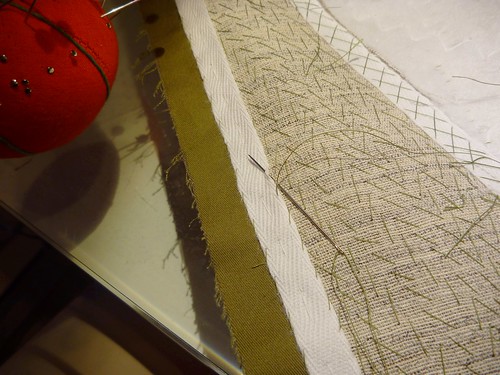
The rest of the tape is slip stitched to the canvas on one side, and to the fashion fabric on the other.


This completes the jacket fronts. Next I'll tackle the sleeves.


Monday, June 9, 2014

Oh, Yeah... I'm supposed to be making a suit.

Wow, it's been ages since I've posted anything. Spring sort of happened, (although most people in the Northeast are still in doubt), and life got a little hectic. Still, I've managed to make some progress on my Martha's Vineyard wedding outfit. I guess one could say I've been productive but silent. Still, I have a ton of work to do if I ever want to be ready by Labor Day weekend.

After finishing my Jeds, I moved immediately to the "wedding shirt" because I knew I could bang it out using my TNT shirt pattern. So here it is.


Squeee. Another floral shirt! This cotton fabric from Elliott Berman was a dream to work with. A point collar with collar stays may have been more appropriate for a somewhat formal occasion, but I opted for a buttondown because I want to wear this shirt A LOT after the wedding. I can get much more use out of a buttondown, and it would be a shame to have a shirt this gorgeous just hanging in the closet. I wish you could feel this fabric. Heavenly.


I'm wearing it with a vintage raw silk Rooster tie that I've owned for ages. I'm scouring Etsy and EBay for other alternatives. I'm really liking the skinny look.


I wasted a huge amount of time trying to match this fabric, AND did a poor job of it! The front placket matched perfectly at the neck, but gradually ran off course down the front of the shirt. I'm sure you see it in this photo where my tie is askew. It makes me feel like I need to make an appointment with the ophthalmologist. Almost painful! Live and learn. I would never bother to match a busy fabric like this again. My daughter from CA assures me that no one will ever notice. On a brighter note, I did a great job matching the left front chest pocket. Trust me, there's a pocket there.


I experimented with several different thread colors for the topstitching and buttonholes, and settled on a muted gold color. It almost disappears, as do the buttons, which are the color Latte from Fashion Sewing Supply. I strongly suggest that anyone interested in making shirts pick up the entire range of shirt buttons that Pam offers. They're a great value, and you'll always have just the right button.

Shirt done, pressed and in the closet until August. On to the suit....


In case you forgot, my suit fabric is a olive green cotton / silk blend from Elliott Berman. It had a somewhat stiff "crunchy" hand so I decided to prewashed it in cold water and run it through the dryer. Ooops! I ended up with a wrinkled mess that I just couldn't iron. In a slight panic I dropped all 6 yards off at the dry cleaners and asked them to steam press it. Their result was only slightly better than mine, so I'm going to have to embrace the rumpled nature of this fabric.

So here's where I stand.


The pockets are done and the jacket fronts are basted to the canvas.


I'm using a lightweight premade canvas from B. Black and Sons. It's very inexpensive and saves a great deal of time, which is of the essence right now.


The pockets are made according to the directions in Roberto Cabrera's book on men's tailoring. I'm really pleased with how they came out, especially the flap welt pocket which I've never attempted before. What I love about Carbrera's instructions is that you can toss out all the fussy little pattern pieces. The pockets are composed of simple rectangles that get marked, folded and stitched. "Sewing origami" is my name for it. Somehow, it all comes together, and I love when that happens. I plan to add a pick stitch detail to the pocket flaps and lapels of this jacket.


The next step is to pad stitch the lapels and add the twill taping to the front edges. Lots of handstitching in this man's future!


Oh, and I've finally started planking the boat!