Showing posts with label wedding suit. Show all posts

Sunday, February 25, 2018

Suit progress and... learning some new skills

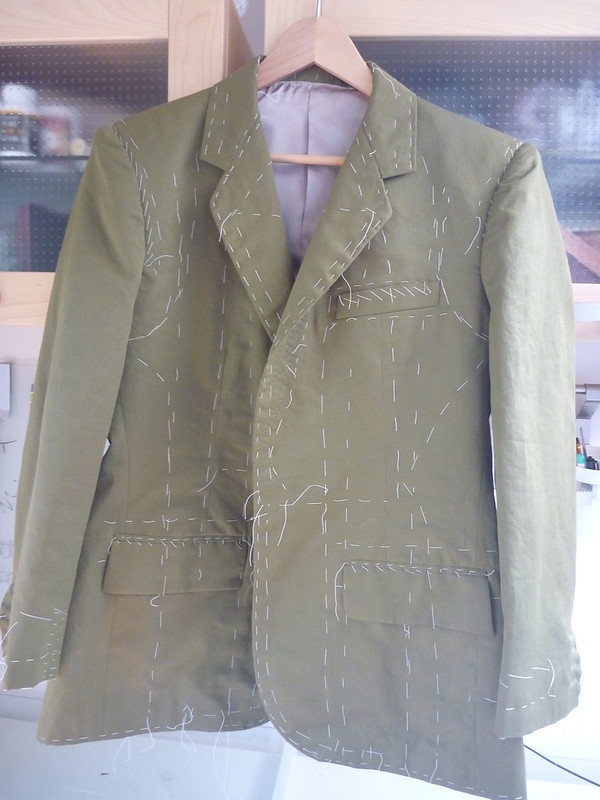
With the jacket fronts complete I moved on to the sleeves. It was a nice break from all the detail work (pockets, taping and pad stitching). The sleeve construction is really quite simple, it just gets fussy where the lining meets the vents.


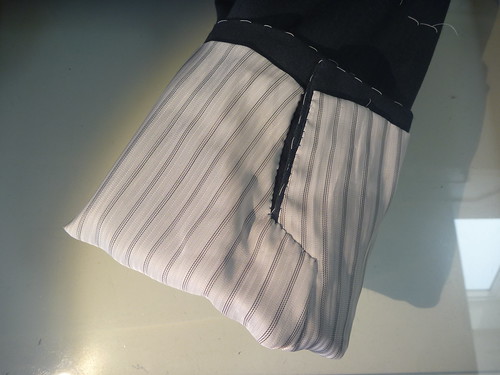
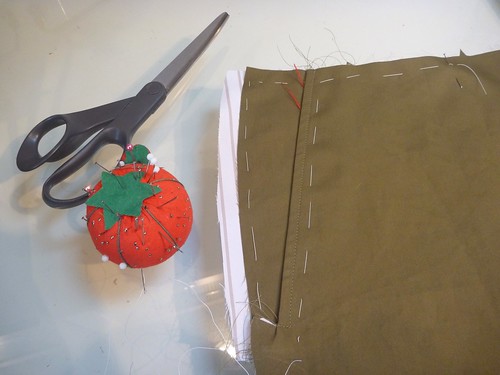
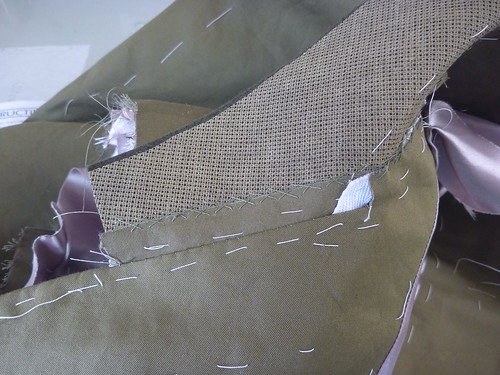
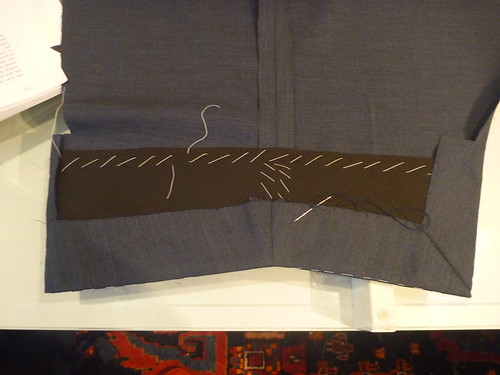
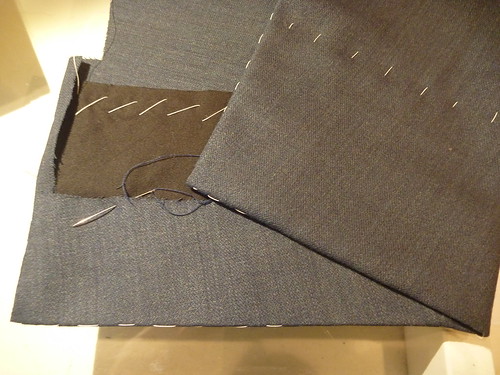
A wide strip of pocketing cut on the bias is basted into sleeve cuff. The vents and hem are folded into position and slip stitched into the pocketing.


No stitches are visible from the outside. It's like the hem is held in place by magic!


Getting the lining in around the vents is NOT magic! It took me awhile to figure out what part overlaps what, and how to get from one side to the other. Working with lining material is its own special hell. It's a lot of frustrating work for something that will never be seen!


Moving on.....


Are there any perfect patterns? Hmmmmm. This pattern, as much as I like it, has its issues. The first issue to rear its head turned out to be the jacket front facing (which becomes the lapel when it's folded back). The lapel edge is curved. Why is this a problem? If you're working with a stripe, the stripe will fall off the lapel rather than be parallel to it. My fabric has a subtle striation to it, so the front facing needs to redrafted.


The original pattern piece is on the bottom. Notice the curved edge. The new pattern piece on top is drawn with a straight edge. Using an iron and LOTS of steam, the new facing is curved to match the original pattern piece. Steam is used to shrink the other side of the facing which will ripple up during the process. This is where working with wool is a wonder!


Once this step is accomplished a new front lining will have to be drafted. Usually I make an inside breast pocket that slightly overlaps onto the facing. This is pretty standard stuff on all RTW jackets. But now all my usual pattern pieces are out the window. Arghhhh, what to do?


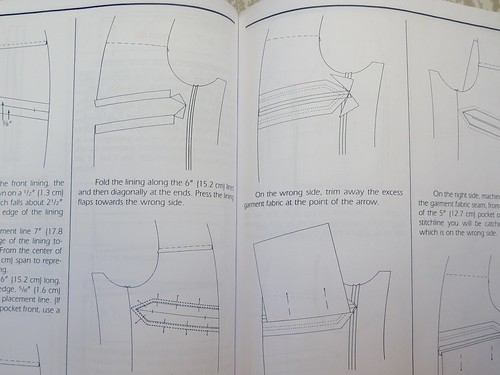
I turn to Cabrera's "Barcelona" pocket.


Confession..... I can get totally freaked out by sewing illustrations.


Just looking at this scares the sh** out of me! In my head I just assume that this is WAY beyond my ability. I've always skipped over these pages of Cabrera's book, and retreated to familiar territory. But this time I'm pretty much forced to confront it. And guess what?


It's way easier than I ever imagined!


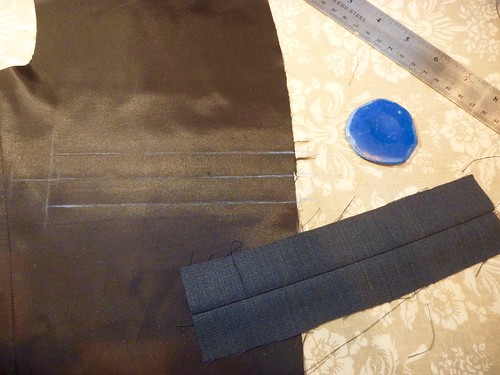
Like so many things in tailoring, it really comes down to careful measuring and taking things one little step at a time. Making the Barcelona was actually less work than the usual double piping pocket that I've used in the past. I'm sold! If you can measure and cut a rectangle, you can make this pocket.


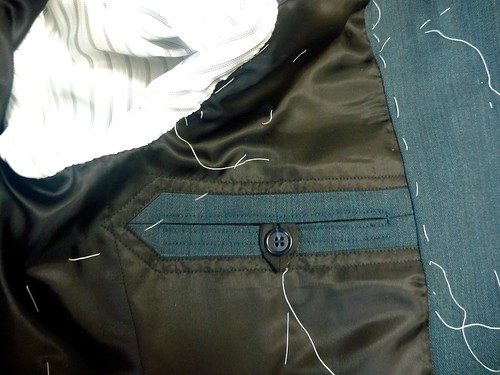
And here is the completed pocket. I did add one extra step....I fused a very lightweight interfacing to the back of the lining. This made it much easier to work with, and I'm all for that.


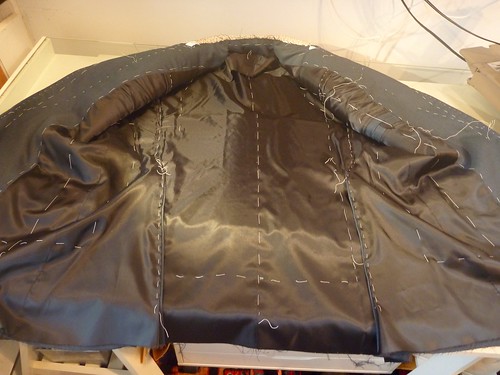
Working along, the jacket pieces get sewn together and the lining pieces are basted into position. I know this isn't everyone's cup of tea. The combination of basting and having extra wide seam allowances on the lining pieces makes this process much easier. This is the essence of "slow fashion", and it can actually be very satisfying. Using silk thread for the slipstiching makes it go so much easier because it's much less inclined to tangle.


My next issue turned out to be the collar. I've made this jacket a few other times and have fiddled with the pattern piece multiple times. Somehow I've lost the revised pattern, because what I have doesn't come close to fitting the neck opening. GRrrrr. I should take better care of my patterns when I file them away.


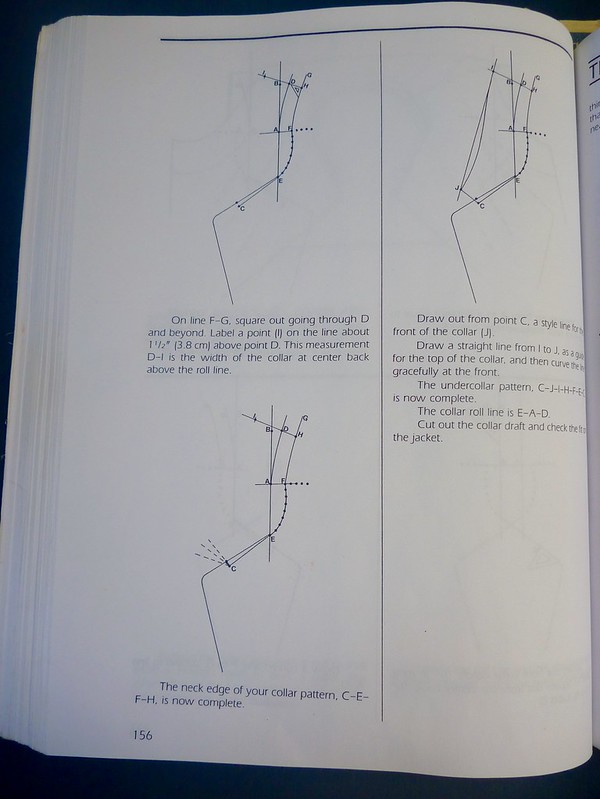
Enter more intimidating illustrations!


This takes me back to the nightmare of Algebra II in highschool. I never dreamed that I'd be using this page from Cabrera, but here I am needing to draft a new collar. And guess what..... this was F'ing easier than the Barcelona pocket!!!


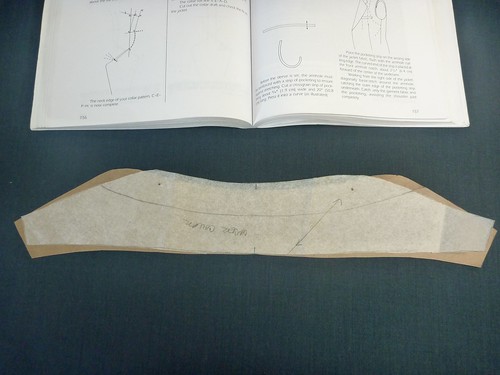
I just followed along step by step, and voila! Here is the original pattern piece (white) sitting on top of the new pattern (brown). Any wonder I couldn't get it to fit? Another new skill obtained.


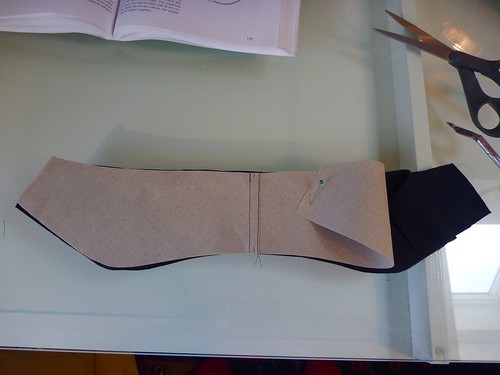
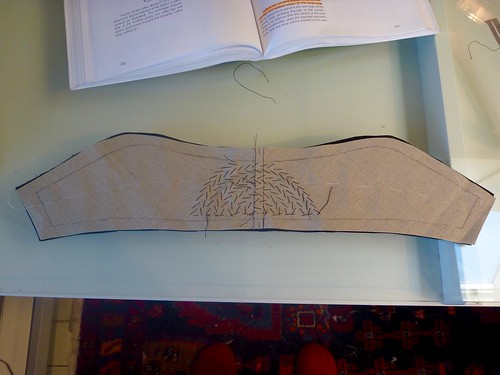
The collar is constructed on a base of French canvas and undercollar felt. It doesn't show in this picture, but a piece of pocketing is sandwiched between the layers at the collar ends to add even additional body.


The whole assembly is pad stitched together in a circular pattern. Because the components are very stiff, it's sort of like pad stitching a cardboard box. Silk thread makes the process easier. After pad stitching the collar it's shaped on a tailor's ham with lots of steam. The result is well worth every bit of effort; and having done it a few times, I wouldn't consider making the collar any other way.


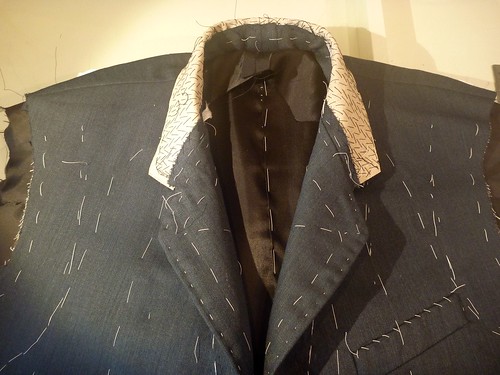
Here is the collar attached to the neckline of the jacket. The newly drafted pattern fit perfectly. This is a good place to stop for now.
Sunday, September 7, 2014

The Completed Wedding Suit

The wedding took place on Martha's Vineyard last weekend. To say it was a fabulous time would be a huge understatement. Not only was it the most extravagant wedding I've ever attended, it was a chance to spend time with my far-flung children. They were truly the "icing on the cake" of the whole affair, and a reminder that being their dad is the best thing in the whole wide world.
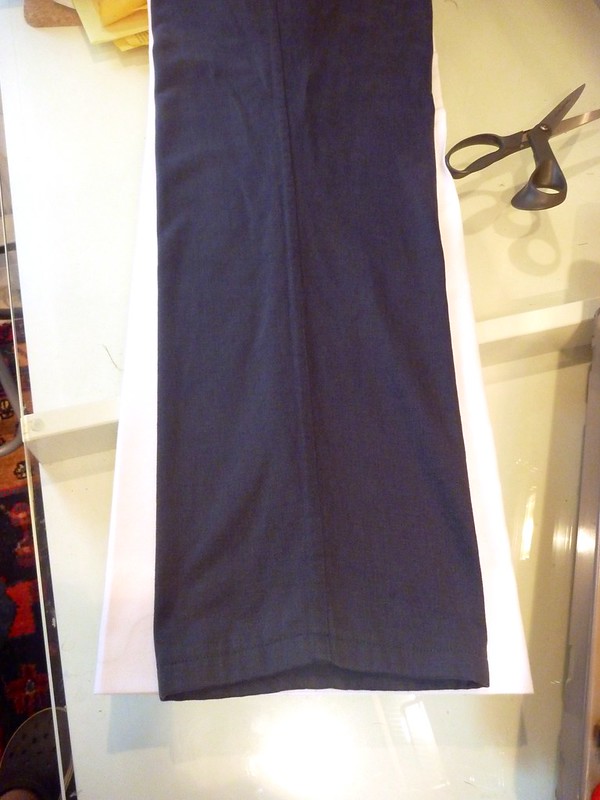
 

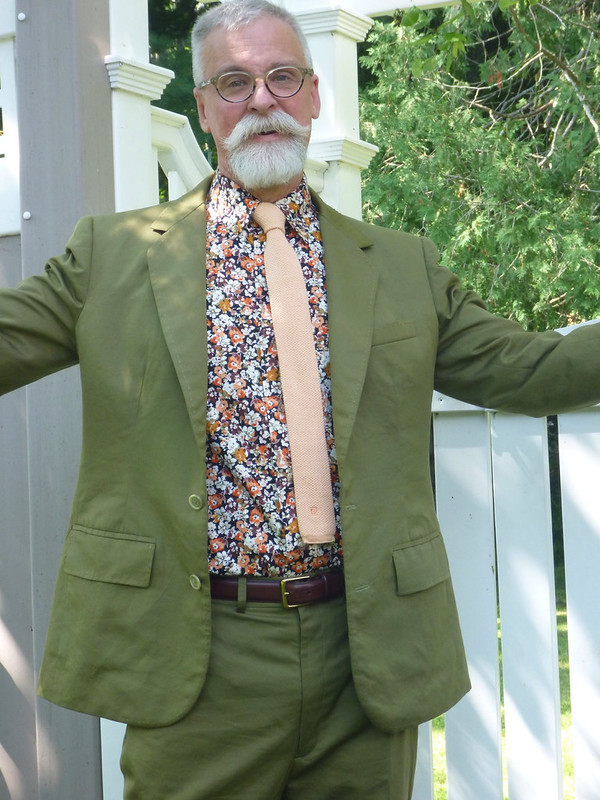
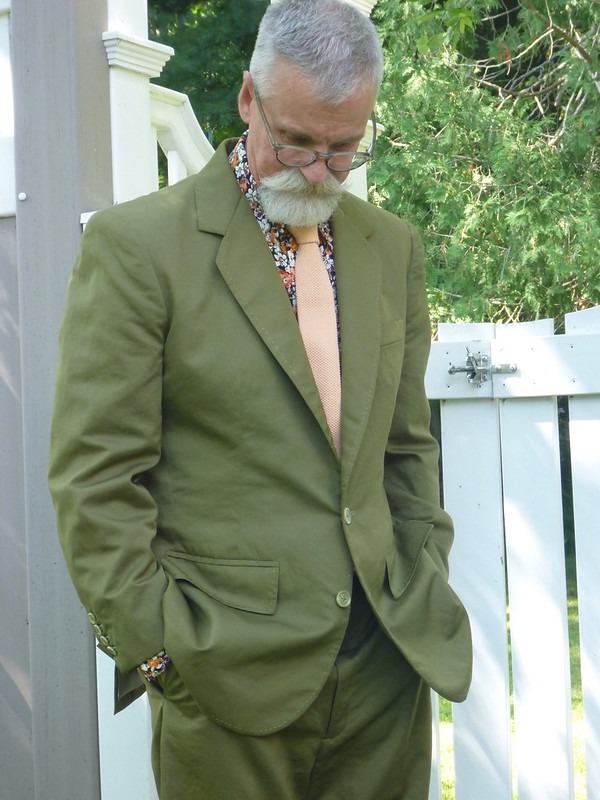
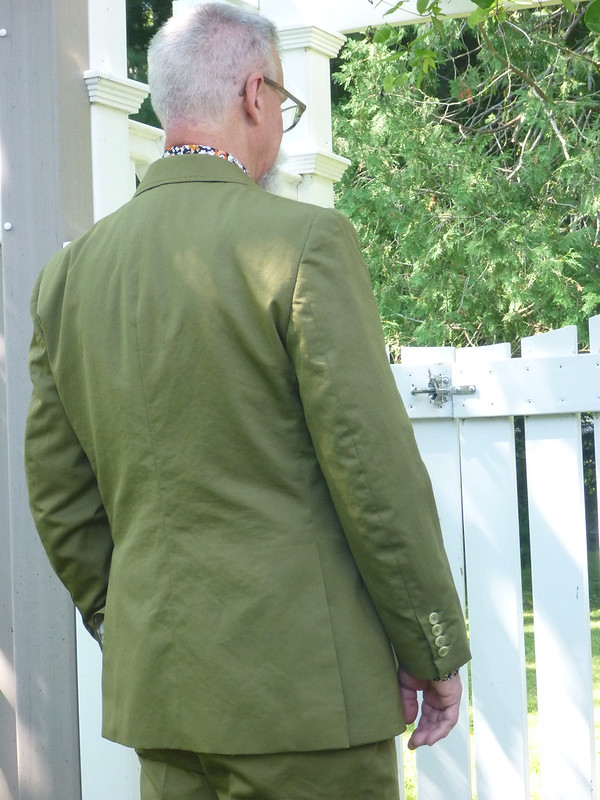
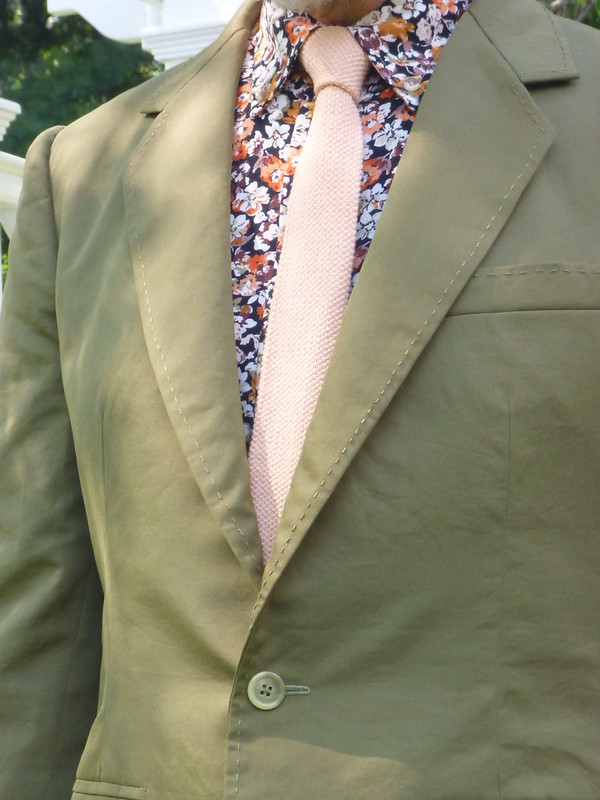
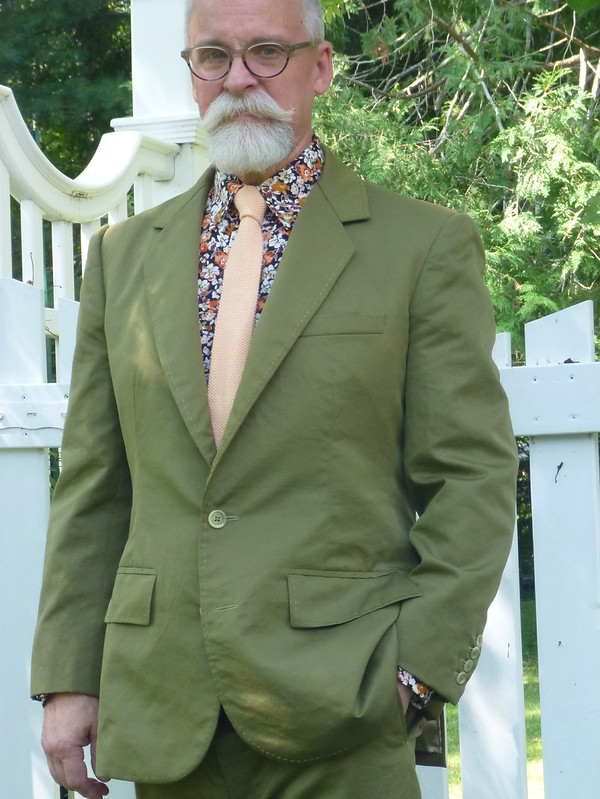
So here's how it all turned out ... Suit and shirt fabrics from Elliot Berman Textiles. Neck tie - vintage cotton knit Pierre Cardin, found on Etsy.


I added a pick stitch detail to the lapels, chest pocket and pocket flaps. I love this kind of customized detail. It really makes it MY suit. End result ... A slightly rumpled, yet classic, summer suit. I felt like a million bucks wearing it!


At the reception with my son and daughter. (She made her silk kimono dress BTW)


And we can't leave out Evan, the stylish Westcoast boyfriend!


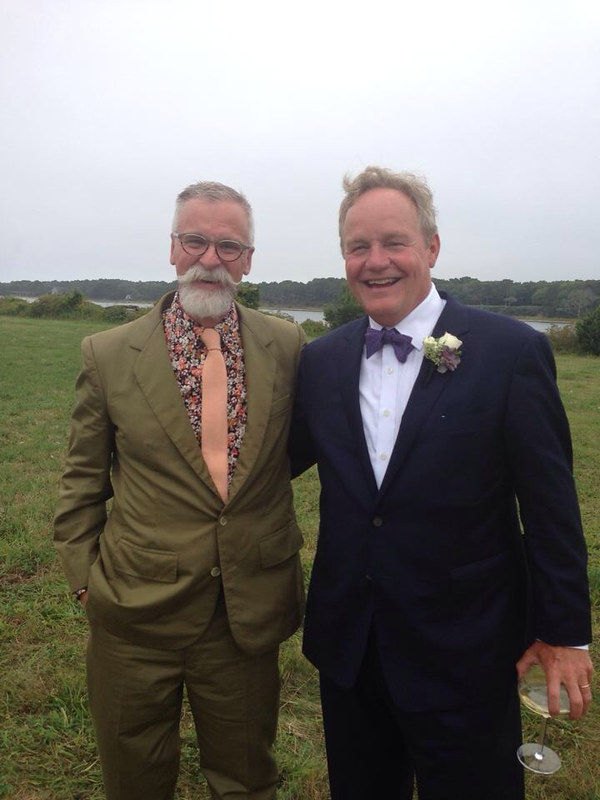
And lastly, here I am with my Brother in law, father of the groom. (AKA nicest guy in the whole world).


So ends another project. Thanks to all of you who offered words of encouragement as I navigated the world of tailoring. It's been a journey! The suit is headed off to the cleaners, and I need to plot my next sewing project. Something for fall, my favorite season. Cheers!


Wednesday, August 6, 2014

The Home Stretch, or....The All Day Waistband

I had a feeling that the waistband would be time consuming, and man was I right. I used the construction techniques from Roberto Cabrera; and while I love the results, there are probably much easier, and faster, ways to finish off a pair of pants.


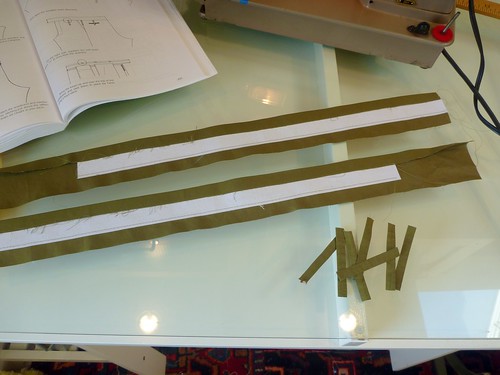
The waistband is constructed before sewing up the crotch seam, so it's done in two halves. They're just basic rectangles sized according to the width of waistband that one desires. I'm making a 1 1/2" inch band, which is pretty standard. I've interfaced the bands with Prowoven Medium sew-in interfacing from Fashion Sewing Supply Co. It's stiff stuff! The belt loops are sewn and turned instead of folded and topstitched. It's a more polished look, but a real PITA. The interfaced band is sewn onto the pants, catching the belt loops which have been basted into position.


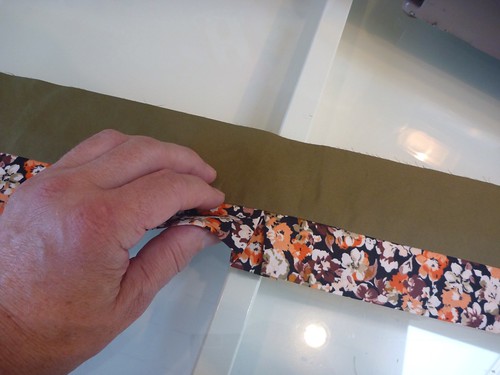
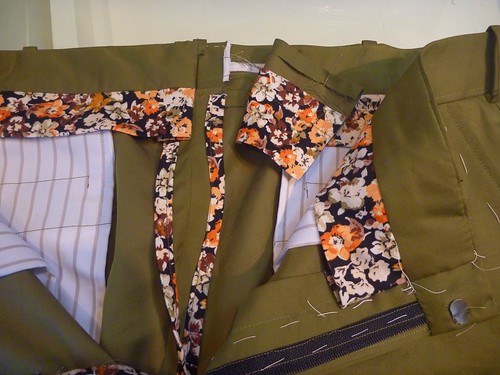
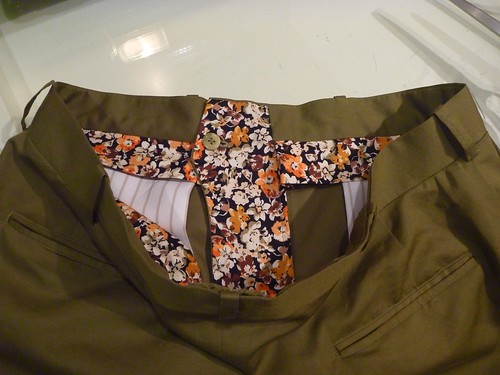
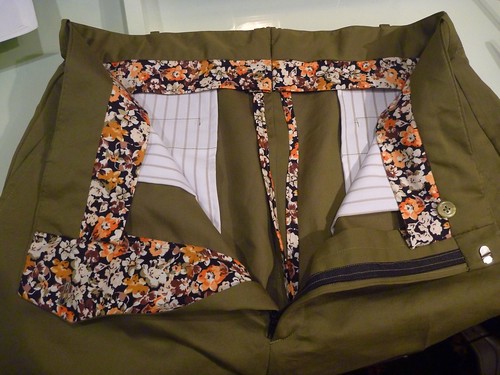
Next I constructed the inner lining with its attached curtain. The curtain is a bias strip of shirting, folded in half and stitched onto the lining. There's a box pleat at the center which adds some wearing ease. It's a classy detail, and I love getting to use my leftover floral fabric this way.


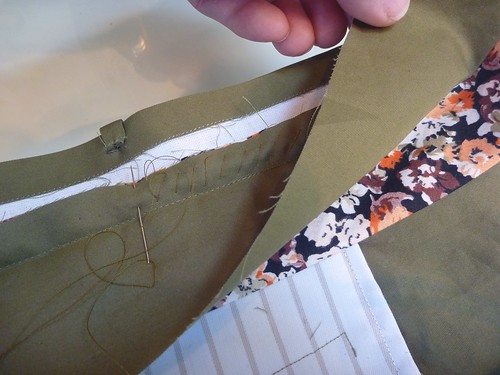
The seam allowance of the lining / curtain is diagonally stitched to the seam allowance of the waistband. The tops of the pockets are caught in this seam. You can also see that the belt loops have been brought up and tacked onto the waistband.


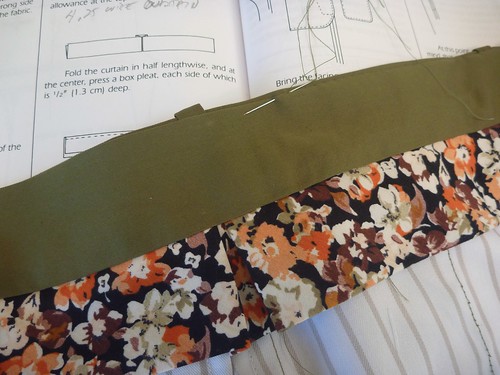
The seam allowance is folded down, the lining is pressed into position and slipstitched to the top of the waistband.


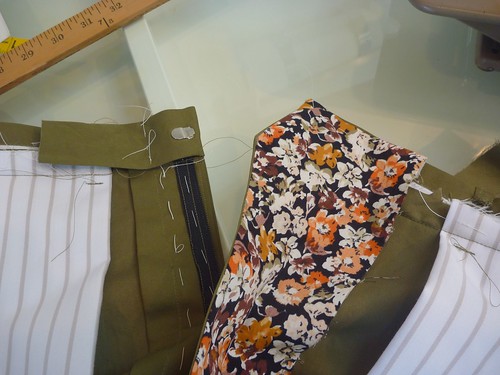
This pattern has a right fly extension, otherwise known as a French fly. I've lined it with my shirting. At this point, having abandoned the pattern instructions, I'm just making things up as I go along. It's all hand sewing, so I just press things into position until "it works". I've also added a hook and eye closure, which came with the worst instructions ever. That it works is a miracle.


Eventually, the back seam has to be sewn. I made some bias binding to finish off the seam. At this point, what's a little more work, right? My little Clover bias gizmo makes this a breeze, and it does make for a nice clean finish. The waistband lining is then worked across to the center back, where it's folded back and stitched into place. Here you see one side completed.


The finished front. A buttonhole is made in the French fly, and the button is attached at the seam level of the waistband.


The completed waistband. A ton of work, but beautiful. Whew! What a day.


Monday, August 4, 2014

Pants progress -- Pockets

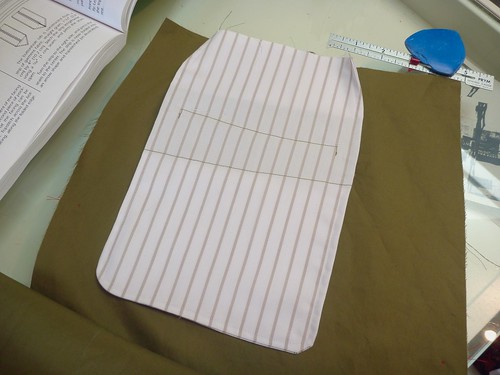
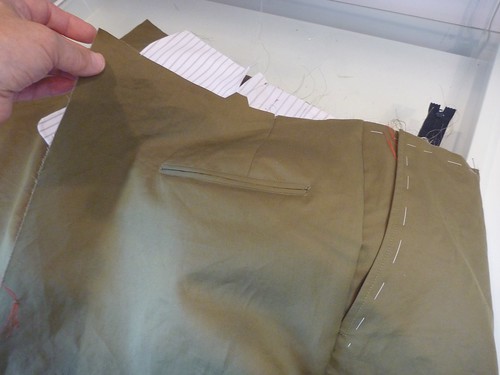
I've launched into the pants. My plan is follow the pattern directions for the front slant pockets, but I'll defer to Cabrera for the back welt pockets. Why you might ask? Firstly, his directions are crystal clear and there's a line drawing for each and every step. Secondly, I can totally ignore all the fiddly little pattern pieces. The pockets are just constructed of simple rectangles which are easy to chalk out and cut. I love it when things are made simpler.

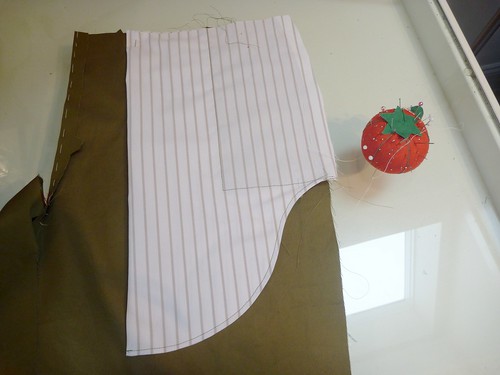
Having made a pair of Thread Theory's Jedediah pants prepared me to make the front slant pockets. The construction here was exactly the same. The pocket facings are attached to either end of the pocketing. Then it all gets folded in half and stitched to create a French seam. The result is a pocket that's beautifully finished on the inside. No raveling seams, no serging required. The pockets on this pattern have a lovely curve to them.

Here is the pocket from the right side. A nice feature of this pattern is that the pocketing extends out beyond the side seam allowance. This extra fabric eventually gets folded and stitched over the side seam, which makes the finish on the inside very neat and tidy. I will try adding this feature to my next pair of Jeds.

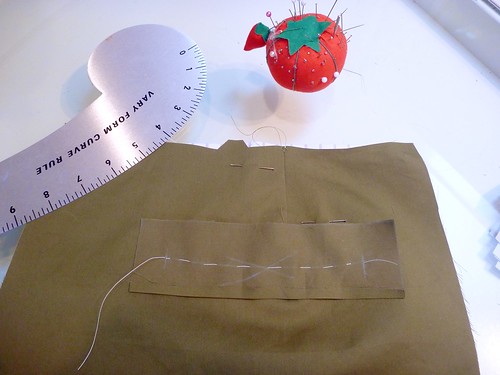
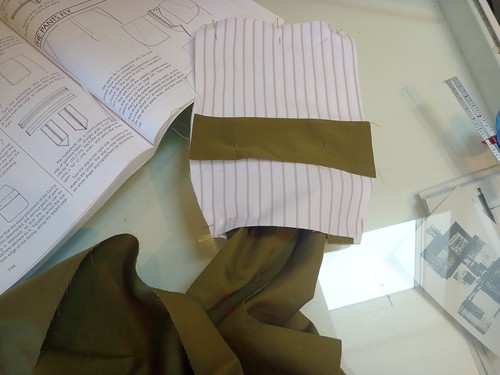
The back double welt pockets are new territory for me, so I let my buddy Roberto Cabrera take me by the hand and guide me step by step. This strip of fabric will become the welts. It's basted in a slight curve over the pocket placement line. The curve is intended to keep the pocket from gaping open. I won't bother to show all the steps here, just know that it's all extremely straight forward and not difficult at all.


There are a few unusual sewing shenanigans; like where the entire pair of pants has to be pulled through the pocket in order to sew it up. Crazy.


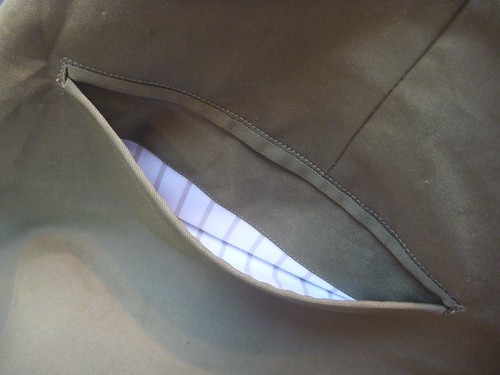
But again, the result is a nicely finished French seamed pocket.


So here are my pockets from the outside. Unfortunately, I don't have any extra buttons that match the jacket. Otherwise, I would have added a button loop closure to the back pockets. Next time, right?

A peek into the back pocket, which ends up perfectly finished inside almost by magic.


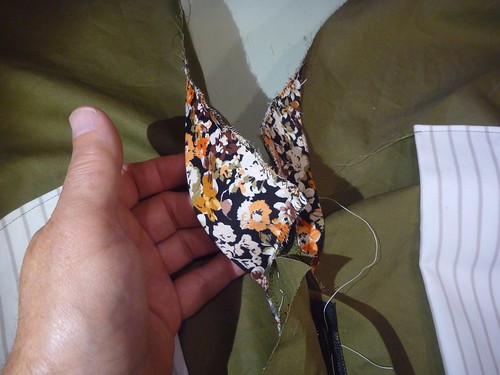
Here I've added a crotch shield of my floral shirting fabric. It's a square of fabric, folded on the diagonal and then pressed into a curve. It's zig zagged onto the pant's front crotch before sewing up the inseam. I'm also planning on using my left over shirting to construct the waistband "curtain". I love adding little unexpected touches to my clothes when I can.
Now it's on to the waistband and belt loops, which I'll make according to Cabrera. I figure it will take the better part of a day. More later.

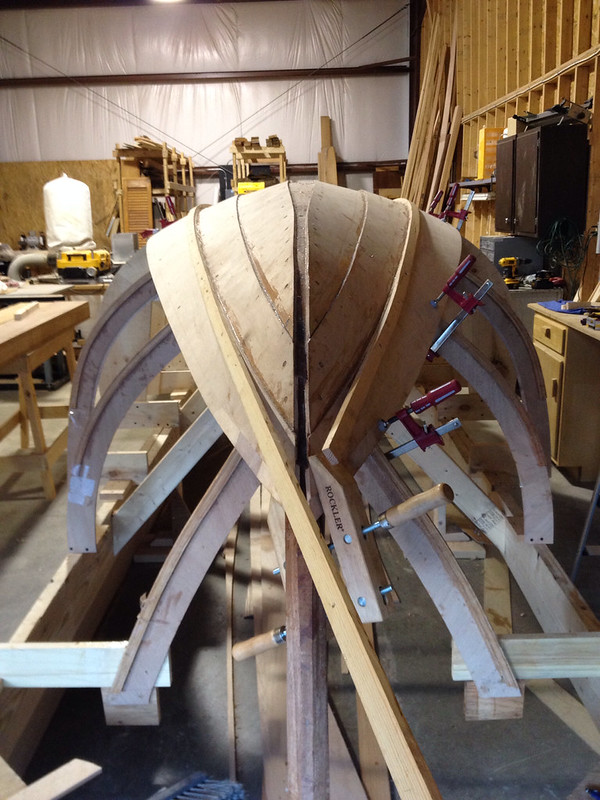
Oh, and the boat is half planked up.

Thursday, July 31, 2014

Wedding Suit -- The pant muslin

All that remains on the jacket are the finishing details, things like sewing on buttons and adding some pick stitched details. These are all little projects that can be done in little snippets of time. If I have a few minutes I can sew on a button or two. But my deadline is looming, so it's time to move ahead on the pants.


I've only made one other pair of pants, so my knowledge of them is pretty shaky. I know that they can be difficult to fit (I struggled a bit with my Jeds), but I've decided going into this project that I'm not going to agonize over them. I don't have either the time or the desire to work through muslin after muslin, looking for that elusive "perfect fit". I'll be more than happy if they fit around my waist and aren't too saggy in the butt.

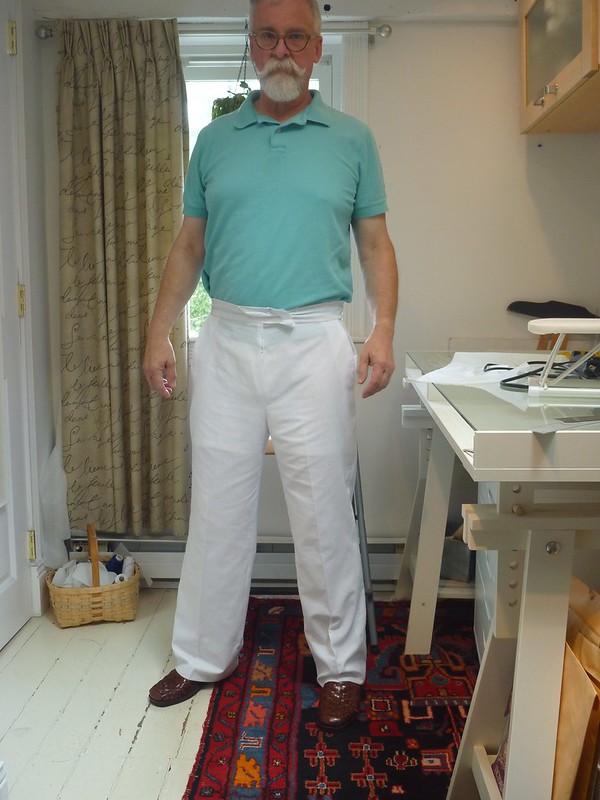
So, I made a very quick and dirty muslin out of a flimsy Goodwill sheet. It's about as minimal as I could make it. No zipper, no pockets. Just the basic shape sewn onto a waistband of sorts. So here's what I learned about these Bill Blass pants right off the bat. They are very straight legged.


Here I've laid a Jeds leg on top of the white Blass muslin. The Bill Blass pant leg is at least 4" bigger. Palazzo pants? The Jed pant leg is a little too slim for a suit IMO, especially for a guy my age. So I've decided to split the difference and remove 2" of width from the leg.

I also need another inch in the waist to accommodate my little gut. This was actually an easy fix.


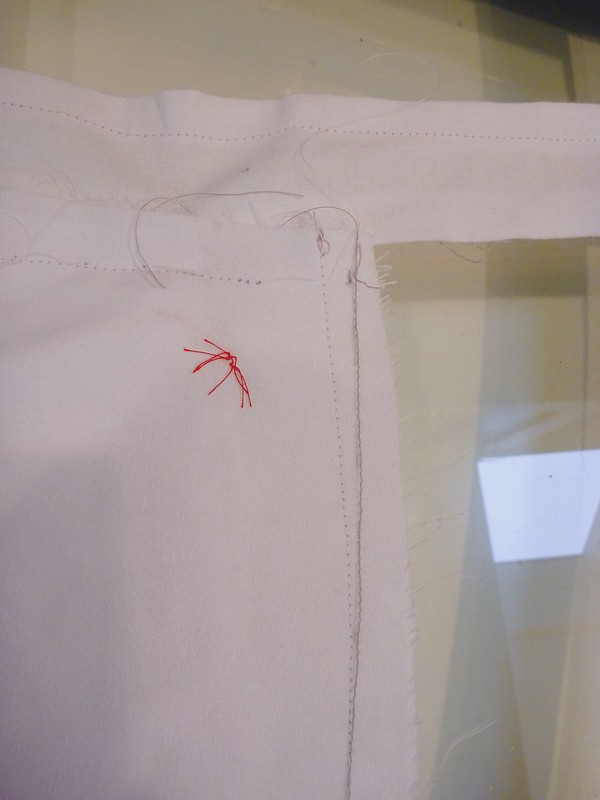
Here's where the side seam is hitting the waistband. I added a 1/4" to the seam (sewn in the darker thread), which will give me an extra inch of waist circumference. This adjustment also straightens the hip area, which I'm learning is usually too full on most patterns. I'm just not that curvy in the hip.


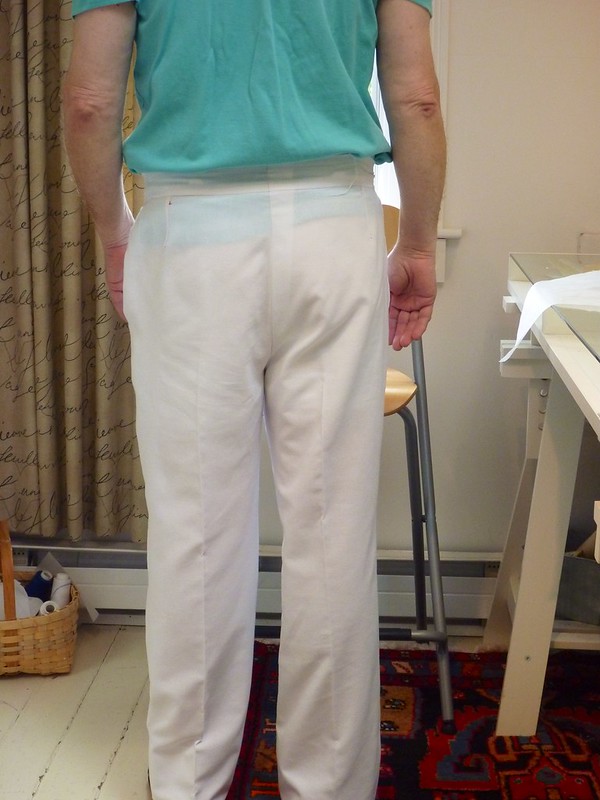
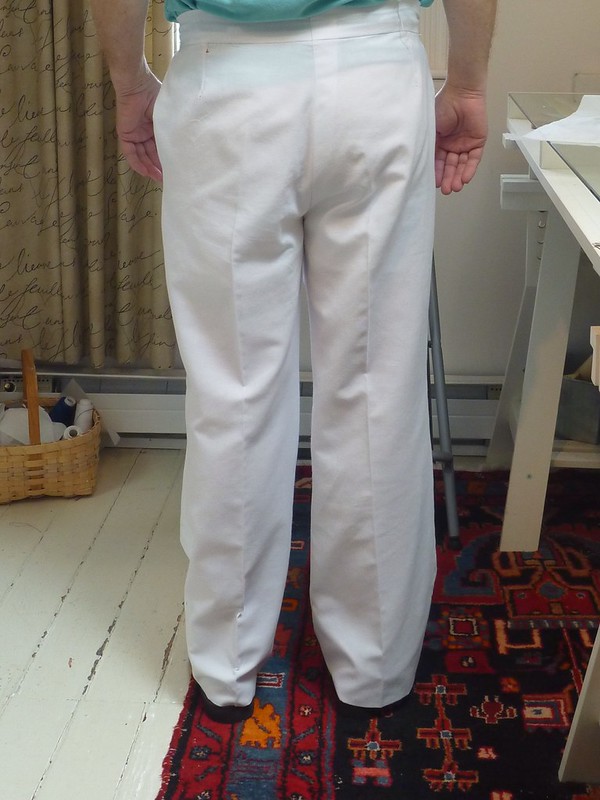
The left leg has been tapered, removing 2" of width at the hem. Look how that change has improved the fit at the bottom of the buttocks! I never anticipated this. Fitting Score!


Here the extra fabric in the right pant leg is more evident. It makes the pant visually bottom heavy. Of course,the pattern appears to have been drafted for a 6' 4" man. I've shortened the inseam by 6" and they're still too long!


Are they the perfect fitting pair of pants? Hell no! Will they work? Yes! Time to cut out these bad boys and delve into the mysteries of sewing trousers. Zippers, flys, crotch shields, Oh My! So much new sewing territory.

Thursday, July 24, 2014

Back from a break. Soldier on, Dad.

I took a much needed break from this project. It's easy to forget just how labor intensive a tailored jacket can be. But it's time to get back on the horse, as they say.


When I left off I was completely baffled by the collar construction. I read and reread Cabrera's instruction to the point where I felt comfortable just jumping in with both feet. Why so reticent? He has you discard the pattern piece for the collar. The entire collar is hand stitched using just the undercollar as a reference. "Sewing without a net" I call it. What follows is just a glimps of the process.


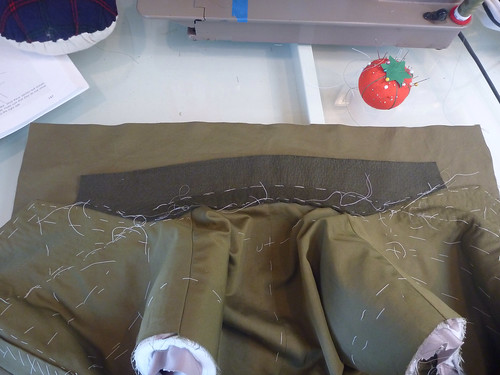
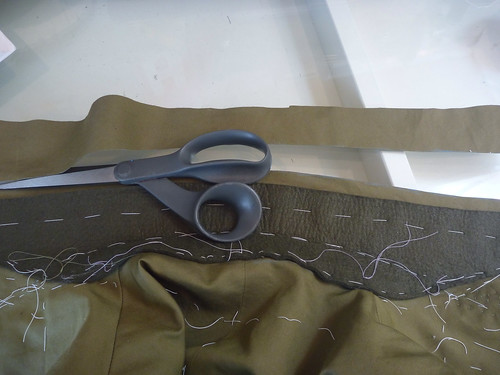
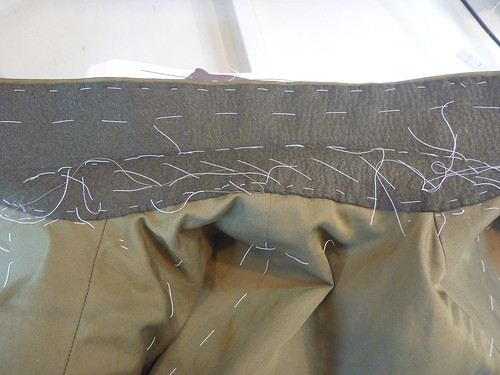
I trimmed the seam allowances off the collar pattern to use as my undercollar pattern. I just didn't trust the Vogue undercollar, which seemed too small. I cut the undercollar from felt (B Black and Sons) and interfaced it with a fusible French canvas that I picked up at Steinlauf and Stoller in NYC a couple years ago. This proved to be a huge time saver. Otherwise, I would have been back to padstitching. I'm always a little leery of fusibles, but this stuff worked perfectly. As you can see, the canvas is cut a bit smaller than the felt so that none of it will be visible in the end. Here you see the interfaced felt, cross stitched to the neck opening.


This is where it gets scary. There is NO pattern for the upper collar. The felt is basted onto a rectangle of the fashion fabric, and the entire collar is created "on the fly" around the felt.


Baste here, baste there, trim, fold, slipstitch here, cross stitch there.


Did I mention basting?


Thankfully, it all comes together in the end. Simple or fast, it IS NOT! The result, though, is probably better than what could be achieved by following the pattern instructions. I'm glad to have this step behind me, and relieved that it turned out as nicely as it did. Trust me, there were moments when I really had my doubts. And really, is there anything more strangely constructed than a man's jacket?


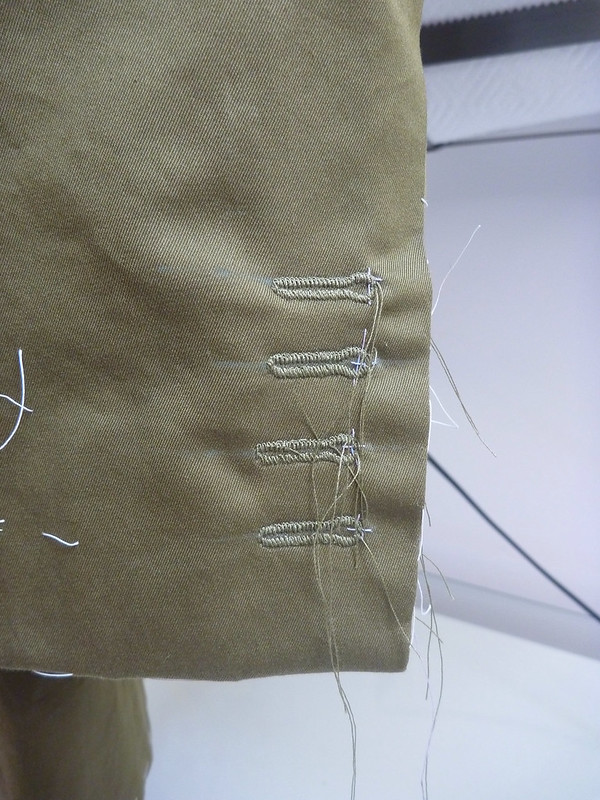
The buttonholes are done. I always hold my breath at this point. The last thing I need is for my vintage Singer buttonholer to start acting up. I'm pretty sure we've all had that OH F$&@ moment with buttonholes. I owe the sewing gods for sparing me this time around. I will cut these open later so that they'll be functioning, a "distinctly custom touch" according to Cabrera.


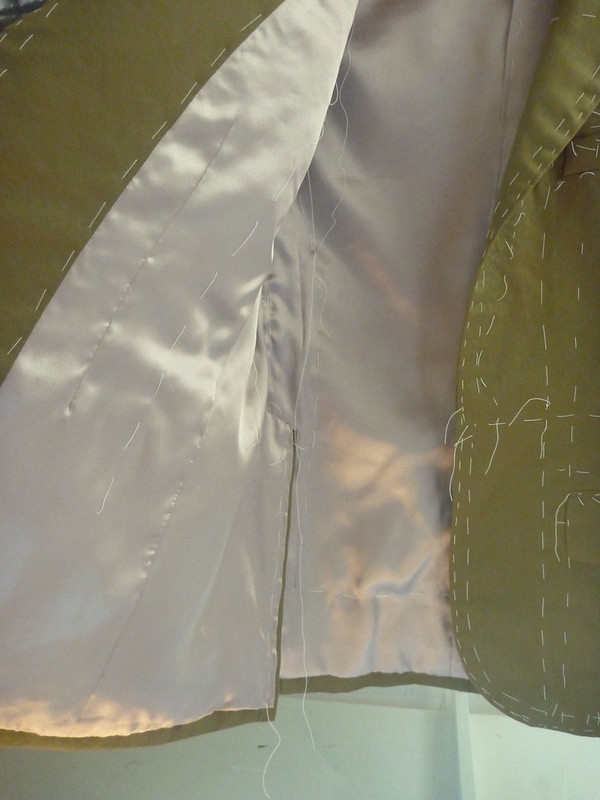
An entire day was spent handsewing the lining. Working with polyester acetate is my idea of hell on earth. Next time I'm picking a jacket pattern with a single vent! Working around two vents was almost enough to break me. Fortunately, I'm pleased with the result, but my enthusiasm for this project is flagging. I really need a break from all the handsewing. Hopefully the pants will be easier. It will seem novel to actually use a sewing machine! Forward March. The end is almost in sight.


Plank # 3 is finally on the boat.