Showing posts with label Elliott Berman. Show all posts

Tuesday, July 5, 2016

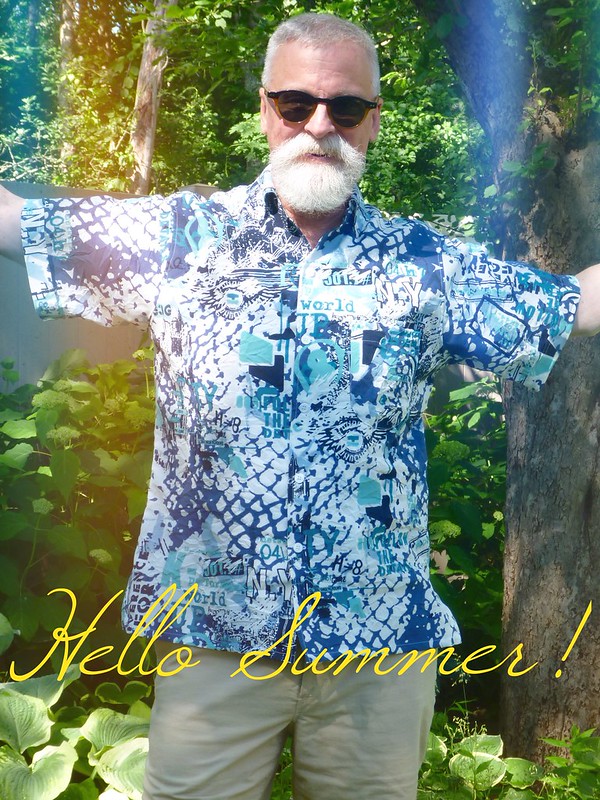
New Summer Shirts


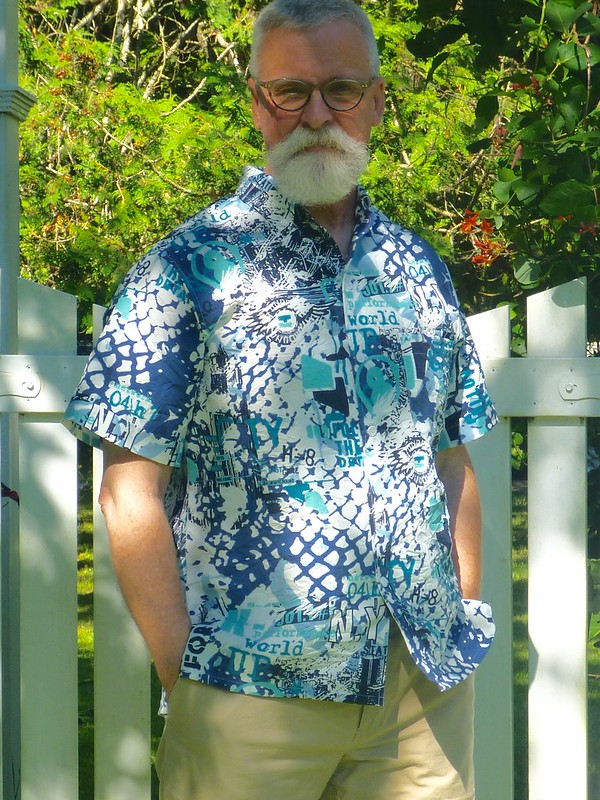
What's better than a new shirt for summer??? Two new shirts!


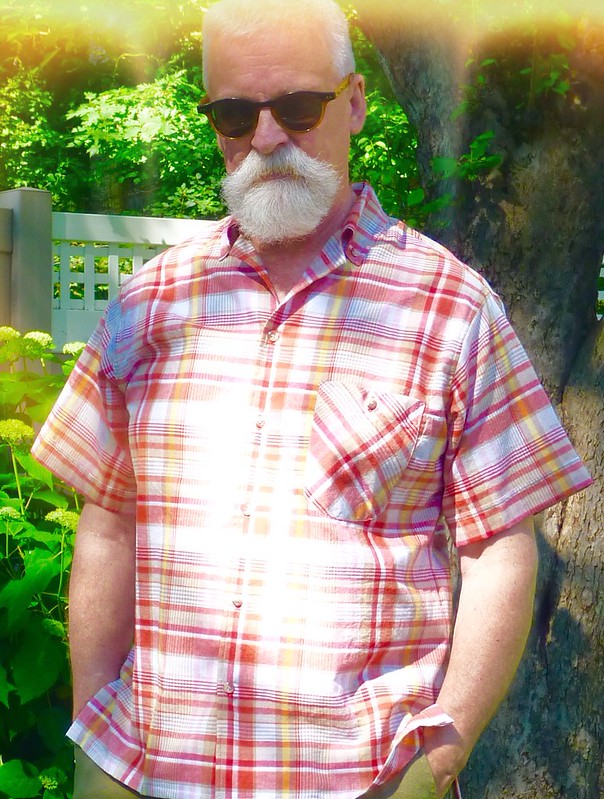
I made just a couple little adjustments to my vintage pattern. I always need a sloped shoulder adjustment (top pic), and I also added a slight curve to the upper back (lower pic). I also cut the undercollar and the collar interfacing on the bias. I think that helps a camp collar fit a little better. Oh, and I added some extra fabric at the lower sides to allow for some small side slits.

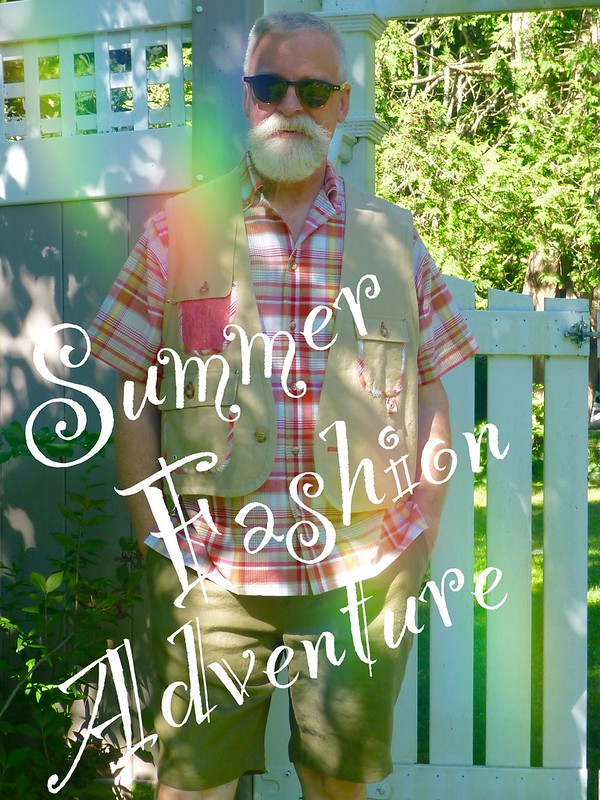
Both shirts have sew-in interfacing. A fusible would have flattened out all the crinkle on the graffiti print, so I used some very lightweight cotton gauze from my stash. I think it was intended to be used for sheer curtains. It's that light, and it worked perfectly. The plaid shirt is interfaced with Fashion Sewing Supply's "light crisp" sew-in. A dream to work with, and it didn't weigh down my fabric. No guy wants a heavy summer shirt.

All the construction was extremely straightforward. Basic shirt stuff.


The plaid shirt is a whisper weight cotton madras plaid from Peron Fabrics. It's been patiently waiting in my stash for the right pattern to come along.


I'
 

The truly observant will notice that I've used this fabric before... namely as bias binding, elbow patches and other assorted do-dads on last year's Watanabe inspired jacket and fishing vest. It's a lotta look! I'll save it for a day when I'm feeling especially "fashion adventurous". A morning at the laundromat maybe!
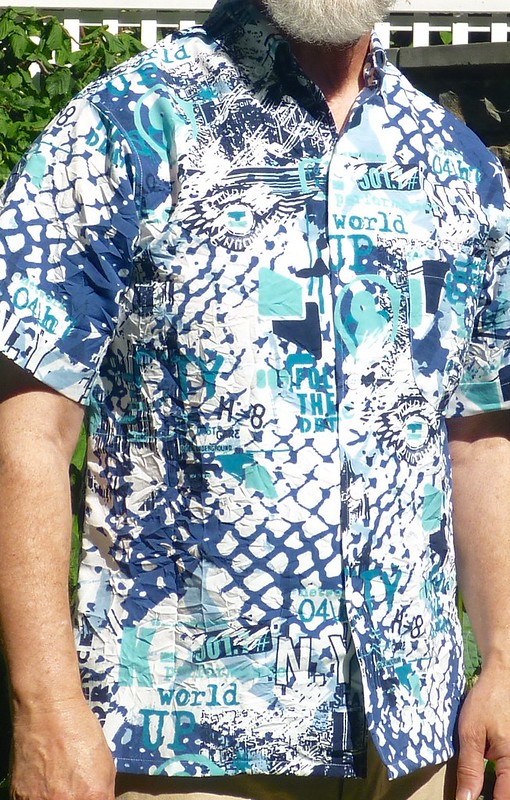


I fell in love with this crazy crinkled graffiti print at Elliot Berman. I don't tend to wear much blue, other than jeans, so this is a big departure for me.... Both color and style wise. It's hard enough getting older, even worse to be old and turn into a stodgy fuddy duddy. No chance of that with this shirt!
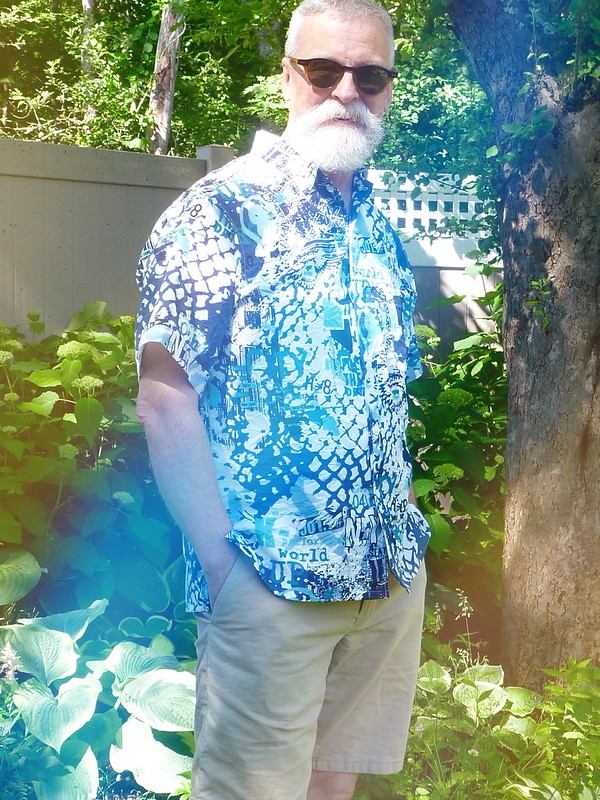
 

Plus, summer is made for wearing crazy shirts!


So get out there and have your very own......


Tuesday, June 7, 2016

The Blazer Goes on Ice.


I've decided to make it official and declare the blazer project officially on ice for the time being. Try as I might, I just can't gather any enthusiasm for it. It's funny how something can suck all the sewing mojo right out of me. The thought of a third muslin has had me stalled for an entire month.


I received some great advice on my various fitting issues, and for that I'm so grateful. With your suggestions I know I can make the blazer better, but my heart just isn't in it right now. Somehow the timing is off. Maybe it's the season...it's summer and I want fun things to make and wear. A black wool blazer....not so much. So I've packed it all away with a few mothballs, and I feel a huge weight has been lifted.


Another lift came in the form of a lovely note from my sewing pal Enrique. Yes! He's still alive!


He enclosed swatches of shirt fabrics that he has in the pipeline, along with some of his street photography. Such a talented guy!


So, taking a page from his playbook, I've decided to make myself some fun summer shirts. This is guaranteed to be the cure to my sewing doldrums.


Fabrics....a lightweight cotton madras-y plaid (which I've used in two other projects), and a crazy graffiti / camouflage crinkled fabric that I found at Elliott Berman.


I picked up this vintage pattern on Etsy awhile back. I'd been on the search for a new casual shirt pattern and this beauty appeared.


I love all the little details on this shirt... The back collar button, center back box pleat, a little tuck on the sleeve that creates a cuff effect, and most of all the hybrid camp / buttondown collar. I'm guessing it dates from the 60's. My thanks to whoever saved it these past 50 years.


And, look ladies! There's a matching shirt for you!


Go on, unleash your inner Nancy Reagan! Hmmmm...on second thought.....


I can't wait to get started on these shirts. I wish you all happy summer sewing projects!


Saturday, November 1, 2014

Falling for Foulard

I haven't posted anything for well over a month, but it doesn't mean there hasn't been any sewing going on in my world. These two projects, a foulard shirt and a pair of velvet Jeds have been finished for well over two weeks now. The weather just hasn't cooperated for an outdoor photo shoot. Finally, we had a partly sunny day, so I quickly set up the camera and shot these pics in my deer ravaged yard.


First up, the shirt.


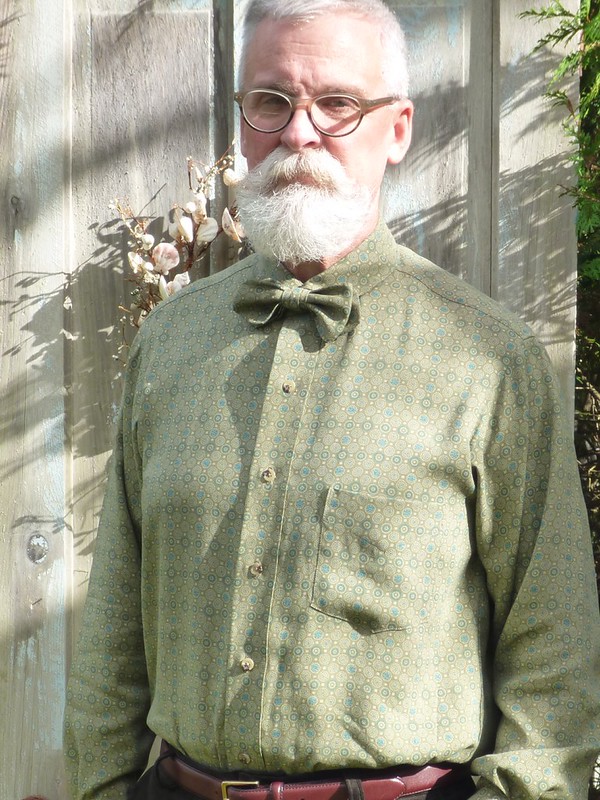
This is a French viscose foulard from Elliot Berman, my favorite NYC fabric stop. I believe it was almost 60" wide, so I was easily able to get a shirt out of just two yards with plenty to spare. It's a soft olive green with little teal bits, both colors I love and that work well with my expanding "me made" wardrobe. But the real attraction is the positively delicious drape of this fabric. I wish you could feel how hefty, luxurious and fluid it is.


That fluidity, however, made for a challenging shirtmaking project. Not that it was difficult to sew.... The challenge was in the matching required for the fronts. There's an underlying grid to the pattern that really requires careful matching both horizontally and vertically. My "cutting table" is a glass topped Ikea desk, and the fabric was slip sliding all over the place. I really couldn't tell what was happening under the pattern pieces.


My solution was to illuminate the fabric from behind with a small desk lamp. This way I could accurately pin on the pattern and maintain the grid in both directions. Time consuming, yes, but ultimately worth the effort in the end.


The pay off!


This shirt has a spread collar interfaced with Shirt Crisp fusible interfacing from Fashion Sewing Supply.


A shirt is a shirt, is a shirt.... So I decided to make a little matching bow tie with the leftover scraps. I own some real bow ties, so I used them as a guide for the overall size. One of my favorites has pointed ends, so I tried to replicate that look. Essentially, I just made it up as I worked along. No rocket science required!


It just attaches with a snap at the back. Simple.


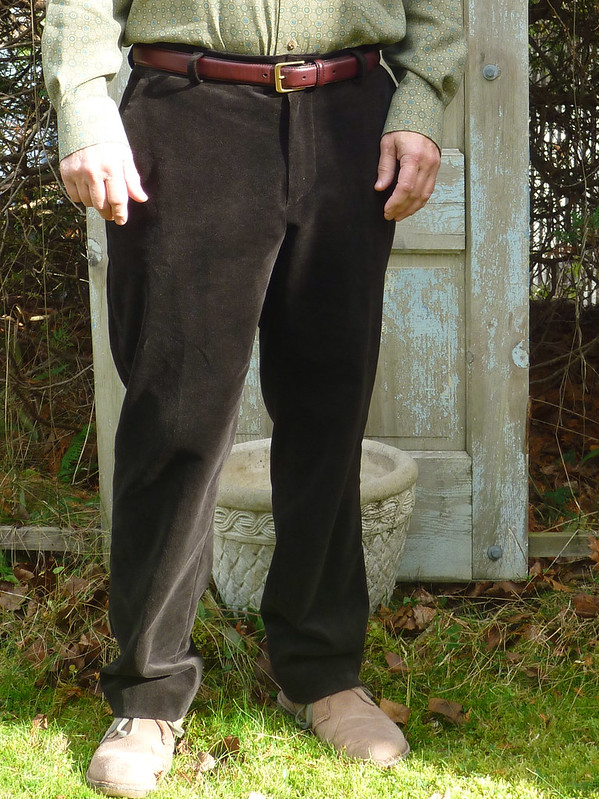
I've also banged out a pair of velvet Jeds. Sadly, the fabric here isn't really anything to write home about. It's been in my stash for a long time. It was a bargain fabric purchased online from Denver Fabrics. I might have paid $6 a yard for it, and, to tell the truth, it looks it. There's no way to sugar coat it, it's cheap fabric. Certainly nothing like the velvet I picked up at Britex last year. But, then again, that fabric was originally something like $75 a yard!

If there's one positive thing I can say about cheap stretch velvet, it's easy to work with. No velvet pin boards required for this stuff. I was able to press this stuff with reckless abandon!

So these may not be the velvet pants of my dreams, but they're serviceable and easy to care for. So I plan to just wear the hell out of them this fall and winter.


I think the pocketing fabric might be nicer than the pants fabric! This is the fourth pair of Jeds that I've made. I never tire of the way they finish up.


Using the tutorial on the Thread Theory website, I redrafted the back and made welt pockets instead of patch pockets. It's surprisingly easy to do, and makes for a slightly dressier look.


My next project will be a little more complex and involve uncharted territory for me..... Namely, knits!

Wishing you all happy sewing!


Sunday, September 7, 2014

The Completed Wedding Suit

The wedding took place on Martha's Vineyard last weekend. To say it was a fabulous time would be a huge understatement. Not only was it the most extravagant wedding I've ever attended, it was a chance to spend time with my far-flung children. They were truly the "icing on the cake" of the whole affair, and a reminder that being their dad is the best thing in the whole wide world.


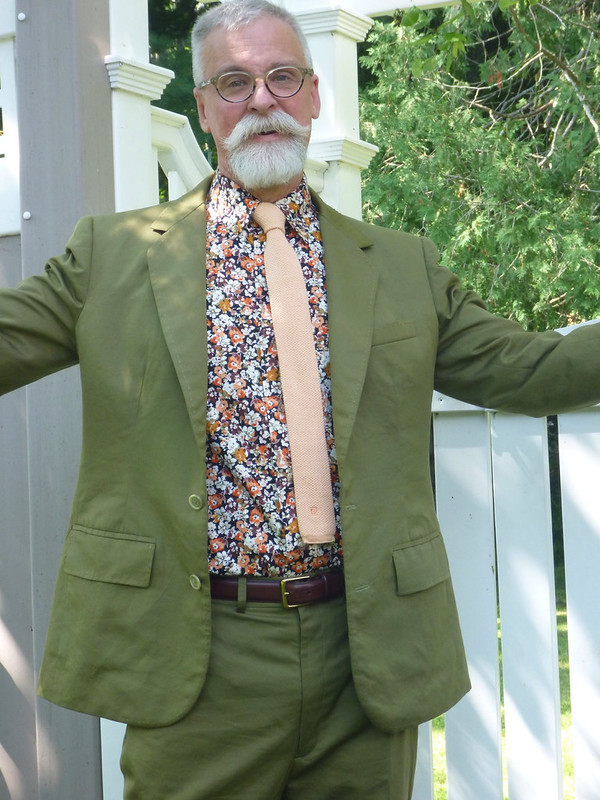
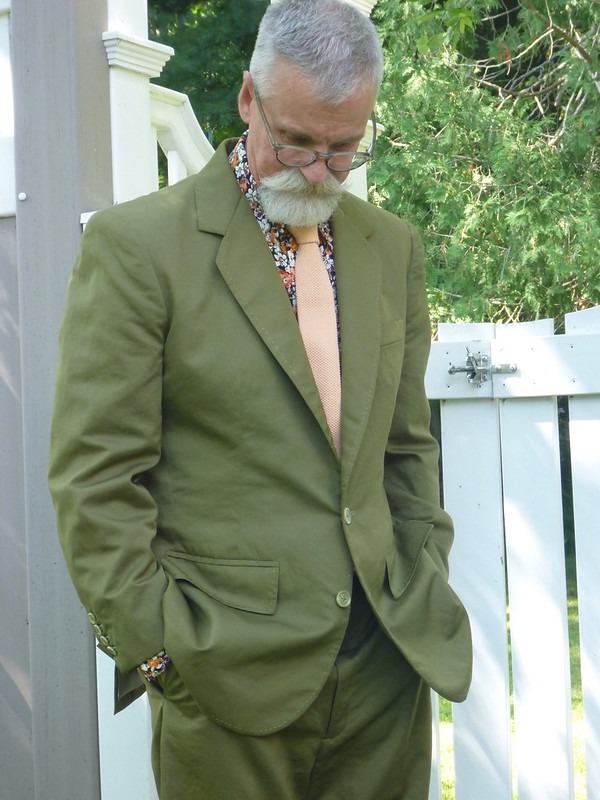
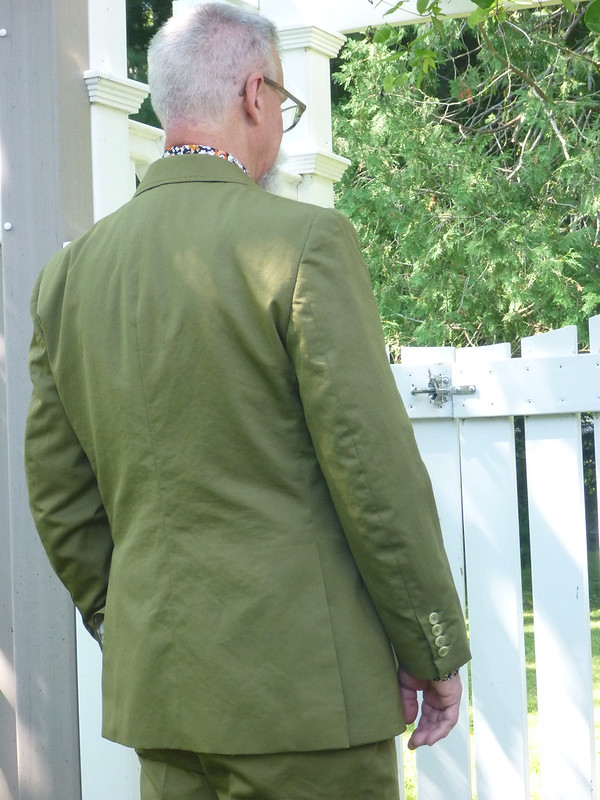
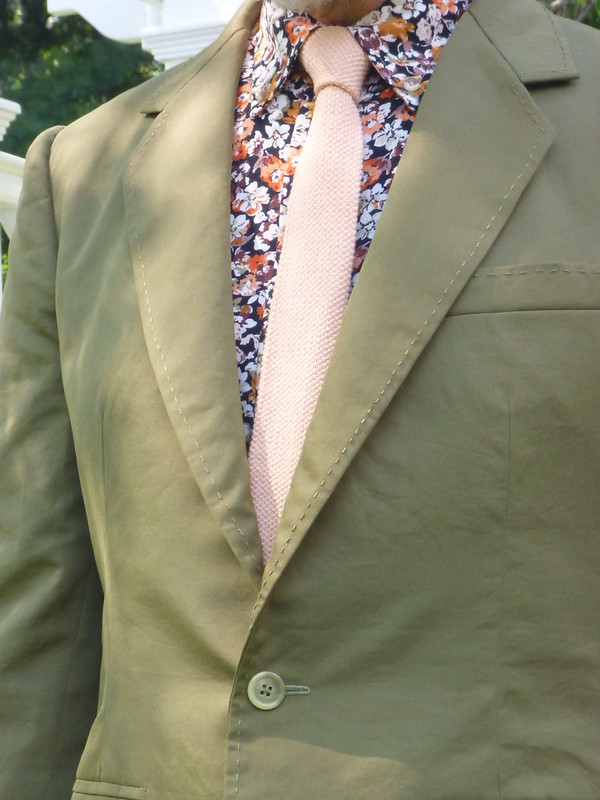
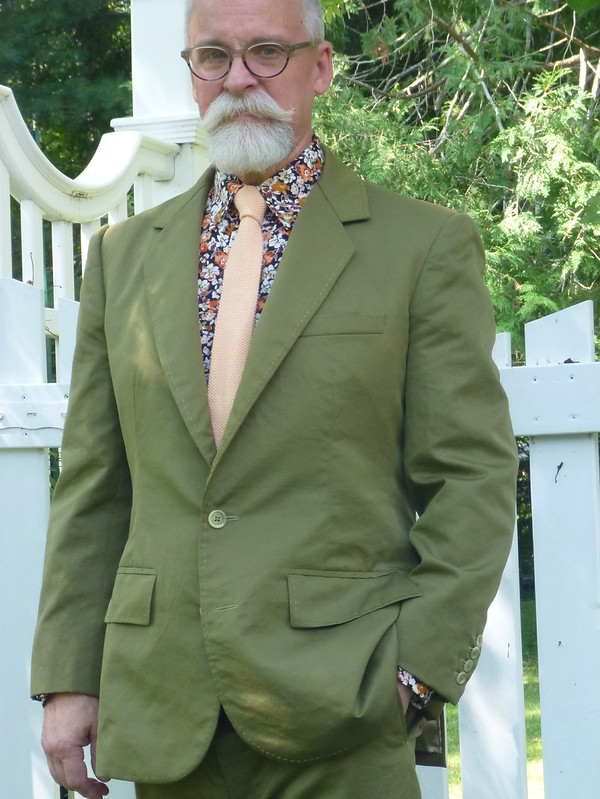
So here's how it all turned out ... Suit and shirt fabrics from Elliot Berman Textiles. Neck tie - vintage cotton knit Pierre Cardin, found on Etsy.


I added a pick stitch detail to the lapels, chest pocket and pocket flaps. I love this kind of customized detail. It really makes it MY suit. End result ... A slightly rumpled, yet classic, summer suit. I felt like a million bucks wearing it!


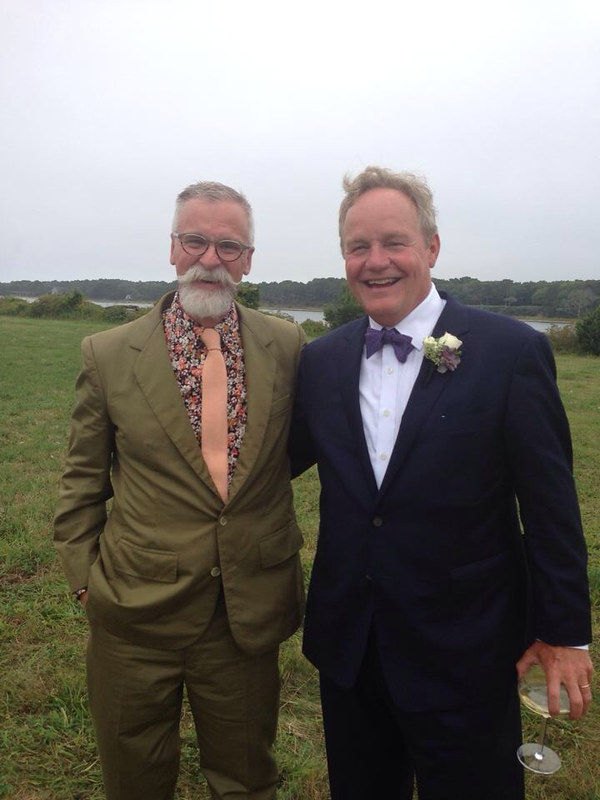
At the reception with my son and daughter. (She made her silk kimono dress BTW)


And we can't leave out Evan, the stylish Westcoast boyfriend!


And lastly, here I am with my Brother in law, father of the groom. (AKA nicest guy in the whole world).


So ends another project. Thanks to all of you who offered words of encouragement as I navigated the world of tailoring. It's been a journey! The suit is headed off to the cleaners, and I need to plot my next sewing project. Something for fall, my favorite season. Cheers!


Monday, June 9, 2014

Oh, Yeah... I'm supposed to be making a suit.

Wow, it's been ages since I've posted anything. Spring sort of happened, (although most people in the Northeast are still in doubt), and life got a little hectic. Still, I've managed to make some progress on my Martha's Vineyard wedding outfit. I guess one could say I've been productive but silent. Still, I have a ton of work to do if I ever want to be ready by Labor Day weekend.

After finishing my Jeds, I moved immediately to the "wedding shirt" because I knew I could bang it out using my TNT shirt pattern. So here it is.


Squeee. Another floral shirt! This cotton fabric from Elliott Berman was a dream to work with. A point collar with collar stays may have been more appropriate for a somewhat formal occasion, but I opted for a buttondown because I want to wear this shirt A LOT after the wedding. I can get much more use out of a buttondown, and it would be a shame to have a shirt this gorgeous just hanging in the closet. I wish you could feel this fabric. Heavenly.


I'm wearing it with a vintage raw silk Rooster tie that I've owned for ages. I'm scouring Etsy and EBay for other alternatives. I'm really liking the skinny look.


I wasted a huge amount of time trying to match this fabric, AND did a poor job of it! The front placket matched perfectly at the neck, but gradually ran off course down the front of the shirt. I'm sure you see it in this photo where my tie is askew. It makes me feel like I need to make an appointment with the ophthalmologist. Almost painful! Live and learn. I would never bother to match a busy fabric like this again. My daughter from CA assures me that no one will ever notice. On a brighter note, I did a great job matching the left front chest pocket. Trust me, there's a pocket there.


I experimented with several different thread colors for the topstitching and buttonholes, and settled on a muted gold color. It almost disappears, as do the buttons, which are the color Latte from Fashion Sewing Supply. I strongly suggest that anyone interested in making shirts pick up the entire range of shirt buttons that Pam offers. They're a great value, and you'll always have just the right button.

Shirt done, pressed and in the closet until August. On to the suit....


In case you forgot, my suit fabric is a olive green cotton / silk blend from Elliott Berman. It had a somewhat stiff "crunchy" hand so I decided to prewashed it in cold water and run it through the dryer. Ooops! I ended up with a wrinkled mess that I just couldn't iron. In a slight panic I dropped all 6 yards off at the dry cleaners and asked them to steam press it. Their result was only slightly better than mine, so I'm going to have to embrace the rumpled nature of this fabric.

So here's where I stand.


The pockets are done and the jacket fronts are basted to the canvas.


I'm using a lightweight premade canvas from B. Black and Sons. It's very inexpensive and saves a great deal of time, which is of the essence right now.


The pockets are made according to the directions in Roberto Cabrera's book on men's tailoring. I'm really pleased with how they came out, especially the flap welt pocket which I've never attempted before. What I love about Carbrera's instructions is that you can toss out all the fussy little pattern pieces. The pockets are composed of simple rectangles that get marked, folded and stitched. "Sewing origami" is my name for it. Somehow, it all comes together, and I love when that happens. I plan to add a pick stitch detail to the pocket flaps and lapels of this jacket.


The next step is to pad stitch the lapels and add the twill taping to the front edges. Lots of handstitching in this man's future!


Oh, and I've finally started planking the boat!