Showing posts with label tailoring. Show all posts

Sunday, February 25, 2018

Suit progress and... learning some new skills

With the jacket fronts complete I moved on to the sleeves. It was a nice break from all the detail work (pockets, taping and pad stitching). The sleeve construction is really quite simple, it just gets fussy where the lining meets the vents.
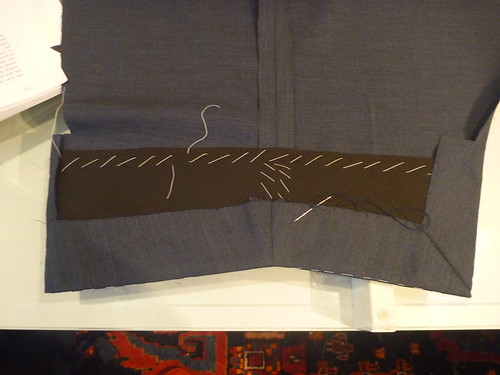


A wide strip of pocketing cut on the bias is basted into sleeve cuff. The vents and hem are folded into position and slip stitched into the pocketing.
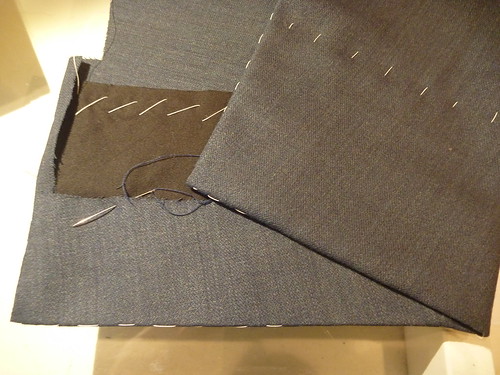


No stitches are visible from the outside. It's like the hem is held in place by magic!
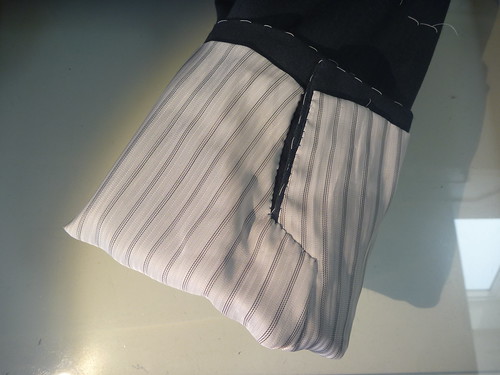


Getting the lining in around the vents is NOT magic! It took me awhile to figure out what part overlaps what, and how to get from one side to the other. Working with lining material is its own special hell. It's a lot of frustrating work for something that will never be seen!


Moving on.....


Are there any perfect patterns? Hmmmmm. This pattern, as much as I like it, has its issues. The first issue to rear its head turned out to be the jacket front facing (which becomes the lapel when it's folded back). The lapel edge is curved. Why is this a problem? If you're working with a stripe, the stripe will fall off the lapel rather than be parallel to it. My fabric has a subtle striation to it, so the front facing needs to redrafted.


The original pattern piece is on the bottom. Notice the curved edge. The new pattern piece on top is drawn with a straight edge. Using an iron and LOTS of steam, the new facing is curved to match the original pattern piece. Steam is used to shrink the other side of the facing which will ripple up during the process. This is where working with wool is a wonder!


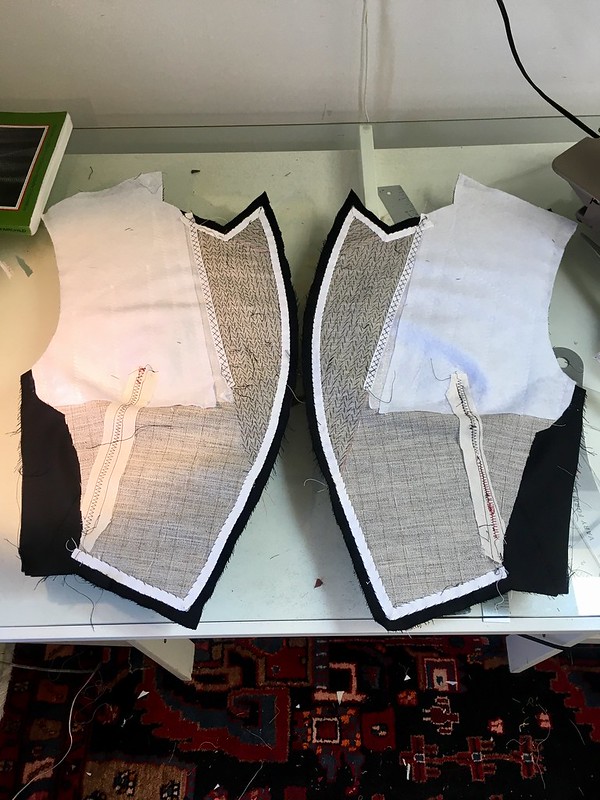
Once this step is accomplished a new front lining will have to be drafted. Usually I make an inside breast pocket that slightly overlaps onto the facing. This is pretty standard stuff on all RTW jackets. But now all my usual pattern pieces are out the window. Arghhhh, what to do?


I turn to Cabrera's "Barcelona" pocket.


Confession..... I can get totally freaked out by sewing illustrations.
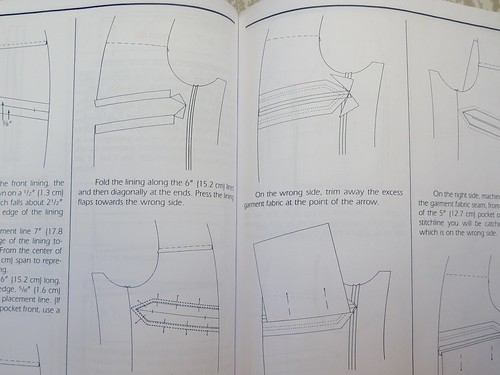
 

Just looking at this scares the sh** out of me! In my head I just assume that this is WAY beyond my ability. I've always skipped over these pages of Cabrera's book, and retreated to familiar territory. But this time I'm pretty much forced to confront it. And guess what?


It's way easier than I ever imagined!
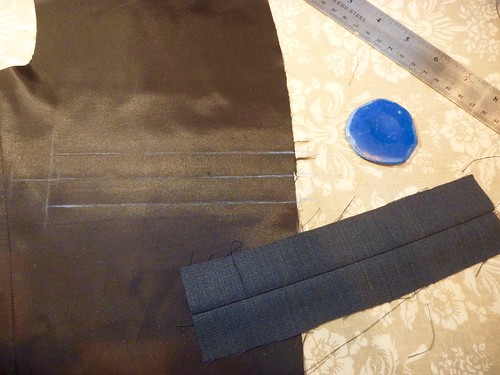


Like so many things in tailoring, it really comes down to careful measuring and taking things one little step at a time. Making the Barcelona was actually less work than the usual double piping pocket that I've used in the past. I'm sold! If you can measure and cut a rectangle, you can make this pocket.
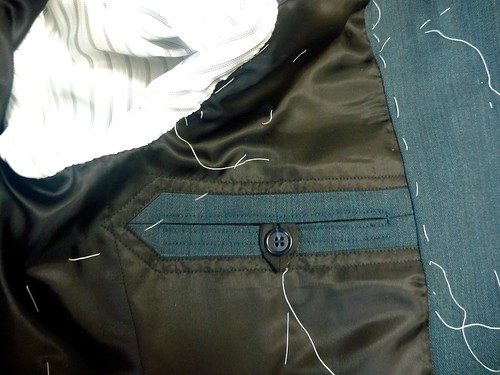


And here is the completed pocket. I did add one extra step....I fused a very lightweight interfacing to the back of the lining. This made it much easier to work with, and I'm all for that.
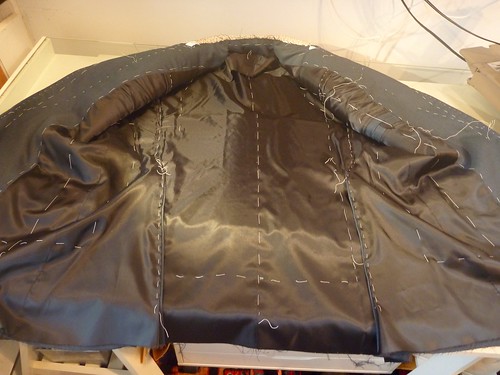


Working along, the jacket pieces get sewn together and the lining pieces are basted into position. I know this isn't everyone's cup of tea. The combination of basting and having extra wide seam allowances on the lining pieces makes this process much easier. This is the essence of "slow fashion", and it can actually be very satisfying. Using silk thread for the slipstiching makes it go so much easier because it's much less inclined to tangle.


My next issue turned out to be the collar. I've made this jacket a few other times and have fiddled with the pattern piece multiple times. Somehow I've lost the revised pattern, because what I have doesn't come close to fitting the neck opening. GRrrrr. I should take better care of my patterns when I file them away.


Enter more intimidating illustrations!
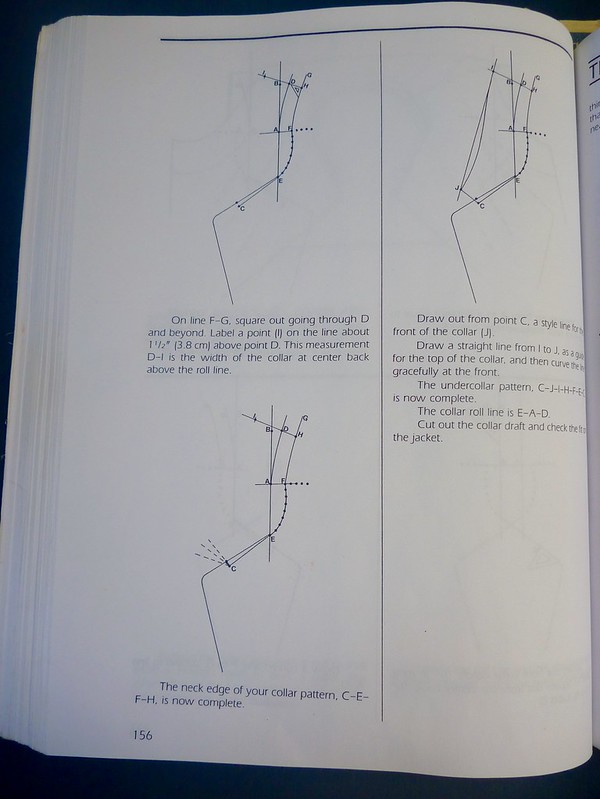


This takes me back to the nightmare of Algebra II in highschool. I never dreamed that I'd be using this page from Cabrera, but here I am needing to draft a new collar. And guess what..... this was F'ing easier than the Barcelona pocket!!!
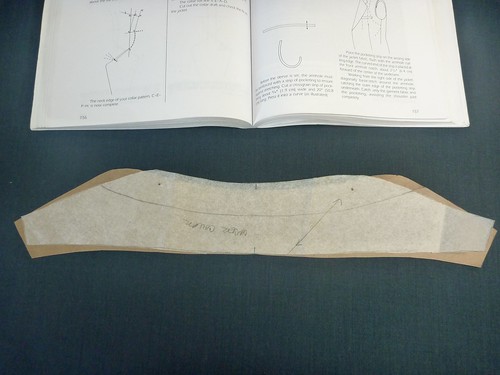


I just followed along step by step, and voila! Here is the original pattern piece (white) sitting on top of the new pattern (brown). Any wonder I couldn't get it to fit? Another new skill obtained.
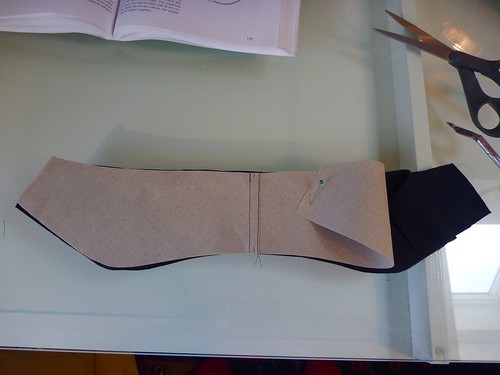


The collar is constructed on a base of French canvas and undercollar felt. It doesn't show in this picture, but a piece of pocketing is sandwiched between the layers at the collar ends to add even additional body.
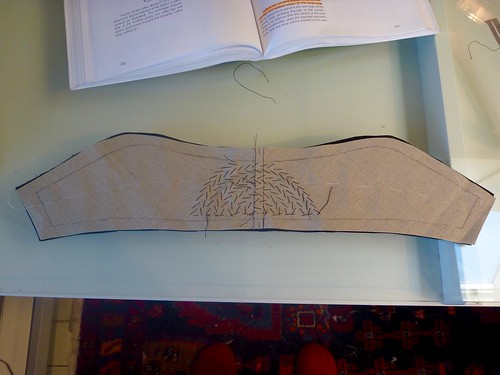


The whole assembly is pad stitched together in a circular pattern. Because the components are very stiff, it's sort of like pad stitching a cardboard box. Silk thread makes the process easier. After pad stitching the collar it's shaped on a tailor's ham with lots of steam. The result is well worth every bit of effort; and having done it a few times, I wouldn't consider making the collar any other way.
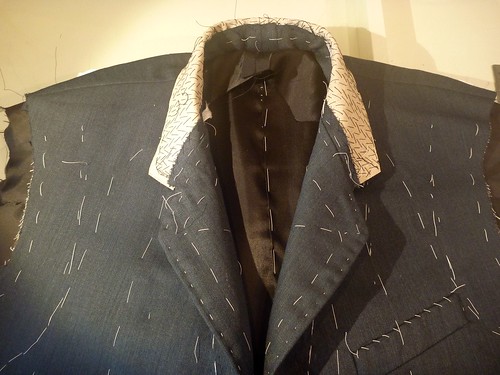


Here is the collar attached to the neckline of the jacket. The newly drafted pattern fit perfectly. This is a good place to stop for now.

Thursday, February 15, 2018

Next up -- Wedding #2

Here we go, another wedding! This time, my beautiful and uber talented daughter is marrying. The place -- Oakland, CA. The date -- April Fool's Day (which also turns out to be Easter this year).


My travel arrangements are all made, but my Father of the Bride wardrobe is sorely lacking. My daughter floated the idea of my wearing my whole Scottish kilt garb, but I think it's way too flashy. I think the bride should be the star of the show, not her crazy old man. Call me old fashioned, but I think a dark (dark-ish) suit is called for.


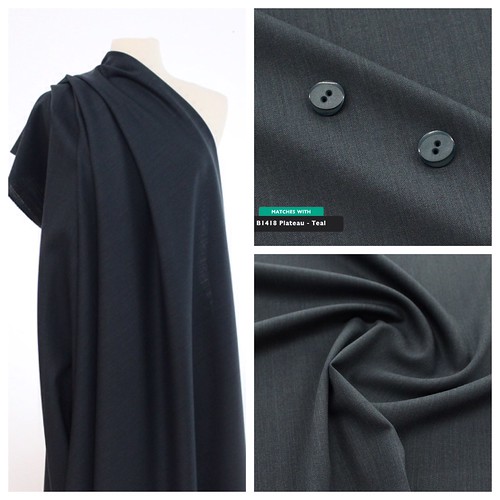
Enter "La Mer" from Sawyer Brook Fabrics, a heathered / striated 100% wool suiting from Italy. Wow! The quality of this fabric completely exceeds my expectations. I ordered it from a swatch and can't be happier. The yardage I received is flawless, and I absolutely love the color -- a dark teal blue. (Unfortunately my cheap point and shoot camera does a horrible job capturing the color). Sawyer Brook offers a swatch service, which I will most likely subscribe to. Their retail store is in central Massachusetts, about a 3 hour drive for me, and I can easily foresee a field trip in my future.


I prepped the fabric using the London Shrink method. I've done this many times, and it's a safe and reliable way to preshrink wool fabrics. Cotton sheeting is soaked in water and then well wrung out. It's sandwiched into the fold of the material.


Once everything is sandwiched, the fabric can be folded up and wrapped in plastic to set overnight. The moisture from the sheeting is absorbed into the wool to create a uniform dampness. The yardage is then air dried and ironed. This suiting required almost no ironing once it dried. There are benefits to working with high quality fabrics!


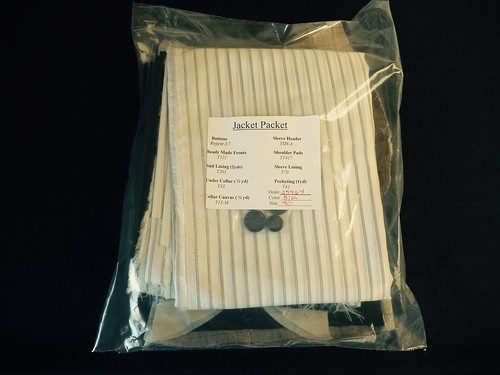
I have no access to menswear tailoring supplies here in Maine. Maybe you have the same issue? Fear not, B. Black and Sons to the rescue. They offer a "Jacket Packet" which contains everything you'll need. A pair of premade haircanvas jacket fronts, more than enough lining material (I think you could actually screw up a piece and have enough to recut another!). Sleeve lining, a huge piece of pocketing, collar felt, a strip of French canvas for the collar, shoulder pads and sleeve heads. (The buttons aren't so hot). This packet is my "go to" when a trip to NYC is out of the question.


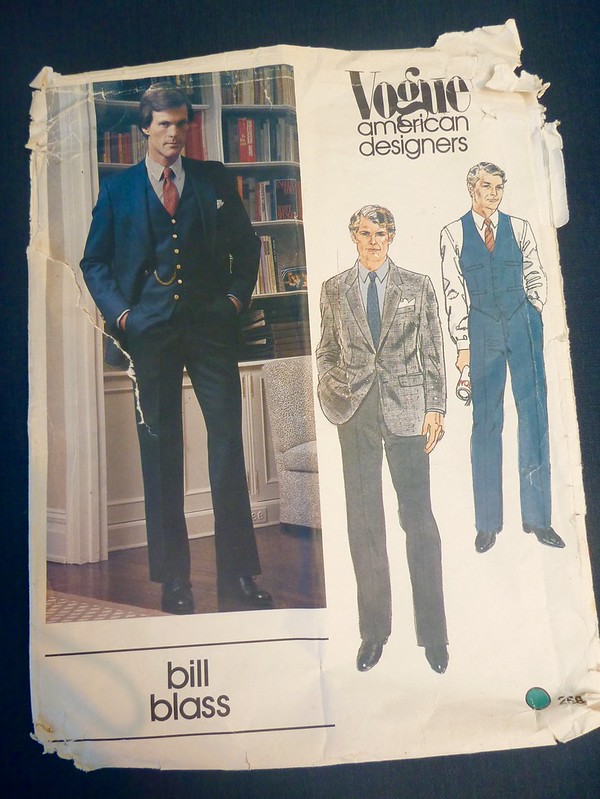
I'll be using my old standby, this very beat up Bill Blass suit pattern from the early 80's. This is just a nice all around jacket pattern. No crazy lapels, typical menswear pockets, vented sleeves and double back vents. I've only made the trousers once, but they're also straight forward, classic.


I won't go into great detail. The jacket fronts are by far the most work. I use Roberto Cabrera's book on menswear tailoring as my guide. None of it is particularly hard, it just pays to be as accurate as possible, both in measuring as well as sewing. If I'm tired or "just not feeling it" I put everything aside. Things go so much better when I'm fresh, which is usually the next morning.


Another huge benefit is having the right thread to work with. Real cotton basting thread and a spool of silk thread that matches the fabric makes the work go so much faster, and with less aggravation. So much of tailoring is about control. All the basting is about taking control of the fabric and making it conform to the body.


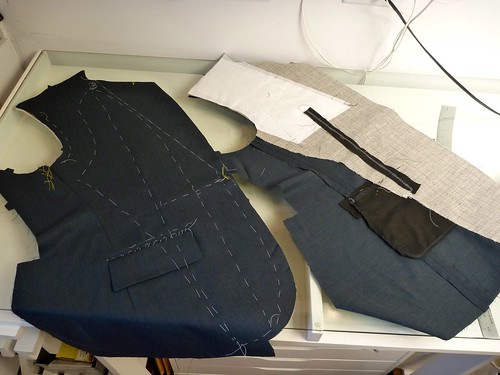
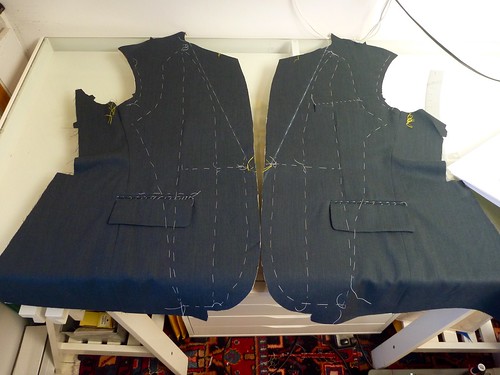
Here are the completed fronts. From here I like to move to the sleeves. They're made fully lined, and there's a fair amount of fussy work around the vents. I HATE working with polyester lining material, so the sooner this part is over the better!


So far, so good. Be well, and enjoy your current sewing projects!


Tuesday, February 6, 2018

Wedding #1, the recap

I realize that I never really wrapped up the kilt project(s). It all got a little overwhelming. Rather than blab on and on about the whole endeavor, I think I'll just let the wedding photographer's blog post illustrate what an extraordinary event two amazing young people, and their loving families, created on a farm in Maine.


http://iamsarahv.com/blog/weddings/william-allen-farm-maine-wedding-photographers-fall/


Having my son ask me to make a kilt (and the whole nine yards) was a huge honor. We're talking real once in a lifetime stuff. If there's anything my sewing journey has taught me, it's that there's value in the "realness" of the clothes that we create. Yes, there may be little mistakes here and there, something that could have turned out better, but in the end what we make is honest. And all those threads....not only the physical ones that are holding things together, but the emotional, spiritual, loving threads we spin, simply can't be had "off the rack".


Credits

Tartan fabric, Strathmore 11.5 oz, "Dress MacLeod". -- Irish Traditions, Annapolis, MD

Wool suiting and linings. -- AK Fabrics, NYC

Tuxedo satin and tailoring supplies. -- B Black and Sons

Pewter Prince Charlie buttons. -- Three Feathers Pewter , Millersburg, OH

Custom dress sporran. -- Artisans of Scotland

Kilt hose, Clan kilt pin and brooch. -- USA Kilts


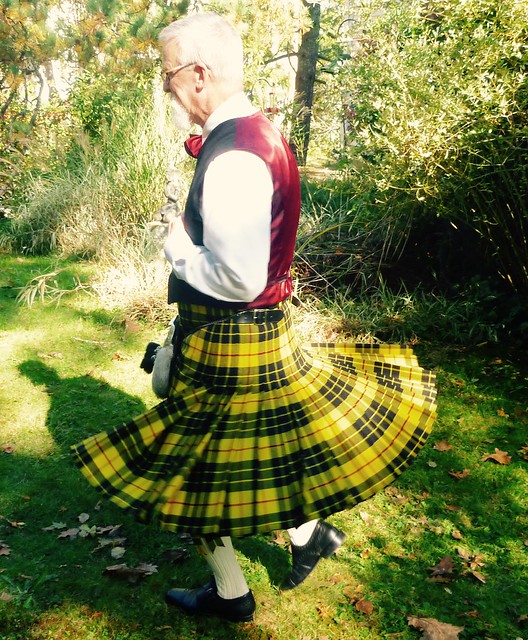
One final twirl!

Thursday, August 31, 2017

Not dead -- yet!

My brother called a couple of weeks ago, worried that I might be dead. Apparently my niece mentioned that I hadn't posted anything in ages, and she was a little concerned.


Contrary to opinion, I am alive!

What's been going on???

I've been sewing like a madman, and blogging about it has fallen to the bottom of my "to do" list. I'm finally seeing the light at the end of the tunnel, and will share my exploits soon.


In the meantime, here's a sample of what's gone down in my world.


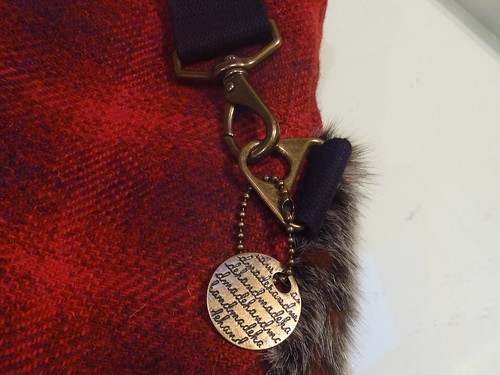
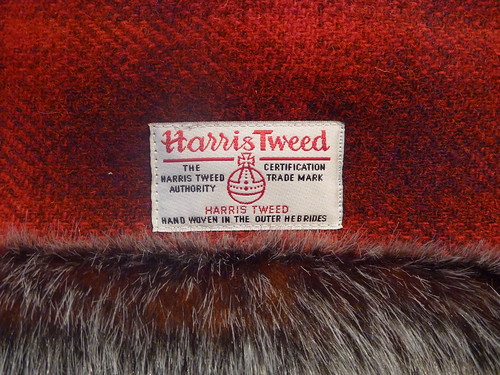
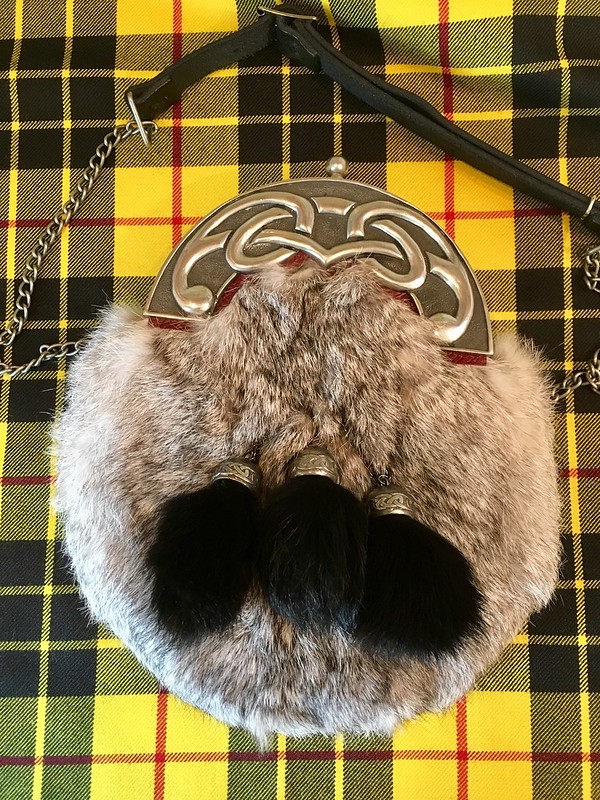
Because the world needs more fur bags.


And speaking of fur....This arrived from Scotland.


To be augmented with some kilt bling.


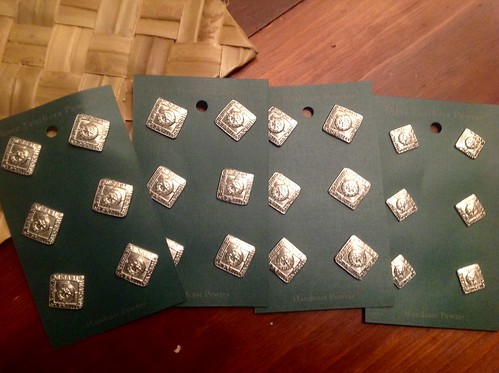
Pewter buttons arrived from a small business in Ohio.


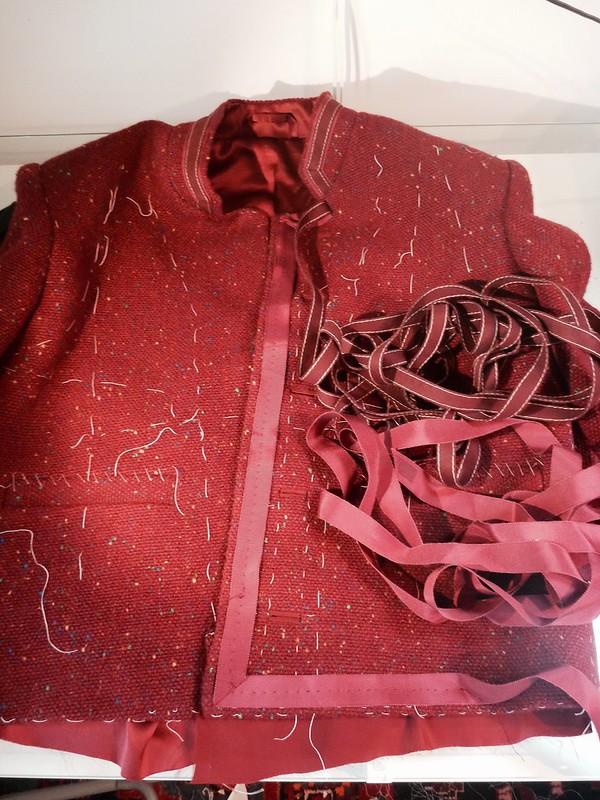
I plowed through some "quasi couture" construction. Mon dieu!


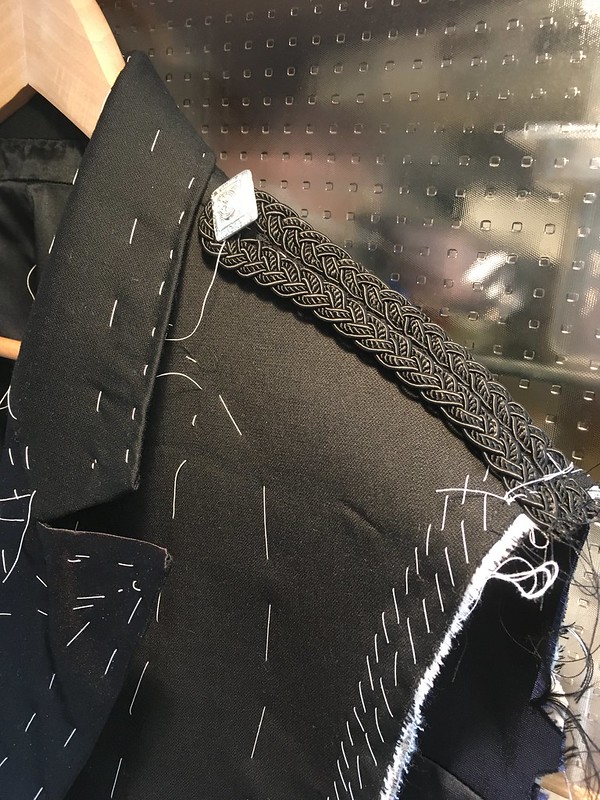
I've done lots of pad stitching and basting.


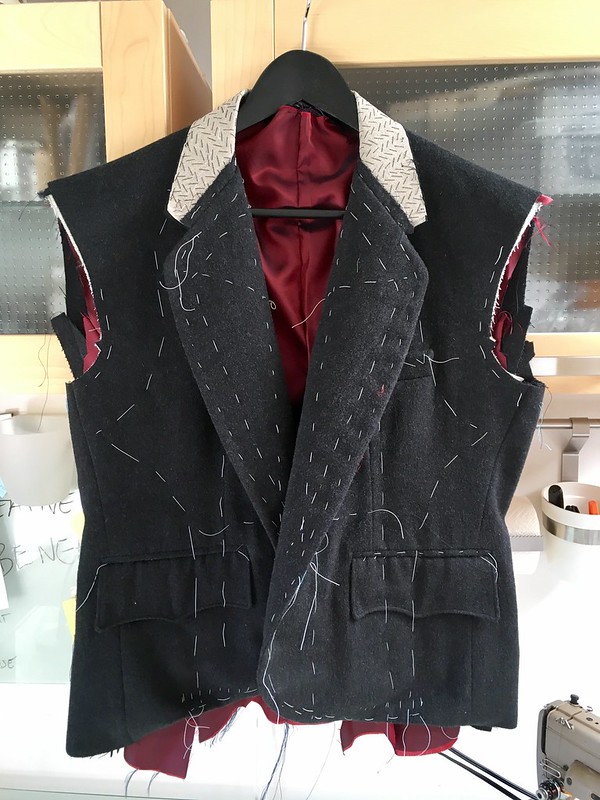
Even more pad stitching and basting!


Weeks of tailoring and fittings via FaceTime. Seriously!


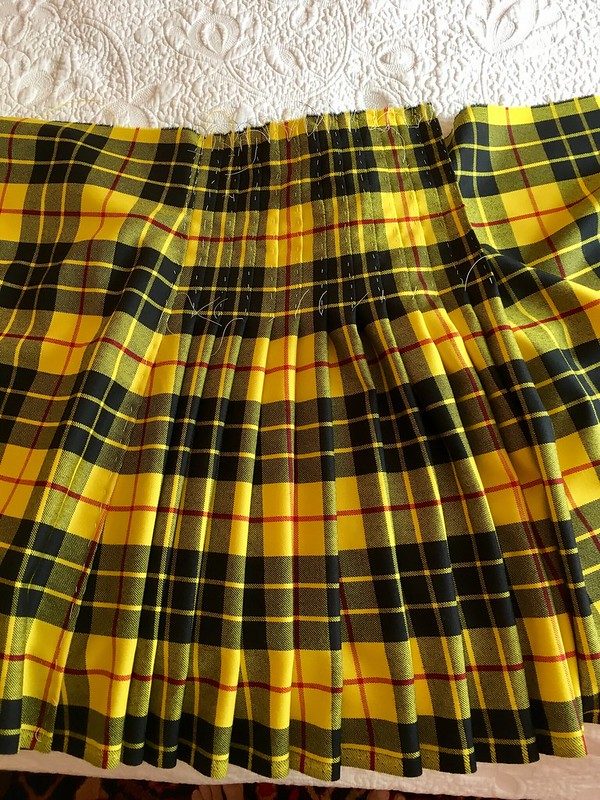
Topped off by kilt #2.


Oh, and Agnes has come home to live in my driveway, refusing to get her feet wet!


I'm a little burned out and at the same time greatful for a life that years ago I never would have imagined. More about all these projects will be forthcoming at some point. Until then be well, and happy sewing.

Thursday, May 12, 2016

Muslin #2, Mrs. Mole's fix and MORE!


The fitting battle continues.... First, thanks Mrs. Mole for your suggestion. I took your advice for my Dowager's hump, and the result is perfect. Plus it was extremely easy. Here's what it looks like...


I sliced across the back at yoke level, and swung the top half up to create a curve at the upper back. Simple. Also visible here is my forward shoulder adjustment, which I hope will move the seam closer to the apex of my shoulder. An equal amount was subtracted from the front shoulder seam to balance out the equation, so to speak.


I then went looking for clues as to why the jacket won't hug my neck. Check this out.....


So this is the neckline of the Bill Blass suit that I made a couple years ago. Note the nicely curved lined where the front joins the back. Also see that the back shoulder is wider than the front, which is correct.


Now look at my current pattern....


How is this jagged line supposed to curve around anyone's neck? No wonder it won't fit!


I've taped in a scrap of paper and drawn the missing curve. And while I'm tweaking things, I added a 1/4" to the lapel width (just a little too 60's narrow), and reduced the curve at the bottom edges of the jacket fronts, which seemed to "cut away" too much for my taste. (I think this was due to the high positioning of the buttons on the original).


So here's Version 2.0.


Much better fit around the neck, and across the upper chest. (You have to excuse my left arm, which is permanently bent due to an old injury, hence all the wrinkles).


My fitting issues seem to have moved from the front to the back, where excess fabric is bunched up behind my arms. It's not the end of the world, but I think it could look better.


I spent the rest of an afternoon trying to work it out.


This is version 2.1. I took out 1/4" from the back armscye. I'm way out of my depth here, but this is looking better to me. I still have room to move, and more importantly, I haven't screwed up the front. Sometimes I feel that I fix one thing only to f$&@ up something else. Have you been there?


These are details of Version 2.2. I think I've removed 1/4" from both the back armscye and the under sleeve. It's easy to loose track of what I'm doing. I've changed my shirt with each adjustment so I can keep them straight. I'm not a fitting expert, so I'm just going with what I think will work. Also, I haven't physically trimmed anything. I'm just taking in what I think is excess fabric and basting a new stitching line.
 
Lastly here is version 2.3, where I think I pulled the jacket side up 1/4" at the underarm. I can honestly say I'm at the end of my rope with fitting at this point. I wish I had the persistence of Michael over at Line of Selvedge, a guy who can work through muslin after muslin after muslin. Sadly, I don't have that patience. I'm burning out here. Fast.
 
This is, after all, just a bedsheet. I'm going to let the dust settle and read your suggestions, which are always so helpful. In the meantime I'll work on the boat; one project where I'm actually making some progress!
 
 
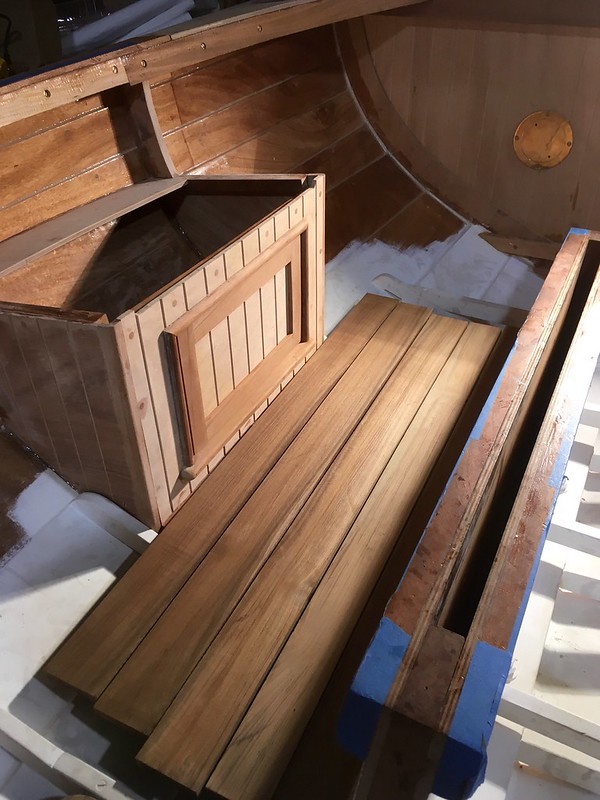
I've built in little side storage lockers (room for a life vest and lunch), and I'm preparing to install teak floor boards. Finally a level surface to stand on!
 
I hope all your projects, sewing and otherwise, are going well. Cheers!