Here we go, another wedding! This time, my beautiful and uber talented daughter is marrying. The place -- Oakland, CA. The date -- April Fool's Day (which also turns out to be Easter this year).
My travel arrangements are all made, but my Father of the Bride wardrobe is sorely lacking. My daughter floated the idea of my wearing my whole Scottish kilt garb, but I think it's way too flashy. I think the bride should be the star of the show, not her crazy old man. Call me old fashioned, but I think a dark (dark-ish) suit is called for.
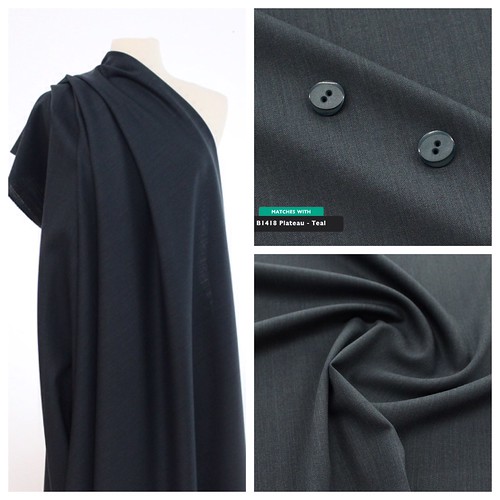

Enter "La Mer" from Sawyer Brook Fabrics, a heathered / striated 100% wool suiting from Italy. Wow! The quality of this fabric completely exceeds my expectations. I ordered it from a swatch and can't be happier. The yardage I received is flawless, and I absolutely love the color -- a dark teal blue. (Unfortunately my cheap point and shoot camera does a horrible job capturing the color). Sawyer Brook offers a swatch service, which I will most likely subscribe to. Their retail store is in central Massachusetts, about a 3 hour drive for me, and I can easily foresee a field trip in my future.

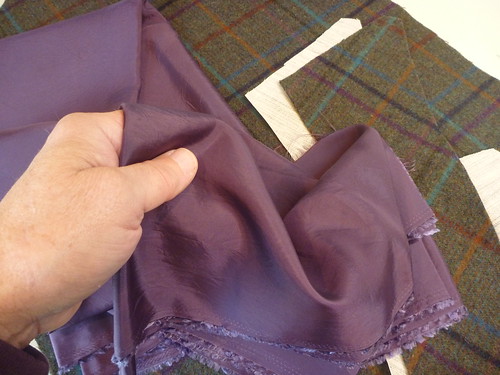
I prepped the fabric using the London Shrink method. I've done this many times, and it's a safe and reliable way to preshrink wool fabrics. Cotton sheeting is soaked in water and then well wrung out. It's sandwiched into the fold of the material.

Once everything is sandwiched, the fabric can be folded up and wrapped in plastic to set overnight. The moisture from the sheeting is absorbed into the wool to create a uniform dampness. The yardage is then air dried and ironed. This suiting required almost no ironing once it dried. There are benefits to working with high quality fabrics!
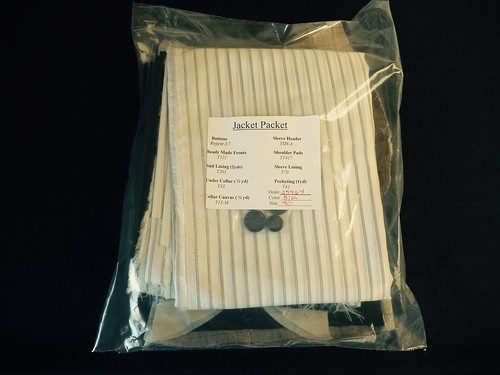
I have no access to menswear tailoring supplies here in Maine. Maybe you have the same issue? Fear not, B. Black and Sons to the rescue. They offer a "Jacket Packet" which contains everything you'll need. A pair of premade haircanvas jacket fronts, more than enough lining material (I think you could actually screw up a piece and have enough to recut another!). Sleeve lining, a huge piece of pocketing, collar felt, a strip of French canvas for the collar, shoulder pads and sleeve heads. (The buttons aren't so hot). This packet is my "go to" when a trip to NYC is out of the question.
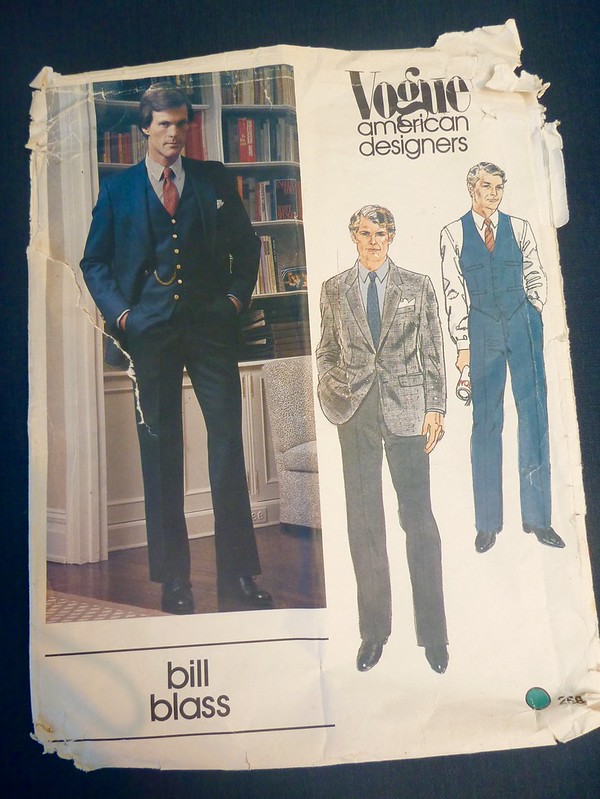
I'll be using my old standby, this very beat up Bill Blass suit pattern from the early 80's. This is just a nice all around jacket pattern. No crazy lapels, typical menswear pockets, vented sleeves and double back vents. I've only made the trousers once, but they're also straight forward, classic.
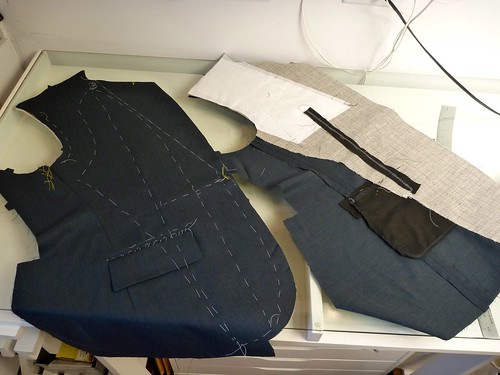
I won't go into great detail. The jacket fronts are by far the most work. I use Roberto Cabrera's book on menswear tailoring as my guide. None of it is particularly hard, it just pays to be as accurate as possible, both in measuring as well as sewing. If I'm tired or "just not feeling it" I put everything aside. Things go so much better when I'm fresh, which is usually the next morning.
Another huge benefit is having the right thread to work with. Real cotton basting thread and a spool of silk thread that matches the fabric makes the work go so much faster, and with less aggravation. So much of tailoring is about control. All the basting is about taking control of the fabric and making it conform to the body.
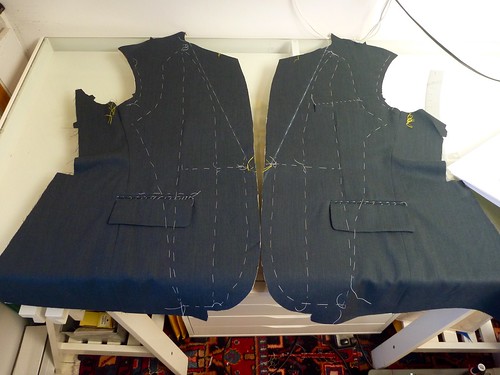
Here are the completed fronts. From here I like to move to the sleeves. They're made fully lined, and there's a fair amount of fussy work around the vents. I HATE working with polyester lining material, so the sooner this part is over the better!
So far, so good. Be well, and enjoy your current sewing projects!
 Posted with Blogsy