Showing posts with label hello kitty. Show all posts

Wednesday, March 4, 2015

Time to Spring Forward!

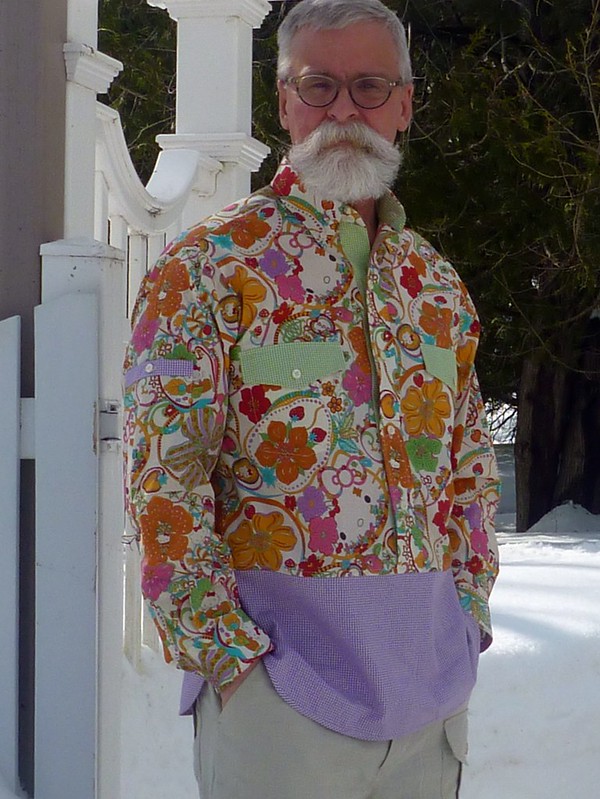
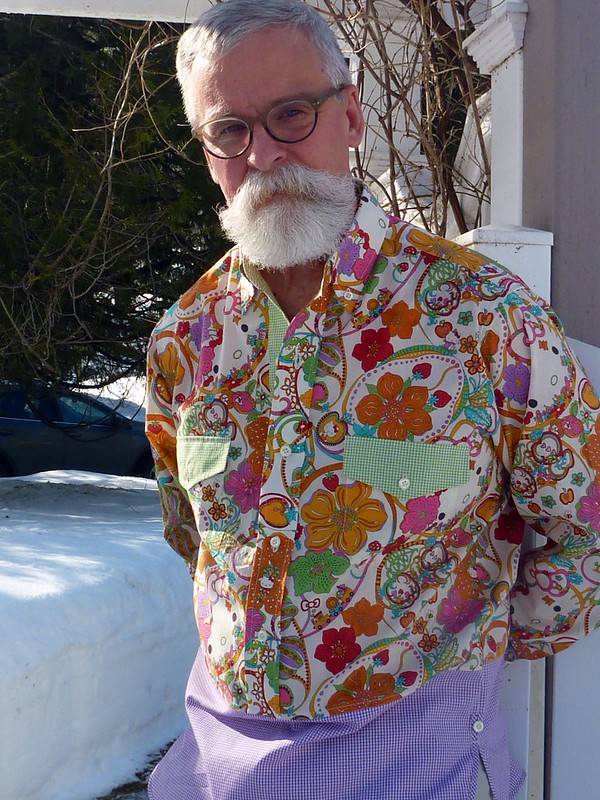
I'm ready to turn the clock ahead wearing my new Hello Kitty shirt.


Ignore all that snow in the background! Spring is right around the corner, and it really felt like it today.


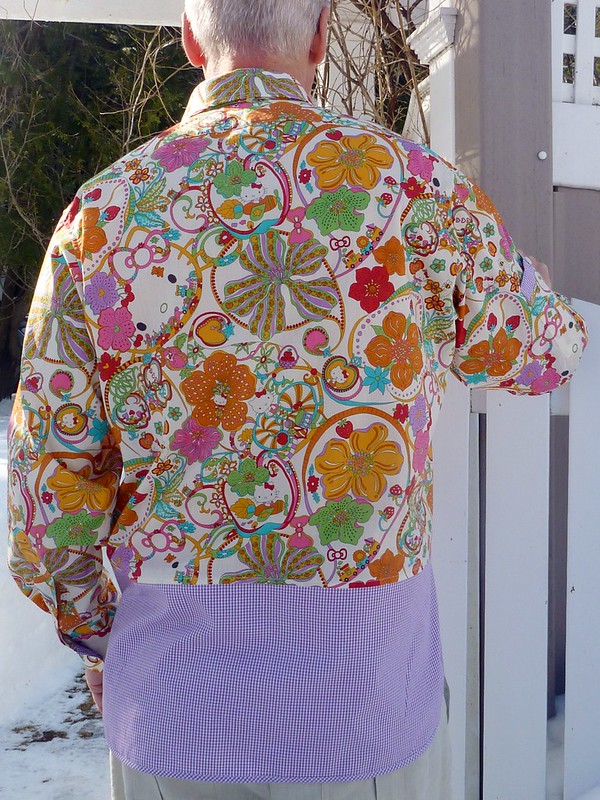
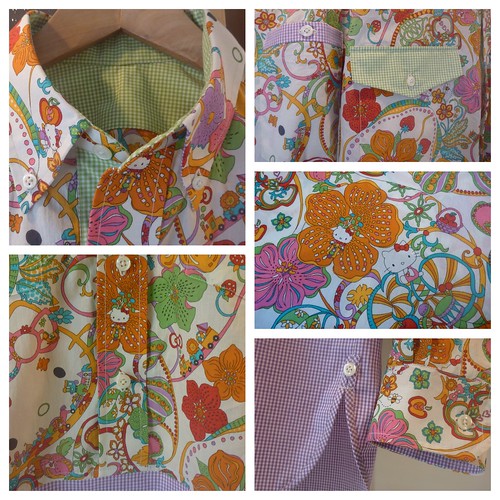
Recap: Liberty of London tana lawn and coordinating gingham, in a hack of my TNT buttondown shirt pattern. The Liberty fabric was a gift from a reader. I truly hope that I did it justice for her. Personally, I feel like I'm putting on a party when I slip it over my head! What fun!


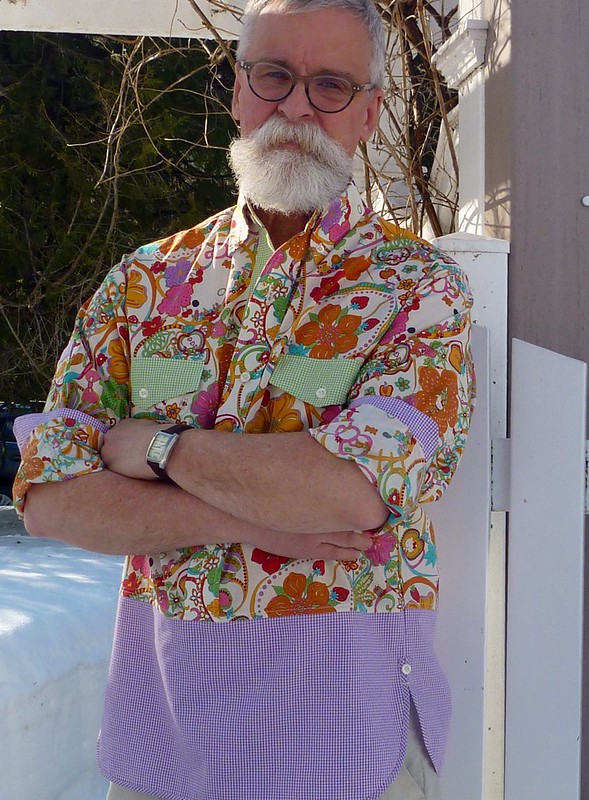
Sleeves rolled up to reveal the contrasting inner cuffs. A little button detail at the bias trimmed shirt tails.


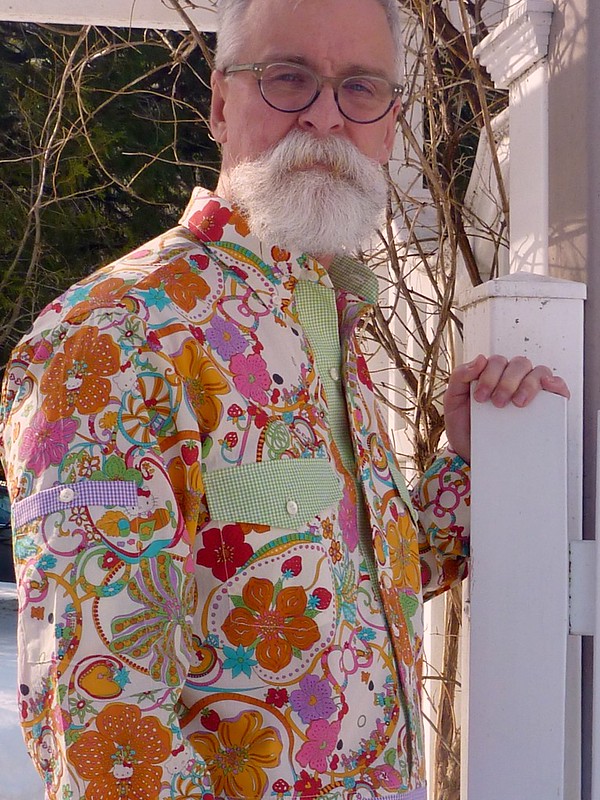
Hello Kitty! Hello Spring! Actually, this shirt is so light I'll probably wear it right through summer. Unfortunately, it's still a little too cool, so back into the closet it goes. :(


I don't know about you, but I'm on a spring sewing roll. My next project is going to be a Junya Watanabe inspired spring jacket. I love all the details of these jackets from past seasons, and I've collected a variety of fabrics to make my own mash up of this look.


This promises to be a lot of fun; and as I promised myself, it involves RED and RIVETS (do you hear me Enrique???).


As always, I thank you for all the encouragement I receive here, and I wish you all happy sewing adventures!


Sunday, February 22, 2015

More "Kitty" construction

Warning: Shirtmaking geek alert!

Purrrring along here in "Hello Kitty" world. With the fronts completed I turn my attention to the back and yoke. I've decided to eliminate the center box pleat at the back, so things are pretty simple here.


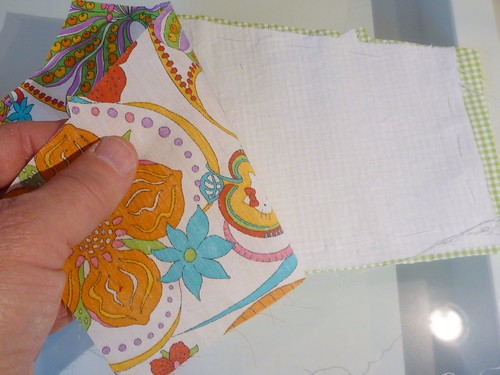
My plan all along has been to use the gingham as a contrasting inner yoke. One problem though.... The tana lawn is so sheer that the gingham shows through. To solve that problem I basted in an interlining of white batiste. Problem solved. Not only is the transparency issue fixed, but the whole yoke is more substantial.


What's going on here? This is the much beloved "burrito method" of attaching the yoke to the shirt fronts. It works like a charm, and gives a professional finish to the inside of the shirt. It's really an indispensable technique in any shirtmaker's bag of tricks.


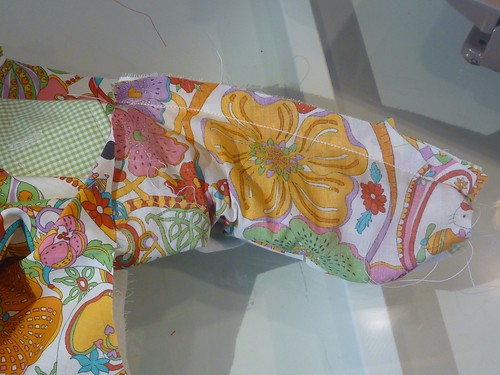
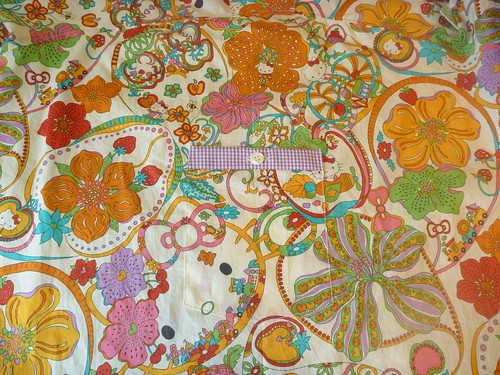
I added a pocket to the upper right sleeve just for fun. I tried it with a flap like the front pockets, but decided it was just too much. A simple band with a button seems better. If I had an iPod, this would be the perfect place to stash it.


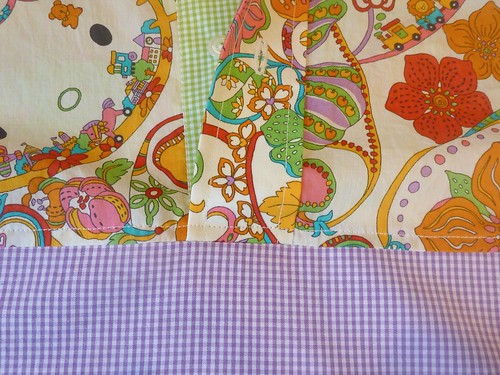
The bottom panel is attached to the shirt fronts with a flat felled seam. Pressing the seam upwards allowed me to trim out the bulk of the plackets.


Inside, everything is finished off. No raw edges for this guy!


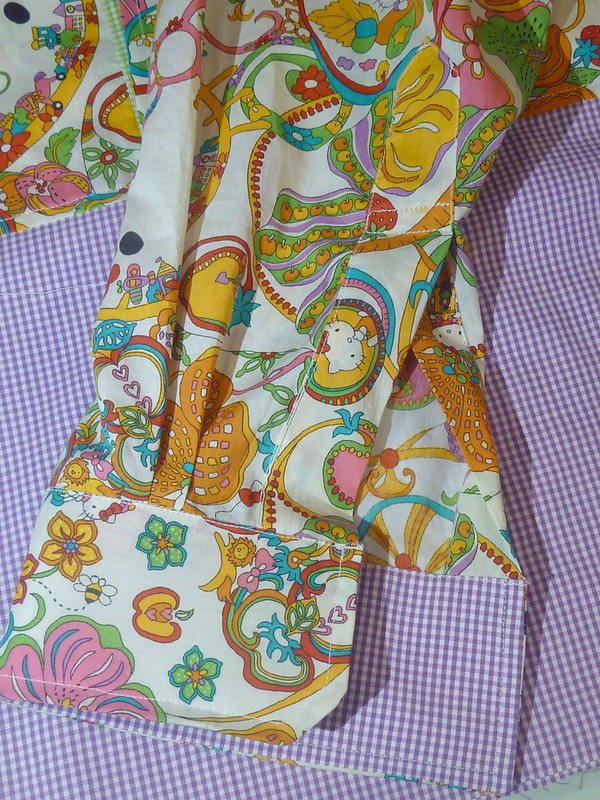
The lavender gingham is used as a contrasting inner cuff. I can't topstitch a curved cuff to save my life, so I just lop off a corner at an angle. Works for me!


When the sleeves are rolled up, the lavender color is brought up higher on the shirt. It helps balance off the green of the pocket flaps and contrasting placket.


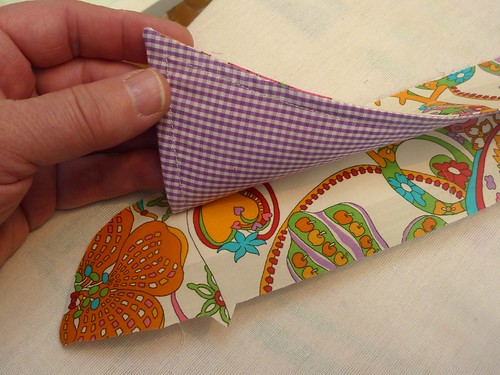
What's this? This is the Pam Erny method of turning collar points. This has become my preferred method and I think it gives the sharpest point. (Shirtmakers start to get obsessive over such things!). A loop of thread is sewn into the seam while the collar is being assembled. After turning the collar the loop is gently pulled and the collar point pops out. Voila!


The collar and band are interfaced with Prowoven Light Crisp Fusible from Fashion Sewing Supply. Their interfacings are frequently on sale, and I highly recommend having an arsenal of different weights in your stash.

Even with a white interfacing the collar was too transparent. Using the gingham for the undercollar gave a more consistent look. I use Peter's (of Male Pattern Boldness fame) method of attaching the collar and stand. Tutorial here.


Have I mentioned that I stink at sewing curves? My TNT pattern has curved tails. I usually fold them over about 1/4" twice and stitch them. It's always a struggle, and my results are average at best. It's a good incentive to keep my shirts tucked in!


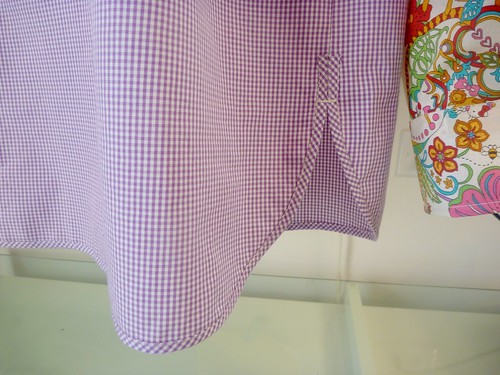
The dilemma presented by this shirt is how to deal with tails that are intentionally untucked. My solution is to finish off the lower edge with a bias binding, something I've never attempted before.


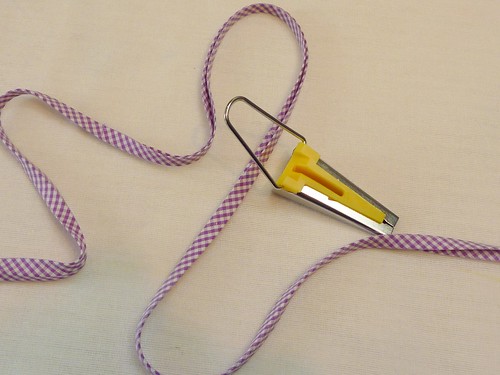
Clover bias gizmo to the rescue! This is the 12mm size, which produces a binding about 1/4" wide.


I trimmed off the 5/8" seam allowance at the bottom edge, basted the binding in place and then edge stitched it on. A little time consuming....Yes. But I think the final result was well worth it. Not only is it neater than my usual method, but it adds some weight to the hem.


Spring is right around the corner!!!
 

Wednesday, February 18, 2015

Hello Kitty, getting started

OK, I didn't spend a ton of time and effort deciding how to hack my TNT pattern. No muslin. Basically I just threw some pins in an existing shirt. Like this....


My TNT shirt pattern has very long tails. No way it's ever gonna come untucked! The Hello Kitty shirt, however, is meant to be untucked. So I hiked it up a little bit, and settled on a point where the bottom panel will start. I felt this proportion was best for me. Just for the heck of it I tried the "Today's Man" dimensions and hated it. It seemed to cut me right in half, which was visually awkward. After looking at some RTW shirts in my closet that are meant to be untucked, (yes, I still have some RTW, but not for long!), I noticed that none of them had a back pleat. So I'll be eliminating it.


End of pattern adjustments.


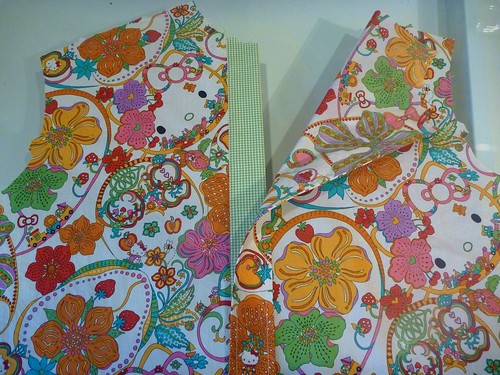
I decided that there was NO sense in trying to match this pattern. It's just all over the place. Instead, I just tried to find a balance between the two fronts. The green gingham has been placed at the right front as a contrast. Ultimately, it will only be visible at the neckline, since it's covered by the placket. I love figuring out how to make these little tweaks.


Here is the finished front placket (sans buttonholes). I think having it unmatched is actually best.


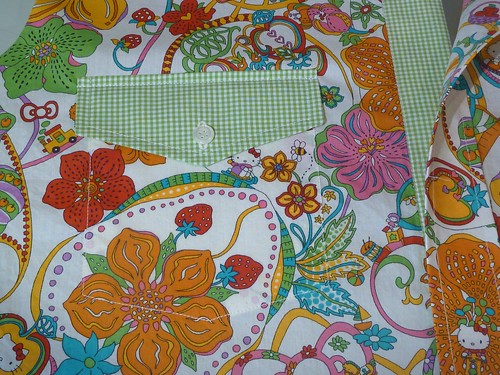
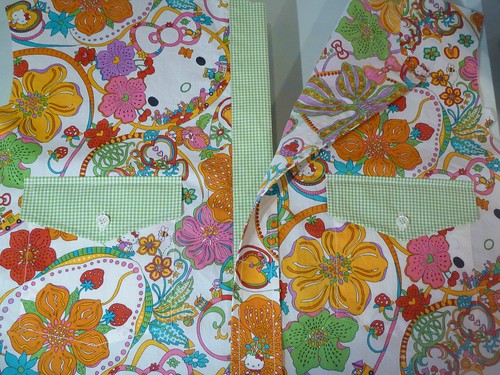
I have never worked with Tana Lawn before. It's feather light and very finely woven, but it tends to be a little on the sheer side, especially with an ivory background. I'd definitely be more comfortable with a couple of chest pockets on this shirt. I matched the pockets and added buttoned flaps.


This completes the shirt fronts. Next I'll move to the back and the yoke. See you then!


Tuesday, February 10, 2015

For my next project, say "Hello" to.......


Hello Kitty!!!!


As interpreted by Liberty of London no less!


First, a huge apology. This post is WAY overdue. One of my readers generously sent me a length of Liberty tana lawn in this fantastic Hello Kitty print ages ago. She said it was "a bargain", not her colors, and that she wanted me to do something with it. What an amazing gift! I hope she doesn't think I'm a total ingrate for waiting so long to actually cut into it. But special fabric like this takes a lot of consideration. At least it does for me. This is too good to squander. Trust me, I've been thinking long and hard about how best to use this swath of British luxury.


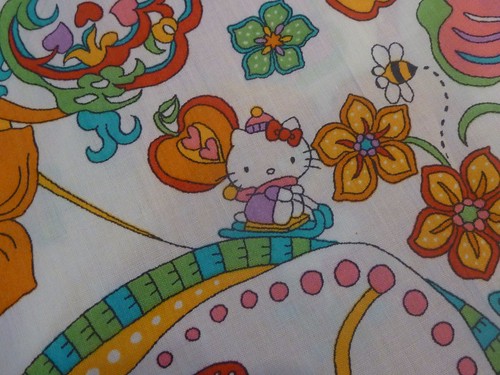
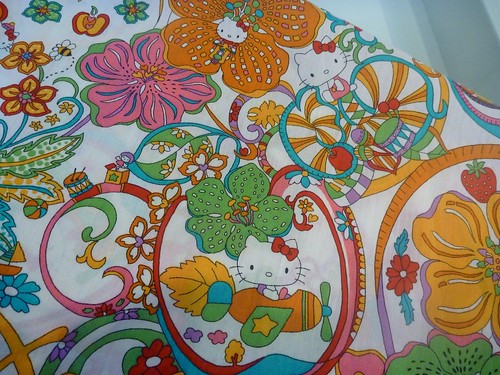
It's a swirling print of flowers, toys, strawberries and apples on an ivory ground, with little kitties hidden throughout. One can't help but smiling. It's very "Where's Waldo". This time the game is finding Hello Kitty, who seems to be hiding everywhere. There's even a Hello Kitty on a motor scooter. And the colors! Nothing subdued here. The printing is, as one would expect, incredibly detailed and sharp. For an informative video of Liberty's printing process click here.


So what the hell has taken me so long? Quite simply, I didn't think there was quite enough fabric to make a shirt. I was going to need some type of a coordinating fabric to pull it off. Which lead me eventually to this pattern....


I was attracted to version B, the white pullover shirt with the bottom panel. I was thinking the bottom could be a contrasting fabric. Some of you may remember that I made the short sleeve version E from a striped linen this past summer. Good thing I made that shirt first, because I found out first hand what a crappy pattern this is! The front placket on version B is completely fake, just a lot of topstitching to give the illusion of a placket. Ugh! Why can't we have real men's clothes? I certainly wasn't going to waste Liberty fabric on "Today's Man"!


New plan..... Hack my existing TNT buttondown shirt pattern. Say hello to a real shirt placket, yoke and collar on a stand.


Next obstacle.... Finding the perfect coordinating fabric.


There seemed no sense in looking anywhere else but here. Beckenstein's on W 39 th St. I usual just drool over what's in the window and keep on walking by. Not this time!


Beckenstein's has by far and away the largest selection of men's shirting in the garment district. Way more than either of these pictures shows. Truly, a shirt maker's dream store. The only caveat.... There are NO bargains to be had here. But a special shirt deserves terrific fabric.


After much deliberation, and help from my patient fabric shopping friend David, I settled on two fabrics.


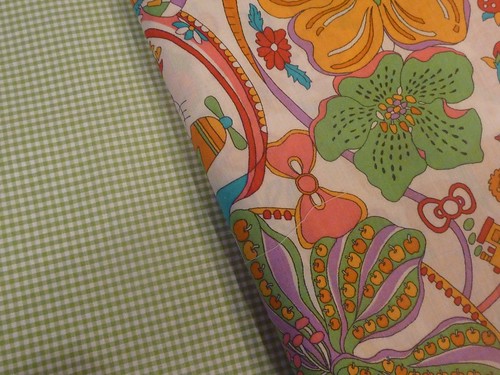
A lime green, and a lavender 1/16" gingham check. It could have gone so many ways....orange, red, turquoise, pink. Somehow this just seemed to click for me. The scale also seemed to work by not competing with the Liberty print.


Everything is prewashed. Time to make a spring shirt!