Showing posts with label sloped shoulder adjustment. Show all posts

Tuesday, July 5, 2016

New Summer Shirts


What's better than a new shirt for summer??? Two new shirts!


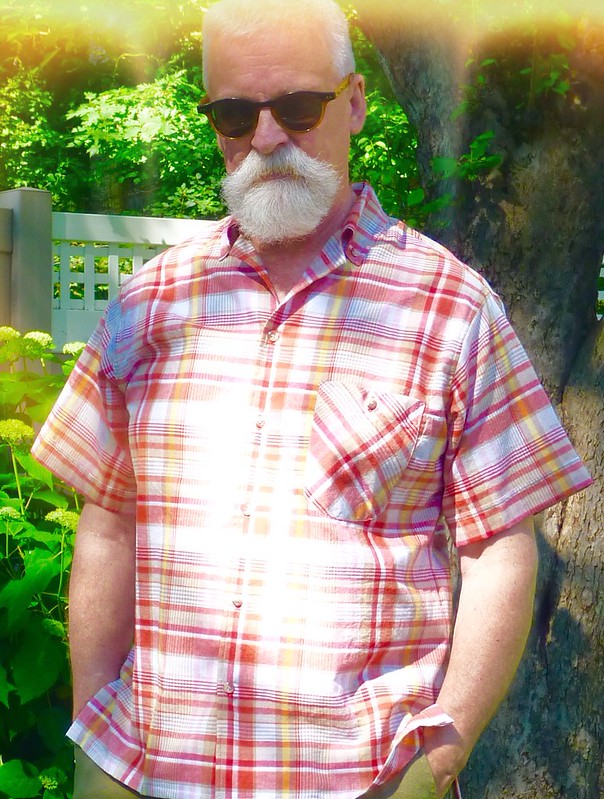
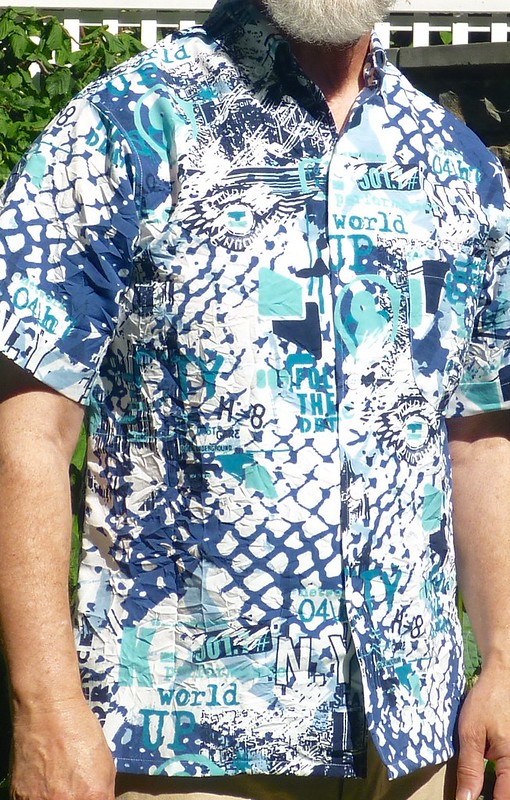
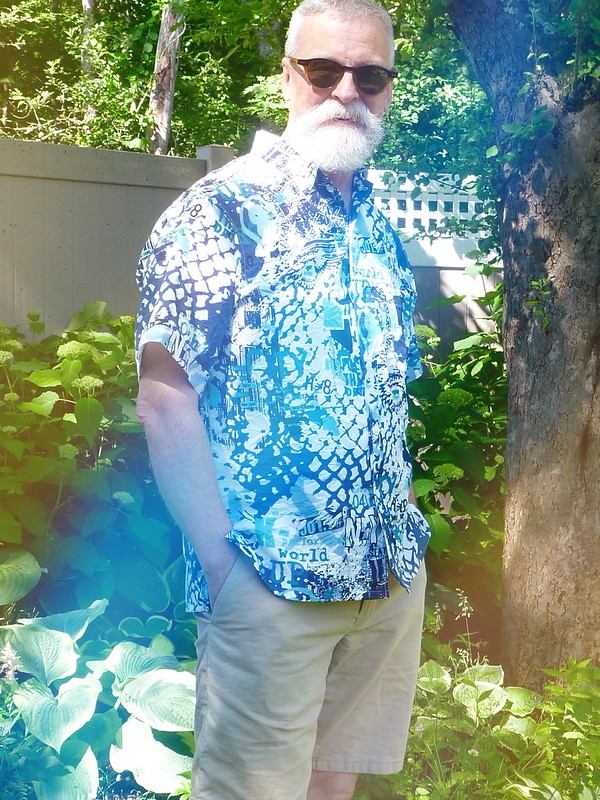
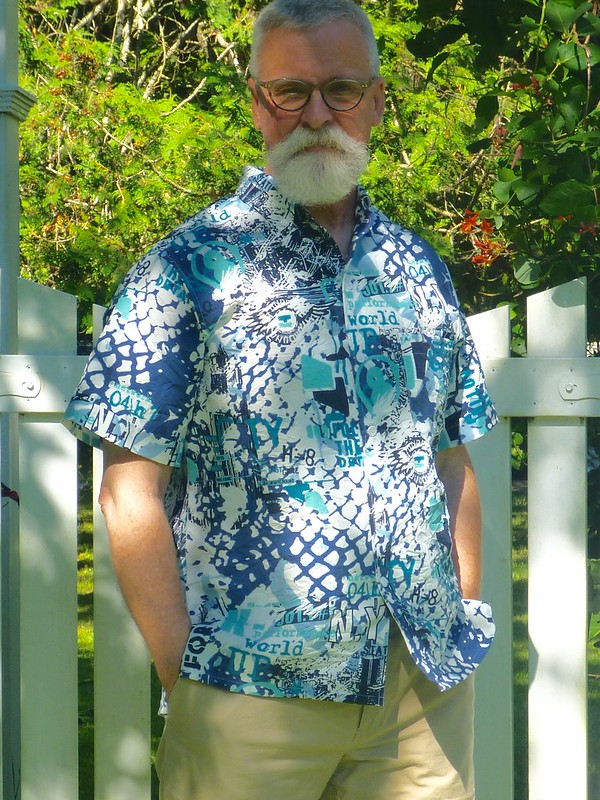
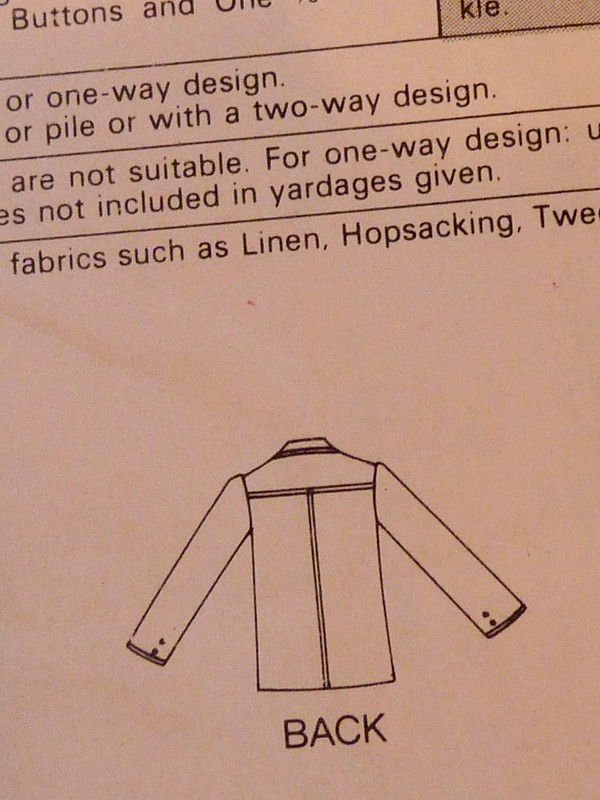
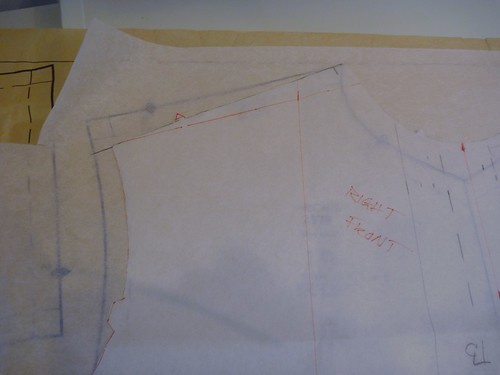
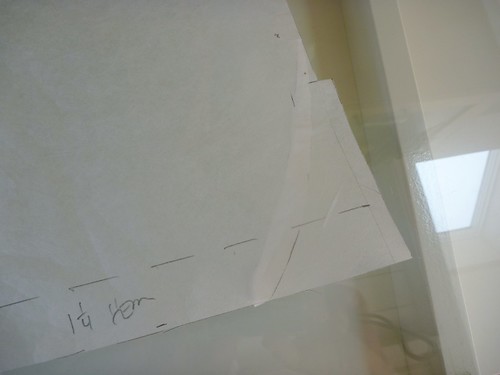
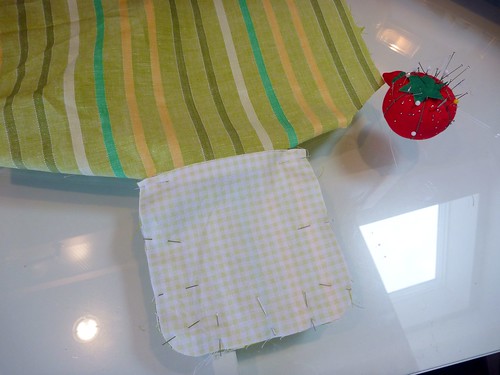
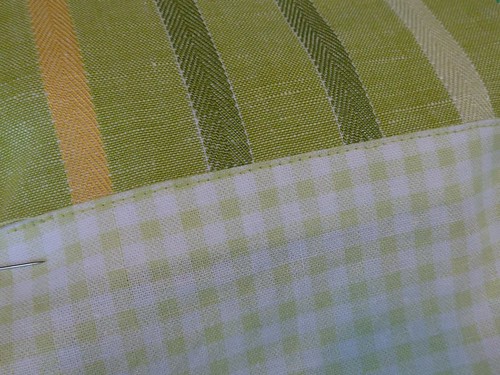
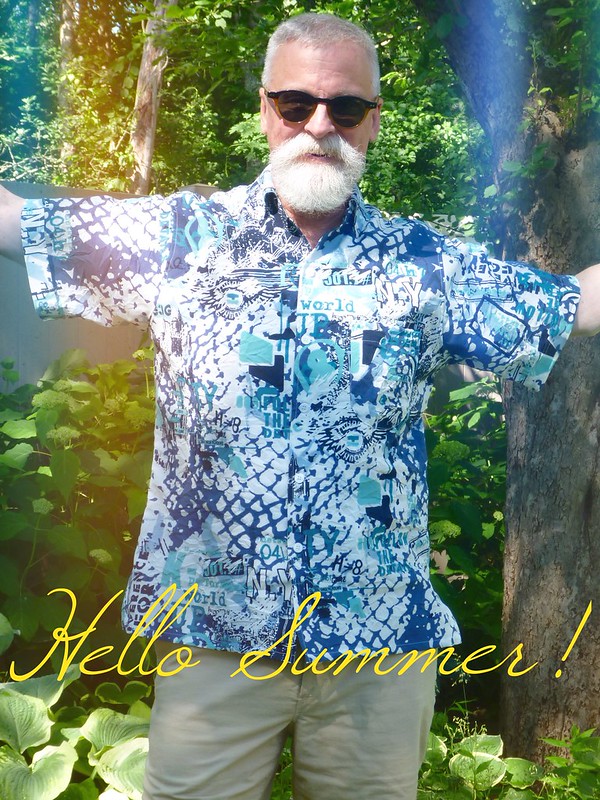
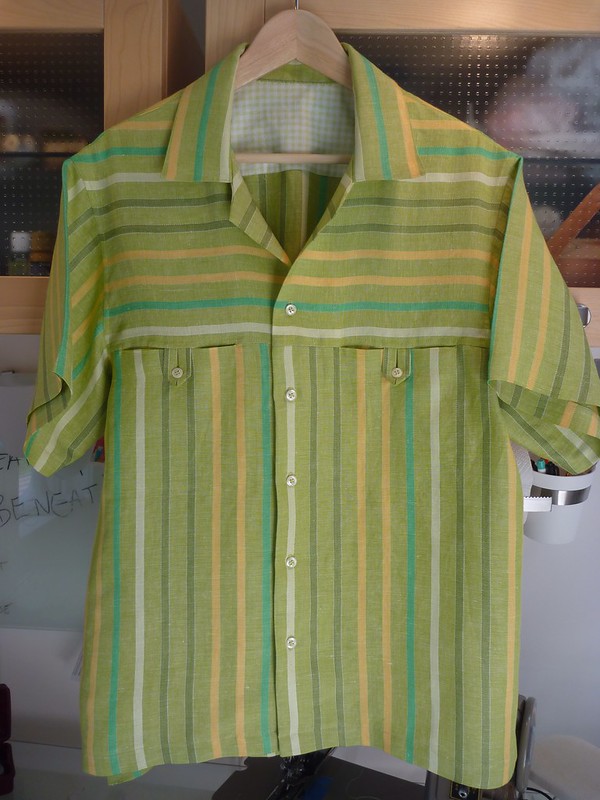
I made just a couple little adjustments to my vintage pattern. I always need a sloped shoulder adjustment (top pic), and I also added a slight curve to the upper back (lower pic). I also cut the undercollar and the collar interfacing on the bias. I think that helps a camp collar fit a little better. Oh, and I added some extra fabric at the lower sides to allow for some small side slits.

Both shirts have sew-in interfacing. A fusible would have flattened out all the crinkle on the graffiti print, so I used some very lightweight cotton gauze from my stash. I think it was intended to be used for sheer curtains. It's that light, and it worked perfectly. The plaid shirt is interfaced with Fashion Sewing Supply's "light crisp" sew-in. A dream to work with, and it didn't weigh down my fabric. No guy wants a heavy summer shirt.

All the construction was extremely straightforward. Basic shirt stuff.


The plaid shirt is a whisper weight cotton madras plaid from Peron Fabrics. It's been patiently waiting in my stash for the right pattern to come along.


I'
 

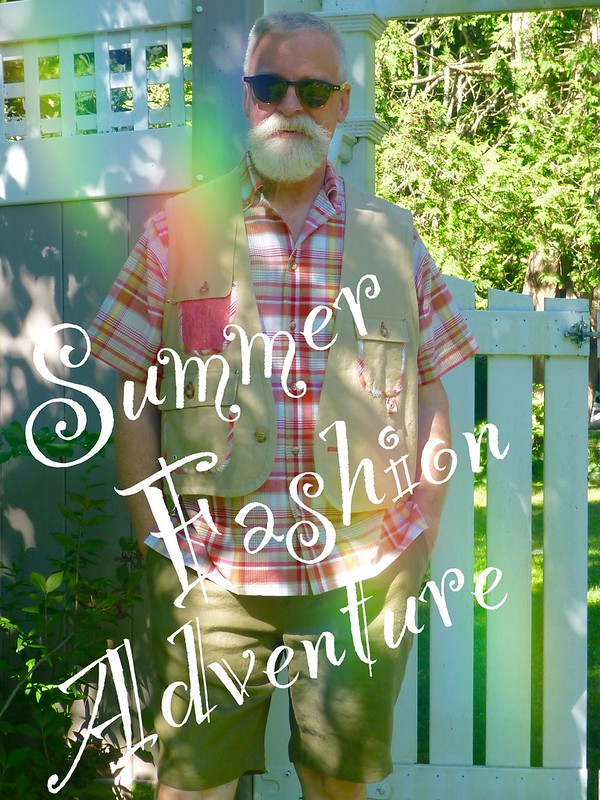
The truly observant will notice that I've used this fabric before... namely as bias binding, elbow patches and other assorted do-dads on last year's Watanabe inspired jacket and fishing vest. It's a lotta look! I'll save it for a day when I'm feeling especially "fashion adventurous". A morning at the laundromat maybe!


I fell in love with this crazy crinkled graffiti print at Elliot Berman. I don't tend to wear much blue, other than jeans, so this is a big departure for me.... Both color and style wise. It's hard enough getting older, even worse to be old and turn into a stodgy fuddy duddy. No chance of that with this shirt!


Plus, summer is made for wearing crazy shirts!


So get out there and have your very own......


Tuesday, March 10, 2015

Getting Started -- The Watanabe Jacket

I'll admit it, I look at some fashion websites. It's a good source of inspiration for me, even if 99% of what's shown is a perpetual theme and variation on one thing -- Black.


I'm just NOT that person.


And don't get me going on sleeveless jackets for men!


I've been drawn to the work of Junya Watanabe for the past few seasons, especially his offerings for spring / summer. I didn't realize that he collaborated with Brooks Brothers a couple of years ago, which on some subliminal level may explain my attraction to his clothes. There's a definite "prep" vibe, but in a very light handed, whimsical way. I do like traditional style, and it's "age appropriate" for me; but I don't want to look like an old fuddy duddy either.


I love all these little details. Pockets, piping, patchwork. So my goal is to create my own version.


I'm also interested in the look of Engineered Garments. In particular the "fishing vest" look worn over a jacket.


I love this short over long look. I'm not sure I can pull it off, but I'm gonna try!


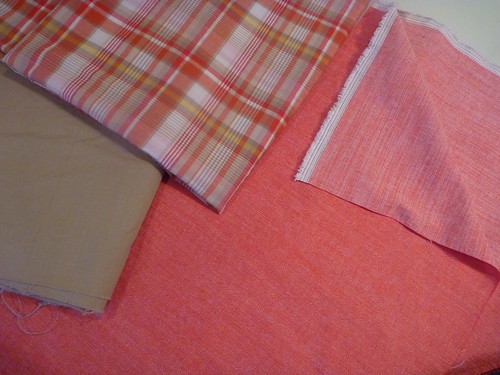
Here are the fabrics I've chosen. A heavy red "Oxford cloth" suiting that's been in my stash for a couple of years now. I bought this sight unseen from Denver Fabrics for something like $3 / yard. It's got an interesting weave, so the front and back are entirely different. I'll be using both the light and dark sides for the body of the jacket. Even though I've washed and dried this fabric twice, it's still quite stiff. It makes me wonder what it was really intended for. Upholstery maybe? Hopefully it won't be the downfall of the whole project. The other fabrics are a madras plaid and a khaki cotton with a subtle grid texture.


This photo shows the textures a little better.


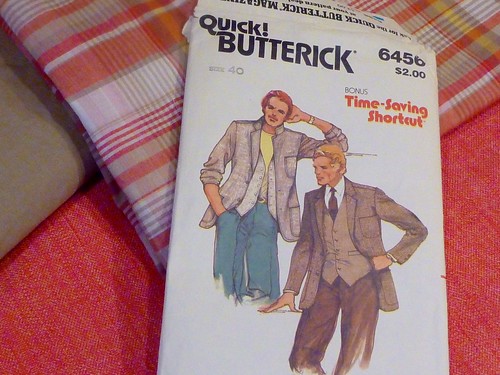
I'm going to be using this Butterick pattern for an unlined blazer. As you may recall this pattern didn't make the cut for the "Phoney Missoni" jackets. Still, I'm intrigued by the yoke and the unfitted boxy style. The goal is an unstructured jacket that I can throw on over a polo shirt or a t-shirt. The spring barn jacket alternative? Perhaps.


I won't go into all the gory details, but I fought with the muslin for what seemed like days. Maybe picking this pattern wasn't such a good idea after all. The "intriguing yoke" rapidly lost all its appeal! In the end I felt that I was really grasping at straws to get the damn thing to look halfway presentable. There's definitely a point of diminishing returns with fitting, and I'd reached it. To preserve my sanity I decided to move on, cut it out and hope for the best.


In short, here's the rundown of what happened....


The ease was removed the the sleeve cap.

The apex of the sleeve cap was moved forward.

The armscye was enlarged (it was uncomfortably high at the underarm).

Excess fabric was removed from the upper back.

The side and back seams were taken in slightly.


Will any of this work? Here's hoping.


Wednesday, August 13, 2014

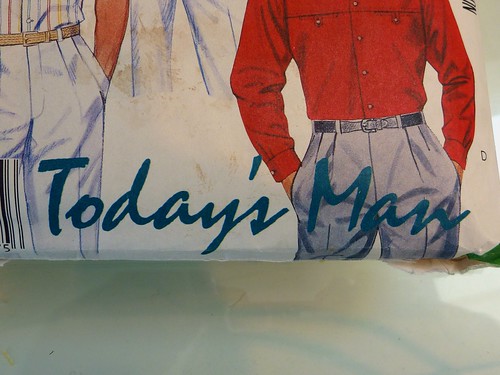
Today's Man....for this old man

Look out! Here he comes. It's today's man.


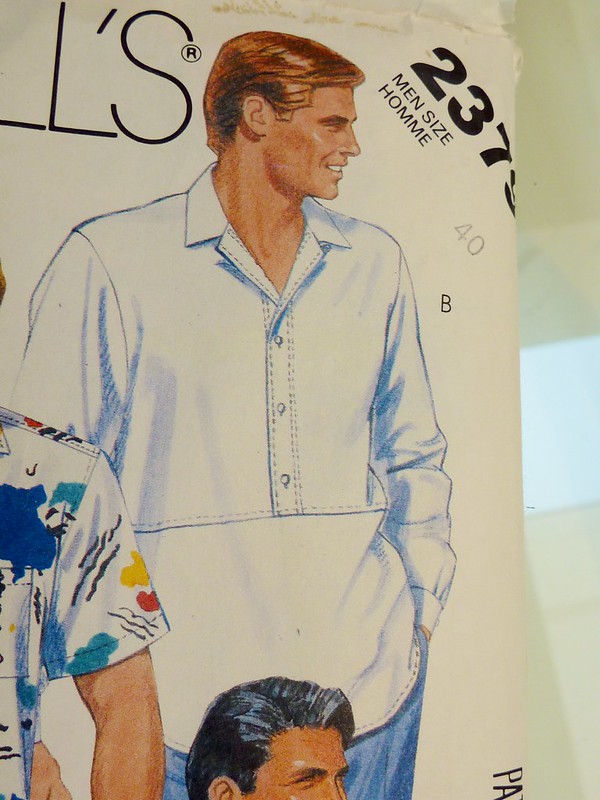
I've bought a few new (actually old) patterns lately, and this McCall's pattern from 1986 is one of them. I picked this up for a couple of reasons. First of all, it's a little different; which is something we guys struggle to find. There's just not much variety out there for us.


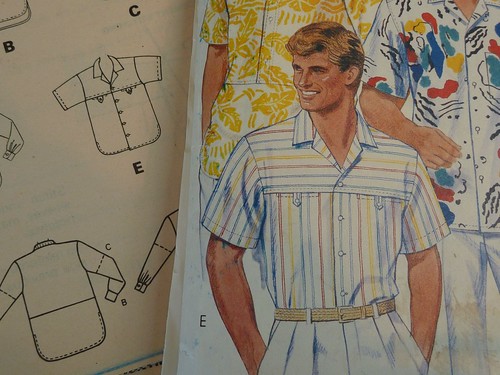
I've decided to make this version, View E. Some of you will no doubt see that this pattern is very similar to the Willi Wear shirt that Peter over at MPB just made (and didn't totally love). This version has a camp collar and button tabs at the chest pockets. Little details like that make it much more interesting and wearable IMO. Stripes tend to feature heavily in a guy's wardrobe, usually vertical stripes on a shirt or suit. Honestly, it gets a little tiring after awhile. So this combination of both vertical and horizontal stripes seems refreshing.


The second reason I picked this pattern was for View B, but I will have to devote an entire post to it. It involves an incredible surprise that came in the mail. So stay tuned.


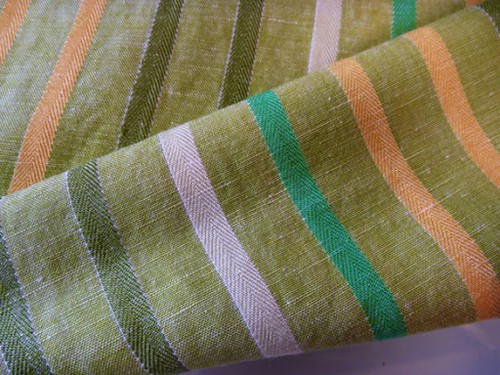
I'm going to be making my shirt from a striped linen that I picked up during last year's MPB day. Unfortunately, I wasn't able to attend this year, but it looked like a blast as always.


This fabric is from Gray Lines Linen on W 39th St. They have every kind of linen imaginable, from metalic linens to linen velvet, even linens to make your own dish towels. I just love this store. Everything is neatly arranged and the prices are ridiculously reasonable. In fact, the last time I was there this fabric was on one of the sale shelves for $4 / yard. Incredible. 100% linen, 60" wide.


I'm learning that I need a sloped shoulder adjustment on just about everything, so I checked my TNT shirt pattern against this McCall's pattern. Yup. I need it here.


I traced off the pattern and made a quick and dirty muslin. In typical 80's style it's oversized, but I'm OK with that. I like Hawaiian shirts, and this shirt has a similar fit. What I didn't like was the shirt tail hem (way too long), and the lack of a back yoke (flimsy and cheap looking). So I set out to improve on Today's Man.


I squared off the hem, shortened it considerably and added little extensions that will become side vents. The back will be an inch longer than the fronts in my version.


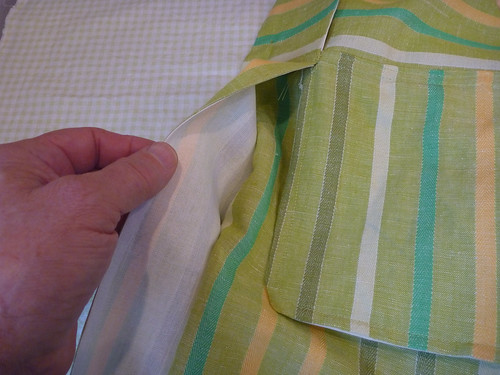
I learned from making my last pair of pants that making a French seamed pocket is really very simple to do. Here it is in progress on the chest pocket. Why the pattern directions don't include such a simple step is really vexing. I swear they just want us to be dissatisfied with the end results. No wonder so many people give up on sewing! This shirt would be a frayed mess inside if made according to the instructions. I can just picture a guy (most likely having this shirt made for him) saying, "um, yah, thanks for the shirt", and then trying to lose it in the back of the closet.


This was another easy improvement. Understitching the pocket bag, which gives the pocket opening a crisp finish and prevents the pocket from poking out. It takes all of 30 seconds. Of course the instructions don't include it.


The facing is interfaced with Fashion Sewing Supply's Pro-woven light crisp fusible interfacing. I can't rave about this product enough. Because it's woven, it can be stitched to the facing,turned and then fused. It makes a beautiful clean finish, and you can skip all that trimming of the interfacing, folding over 1/4" and then topstitching. It's a big time saver and the results are so much nicer. Here you see it tacked into the horizontal pocket seam. It overlaps the pocket bag slightly and helps keep it in place.


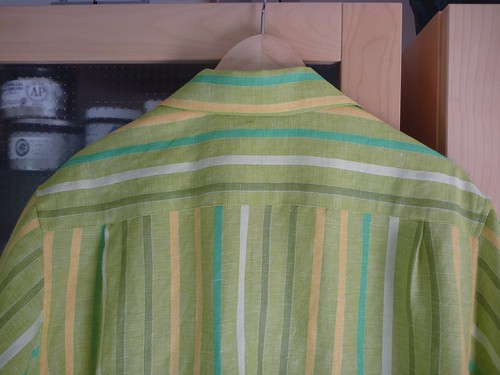
I added a back yoke and small pleats. Simple. Now it seems like a real shirt.


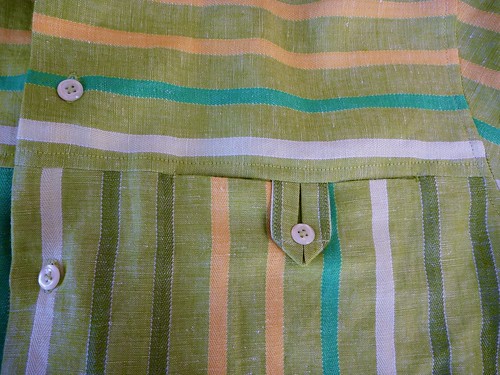
Here is one of the little button tabs. Surprisingly, they actually work and keep the pocket closed. I was worried that the button would just pop through the loop. I'm pleased with how they turned out, and they give this shirt some much needed pizazz.


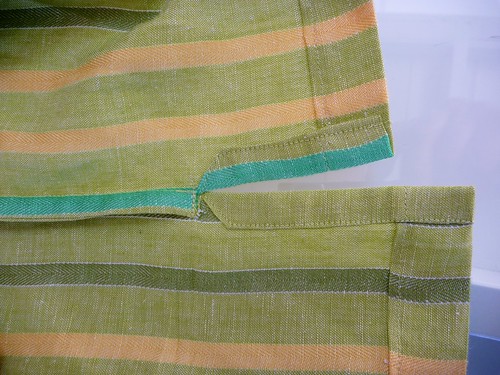
I made a French seam down the sides, ending at the vent. A little clipping here and there... Fold the extensions in and then stitch them down. I then bar tacked along the bottom of the French seam.


So here is the new and improved Today's Man. I know I'll truly enjoy wearing this shirt. Now to make a pair of linen shorts to go with it.
 

Saturday, July 13, 2013

This Man is Muslin'd Out!

I'm not sure that what I have to report today is really progress. A month ago I left off wondering if I should go ahead and do a sloped shoulder adjustment. The general concensus was that I should man-up and go for it. Since I don't have the contrasting fabric for the reverse of the jacket fronts (which I've convinced myself that I really want) there doesn't seem to be a good excuse not to. So, off with the sleeves!


Ripping up a muslin is like dismembering a whole chicken. Not my idea of fun.


Thankfully, some parts need no adjusting. So I get to keep the wings, drumsticks and gizzard.

For those of you new to the sloped shoulder adjustment, here's a very generalized overview.

The line of the shoulder is redrawn at a steeper angle starting from the neck edge which remains unchanged. This sets off a cascade of additional adjustments. I decided that the armscye end of the shoulder seam needed to be dropped 1/2".


The armscye can stay the same, but it needs to be dropped down 1/2". So I place my tracing paper pattern back over the printed pattern allowing for the new shoulder point and redraw the armscye line for my size. You can see how the notch is now lower and a crescent is trimmed out of the lower armscye. (Note to self: next time don't use a Sharpie which blobs and bleeds out all over the place!)


The side seams are now shorter by 1/2", so I've tacked on a strip of tracing paper and redrawn the bottom edge, tapering back to the original line at the center front. A hip rule helps, but one could also just freehand a slight curve here.

The sloped shoulder adjustment is something of a paradox. By lowering all the various points, shoulder, armscye and side seam, the final effect is that the fabric is pulled up onto the chest. The upshot of all this? Frequently the neck edge is uncomfortably high.


That was the case here, so I trimmed 1/2" off the front neck edge at the center. The "X" (not the smudge) is where the edge of the collar will hopefully align. The back neck also gets raised, but in my case it actually made the collar fit better.


So here is muslin #3 worn with a thin shoulder pad. I ran out of the red tablecloth material so forgive the clown costume look. Is it really any better? I'm quite honestly not sure. There may be just a bit too much wearing ease across the upper chest, so I may shave off a 1/4". But then again, a little drape isn't such a bad thing. The shoulder is a little dropped, which wasn't as noticeable when it was a solid color. I don't find it offensive, so I'm not going to start fiddling around with it. After awhile there seems to be a point of diminishing returns with all this fitting. At this stage it's comfortable and wearable. Another muslin and I run the risk of losing interest in the project altogether. That's a sure sign to just move on.

The back... ??? I never know what's going on here. Any smaller across the back and it would be a real struggle to put on. And once on, I wouldn't be able to move. I keep telling myself that in the end it will be velvet, and those folds will catch the light, just adding more richness. Right?


Just for the heck of it, here it is without any shoulder pads. I'm thinking it could totally work this way too. It's much more shirt-like this way. Trying it this way has also raised the possibility of making my own very minimal shoulder pads. Since they come late in the construction process, I'm just going to leave all my options open at this stage of the game.


Sorry kids, but I'm fitted and muslin'd out!


To kick start my enthusiasm I went out and picked up some silk thread for basting and some silk pins.

I'm ready to start cutting this jacket out, which considering my limited yardage, may prove to be a challenge. I've read that cutting with the nap up gives richer color. Dear readers, please weigh in with your velvet expertise! Nap up or nap down? I don't want to mess this up.


Obligatory boat progress pic!

Tuesday, February 21, 2012

Moving along. The Cocoa Beach Shirt


Readers, I'm postponing the photo shoot for Victorian shirt #2 until next week.  I desperately need a haircut which can't happen until the 27th.  I know the post is really about the shirt,  but  looking the way I do, I'll want to crop my head out of every shot.  Please bear with me.  

In the meantime, there's another shirt to make!  McCalls 7590 from 1964.  


I'm affectionately calling this the Cocoa Beach shirt.  There's so much to love about this pattern.  The back pleats extend all the way to the hem where they're buttoned in place.  There are also button tabs on the sleeves.  I'm intrigued by it's short boxy shape. I've never worn anything like this.  Oh, and I'm always a sucker for a pattern with a pipe in the illustration.  I'll be making the short sleeved version out of this block print cotton voile.  I love the colors.  There may even be a block of Tangerine Tango in there!  


I regretted not starting with a sloped shoulder adjustment on the Victorian shirt.  It just prolonged the fitting of the muslin.  This time I'm just jumping in.  Let's face it, my shoulders aren't miraculously going to square up!  This is my pattern from Peter's MPB shirt sew-along laid on top of the Cocoa Beach pattern.  I'm just going to make this adjustment and hope for the best.  I think this is called "winging it". 


So here we go.  Muslin #1.  On the positive side, the sloped shoulder adjustment worked perfectly.  Yay!  On the down side, the shirt is too short at the center front.  Clearly my body isn't  exactly like the tapered mannequin that this pattern was designed around.  My, ah-hem,  "protuberance" is causing the shirt to ride up in the front.  


This side view shows the problem more clearly.  The shirt should appear straight across the bottom edge all the way around.  


The back, on the other hand, is looking good and boxy, which I feel is important to the design.  My fabric will only reinforce the angularity of the style. 


So here is adjusted muslin #2.  I dropped the center front down 1.5".  Then I drew a curve from the center front  up to the side seam.  The shirt now appears to be horizontal at the bottom edge, although it really isn't.  I'll have to watch the horizontal lines of my fabric while I'm cutting to keep the curve as disguised as possible.  I'm satisfied with the fit at this point and I'm anxious to get it cut out.