Showing posts with label pleating to the sett. Show all posts

Tuesday, February 6, 2018

Wedding #1, the recap

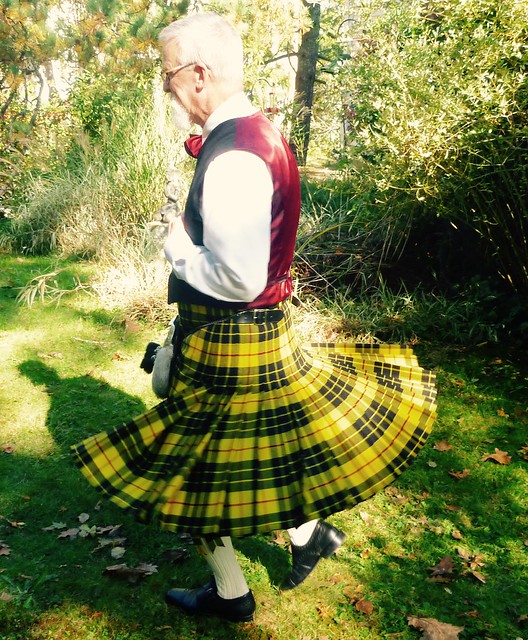
I realize that I never really wrapped up the kilt project(s). It all got a little overwhelming. Rather than blab on and on about the whole endeavor, I think I'll just let the wedding photographer's blog post illustrate what an extraordinary event two amazing young people, and their loving families, created on a farm in Maine.


http://iamsarahv.com/blog/weddings/william-allen-farm-maine-wedding-photographers-fall/


Having my son ask me to make a kilt (and the whole nine yards) was a huge honor. We're talking real once in a lifetime stuff. If there's anything my sewing journey has taught me, it's that there's value in the "realness" of the clothes that we create. Yes, there may be little mistakes here and there, something that could have turned out better, but in the end what we make is honest. And all those threads....not only the physical ones that are holding things together, but the emotional, spiritual, loving threads we spin, simply can't be had "off the rack".


Credits

Tartan fabric, Strathmore 11.5 oz, "Dress MacLeod". -- Irish Traditions, Annapolis, MD

Wool suiting and linings. -- AK Fabrics, NYC

Tuxedo satin and tailoring supplies. -- B Black and Sons

Pewter Prince Charlie buttons. -- Three Feathers Pewter , Millersburg, OH

Custom dress sporran. -- Artisans of Scotland

Kilt hose, Clan kilt pin and brooch. -- USA Kilts


One final twirl!

Wednesday, January 18, 2017

Pleat On!


I think the scariest part about making a kilt is that it's just based on 3 measurements that someone else has taken. You have to give up every shred of control and place your faith in someone that you hope is taking the job seriously. That's hard for a control freak like me. I had my son, who has NO sewing experience whatsoever, measure me. Then, unbeknownst to him, I had my very OCD friend David do it. If you've got that kind of friend in your life I highly recommend it, purely for the peace of mind! In the end their measurements were almost identical. David gave me an extra 1/2" of length, and I'm taking it. I'd rather have a little extra length than end up with a plaid miniskirt.


So that's it....no pattern, no muslin, no dry run. Three measurements.


The book I'm using is unapologetically traditional in its methods. Everything is marked with chalk. That might be fine for an experienced kilt maker, but I found myself handling my fabric so much that my marks were quickly wiped away. As a result I misplaced my first pleat! Not a great start. So I resorted to more reliable techniques. I remarked all the pleat spacing with Wonder Clips and triple checked myself. (Any mistake is almost unfixable). Then I popped in a tailor tack at each clip. No more lost chalk marks. I also thread traced the edges of the overlapping fronts (the "aprons" in kilt speak).


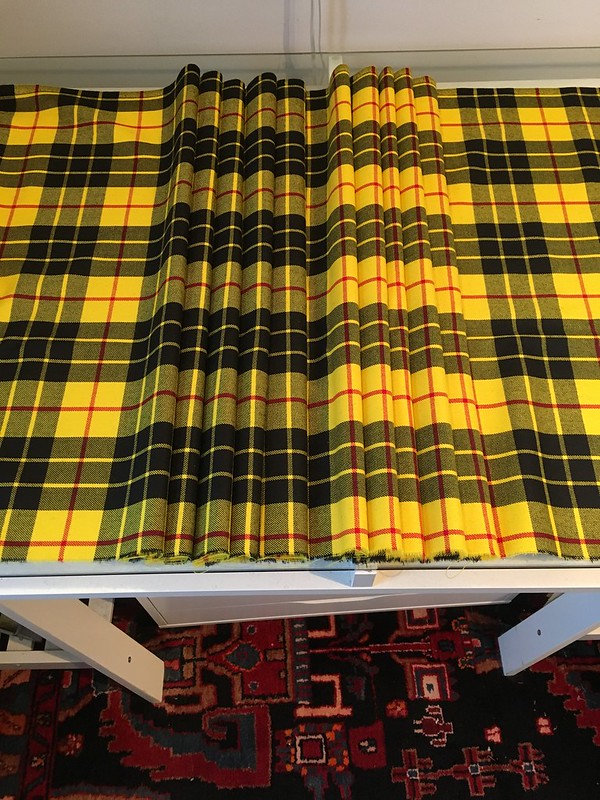
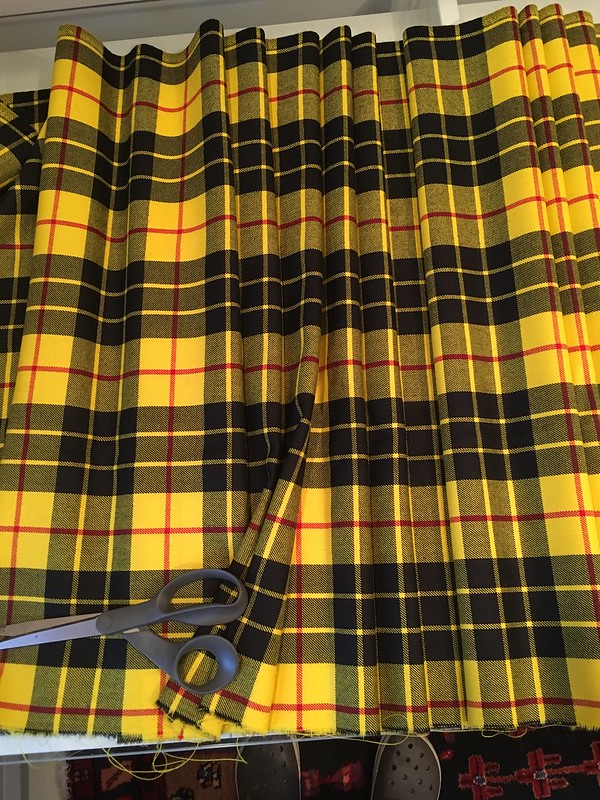
You can see a few of the clips in the above picture. This is 5 yards of fabric that's perpetually sliding back and forth on the table.


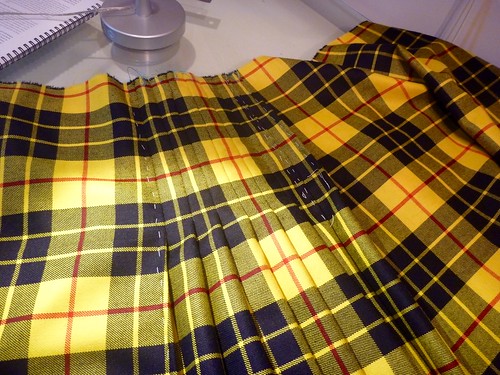
My kilt will have 22 pleats across the back. The set of three black blocks is centered on the front of the kilt, so it should also be centered on the back. That took a bit of trial and error but I eventually got there. Each pleat is 1" at the hip (the "fell" in kilt speak) and tapers to 7/8" at the waist. The amount of taper is determined by the difference between the hip and waist measurement. Mine is minimal since I have a flat buttock and the waist is measured 2" above a person's natural waist.


I'm sorry I don't have more detailed photos of the pleating process. There's a certain rhythm to the sequence. In short, the next pleat has to be formed and held in place before stitching the pleat one's currently working on. This is all to be accomplished by pinching the pleats with the left hand and stretching the fabric over one's thigh. With the fabric stretched the pleat is hand sewn with small invisible edge stitches. Somehow everything is supposed to end up perfectly straight and aligned. IN MY DREAMS!


I quickly realized that I would have to make a hundred kilts before I could master this technique. Anyone who's followed this blog knows that I'm a baste-o-holic, so I posed a question about basting on "X Marks the Scot". Stand back! This set off a small firestorm between the traditionalists and the more modern kiltmakers. After the dust settled I pretty much ignored all their advice and proceeded to baste all my pleats. In the end it's all about what works, right?


Even with all my basting, sewing the pleats accurately was no small feat. The horizontal red stripe was particularly difficult to keep aligned. There's definitely a knack to it. Maybe on my hundredth pleat I might have it down. Sometimes you just have to say it's "good enough for a first kilt".


So here is the completed back, pleated to the sett, with all the pleats basted into place. A good place to take a break and read up on the next step.


Wednesday, January 11, 2017

Kilt -- Baby Steps

So I've officially taken the plunge.


This will be my guide. I think it's safe to say that this book is considered the bible of kiltmaking. It's a little on the daunting side. The book opens with a series of color plates showing "good kilt" next to "bad kilt". Good kilt length / bad kilt, too short . Good stitching, invisible / bad kilt, stitches too large. Good kilt, stripes straight / bad kilt, stripes wandering. It's hard not to feel defeated before even starting! This lady sets the bar high.

In addition to this book I've also joined an online forum called "X Marks the Scot". Barbara Tewksbury, author of the book, actively participates in the forum. I've already posted several questions and she has chimed in on all of them, sometimes at great length. I've appreciated both her expertise and willingness to explain things in a supportive way. That doesn't always happen in online forums, where some members love nothing more than to pontificate on and on, and never answer the question.


But, I'm getting ahead of myself.


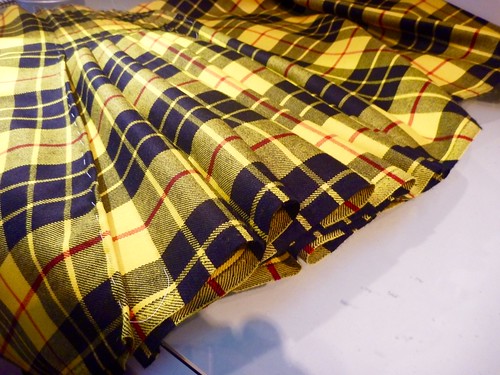
I spent days playing around with possible pleating styles. Yes, days! Without going too deep into the weeds, there are two types of pleating. Pleating "to the stripe" (also called military pleating), and pleating "to the sett" (in which the tartan is reproduced in the pleats). In military pleating the same stripe is centered in the pleats worked across the back of the kilt. My tartan is one of the more simple weaves, made up of only 3 colors. There are really only two possibilities for pleating to the stripe IMO. The yellow stripe centered between the black squares, and the red stripe through the yellow. I sort of approximated them in the photo above.


In the end I rejected both of them. Pleating to the yellow stripe created a very somber, to my eye "muddy", look. It took on almost a greenish cast.


However, it would have produced bright flashes of color when the pleats moved. Lots of drama, but a little too risky for a first (and most likely the only) kilt I will ever make for myself.


Pleating to the red stripe created a very golden yellow kilt. Pretty, but would I love it forever? These are the kinds of quandaries that can keep a man up at night, especially considering the cost of the materials and the amount of labor involved.


In the end I decided that pleating to the sett was the way to go. The pleats in the back will reproduce the tartan, giving the kilt the same appearance all the way around. In other words, I'm taking the safe route.


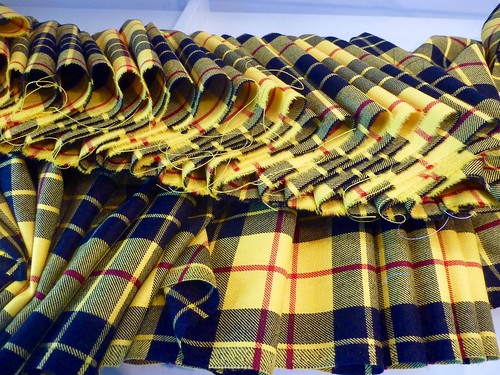
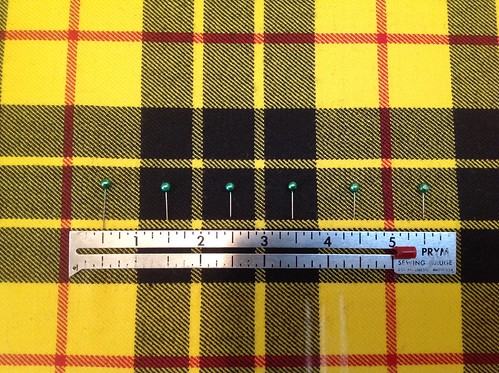
Here I've broken the weave down into the sections that will become the pleats. Each pleat will be 1" wide with a stripe or color border centered in each pleat.


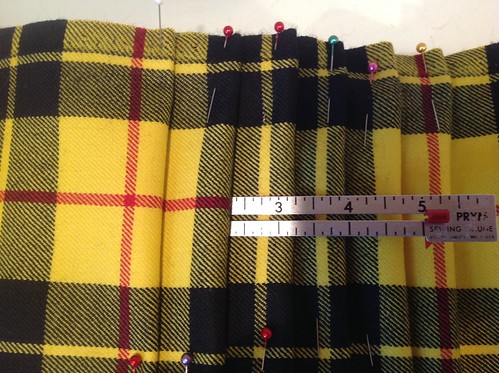
Here I've pinned the pleats into place. The sett of my tartan is actually quite small. Each total repeat of the plaid is only 5". Why does this matter? It makes the depth of each pleat quite shallow. That would be fine if I had a limited amount of fabric to work with, but I have "the whole nine yards!" I definitely don't want a skimpy kilt, so I've decided that each pleat will encorporate two whole repeats of the tartan. Yet another decision that kept me awake at night!


Days of deliberation and not one stitch made! Next time I hope to have made some real progress.