Showing posts with label Thread Theory Designs. Show all posts

Sunday, January 24, 2016

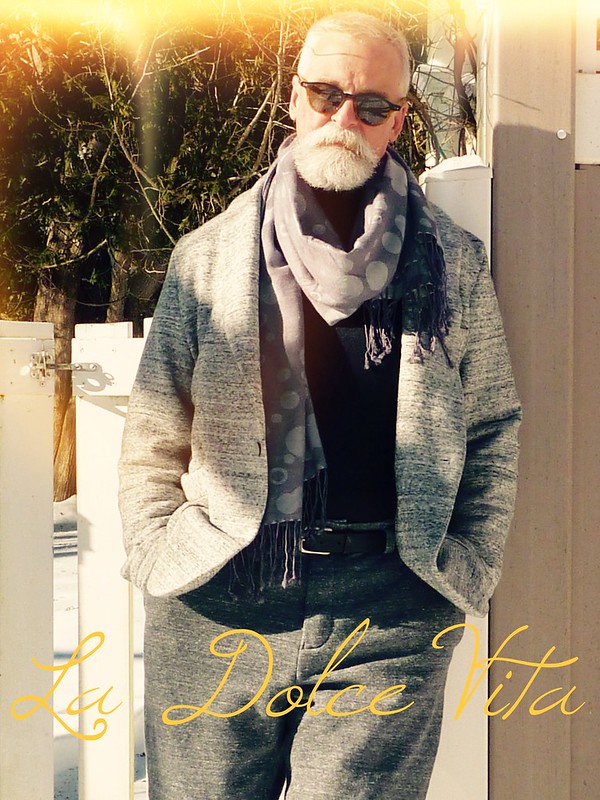
The Athleisure Reveal

So the question is.....
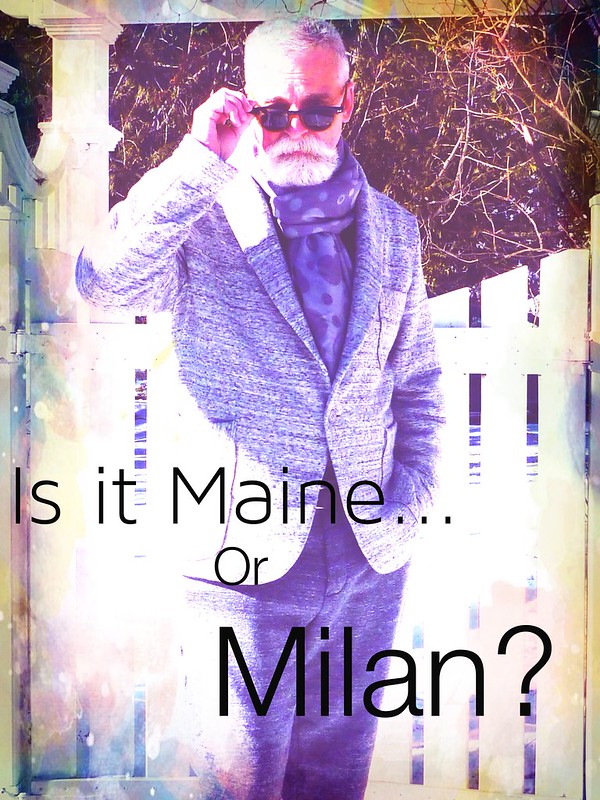


I had so much fun delving into the world of athleisure. Who knew sweats could actually be, dare I say, stylish. These clothes make me feel like I'm strutting down the runway at Armani!


Of course I'm really just in my backyard in Maine, and it's something like 18 degrees F.
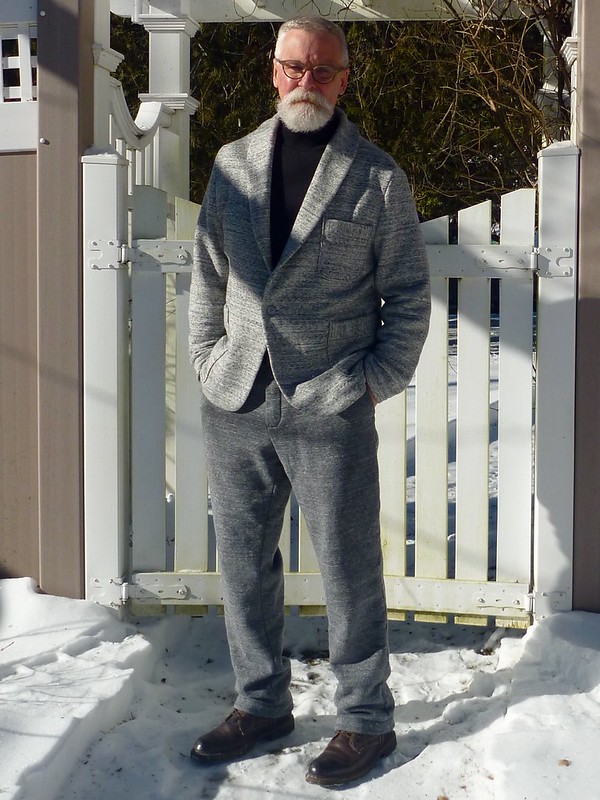
 

I realize this isn't going to be everyone's cup of tea, but for me it's been a success. The comfort and warmth factors alone have won me over. Plus, I feel I've successfully taken something trendy and made it "age appropriate". Like all trends, Athleisure will fade, but these pieces are basic enough to have some "staying power" in my wardrobe. That's always a win.


Kudos also to Gorgeous Fabrics. These fabrics were perfection, a joy to work with. I can't recommend them highly enough.
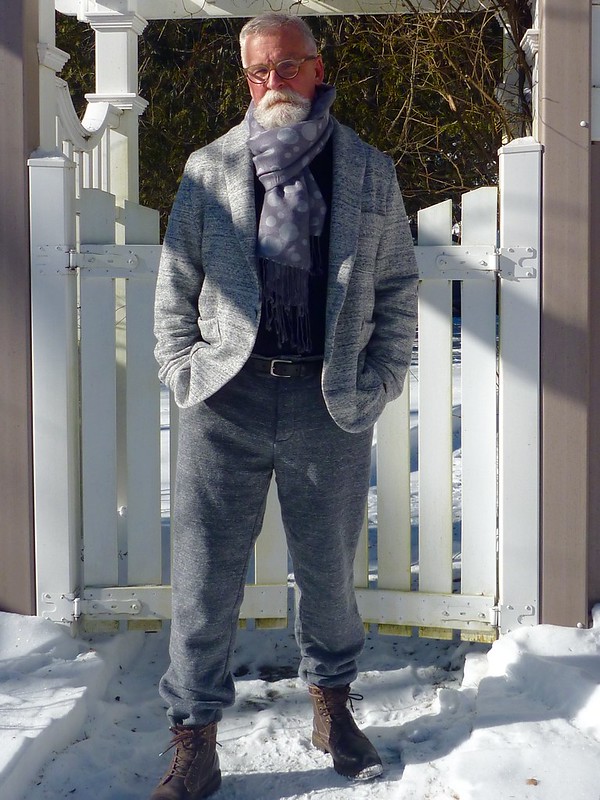


The pants are Thread Theory's Jedediah pattern. I made them 1.5 inches longer than usual so I can easily tuck them into a pair of boots (and they'll stay there!). It's also just a different look for me.
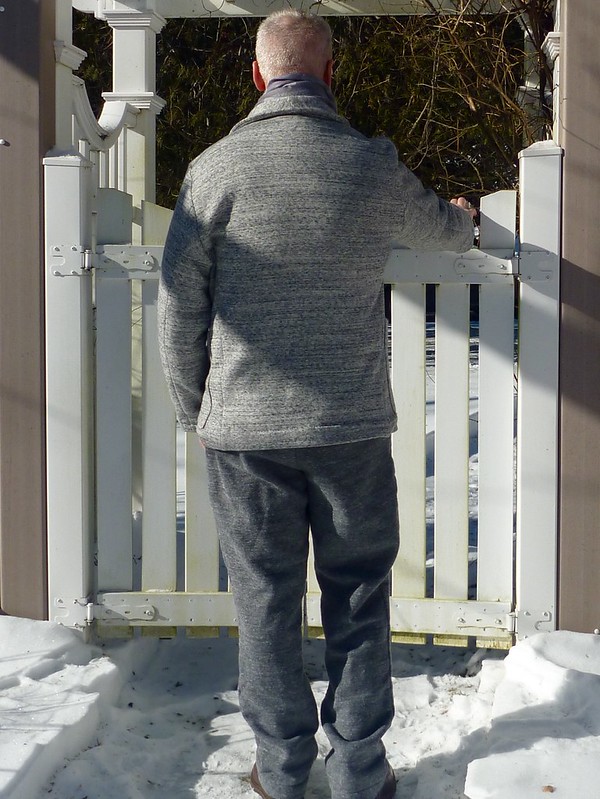
 

Not much interesting going on back here. I've worn the pants around the house for a few days, and have to tell you that they eventually bag out at the knees and the butt with wear. I washed and dried them before the photo shoot, and they thankfully snapped back into shape. Next time (I have fabric for another pair) I'll forget the welt pocket and sew them with the back yoke and patch pockets as designed. I'm thinking this might help them retain their shape better in the rear. I also might try going just a tad slimmer.

Then again, my daughter has suggested a hoodie vest, which could be interesting and something very new for me. Decisions, decisions...
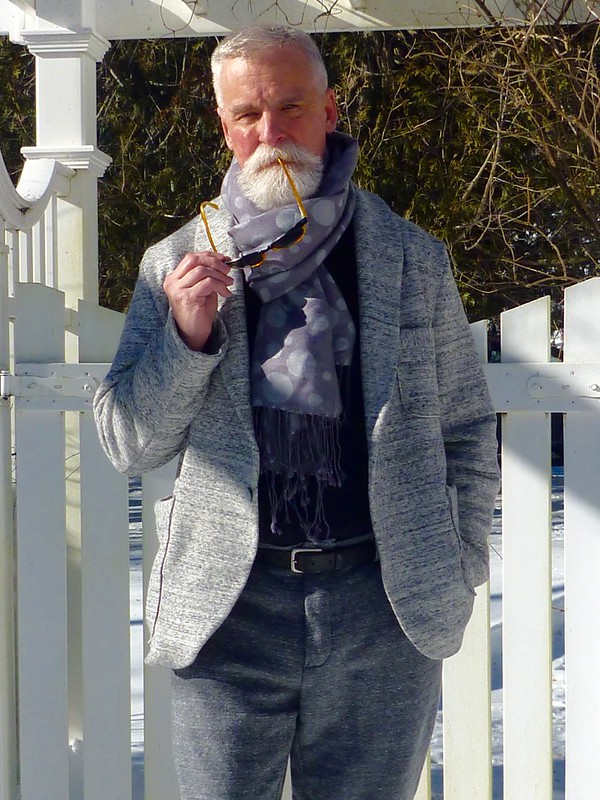
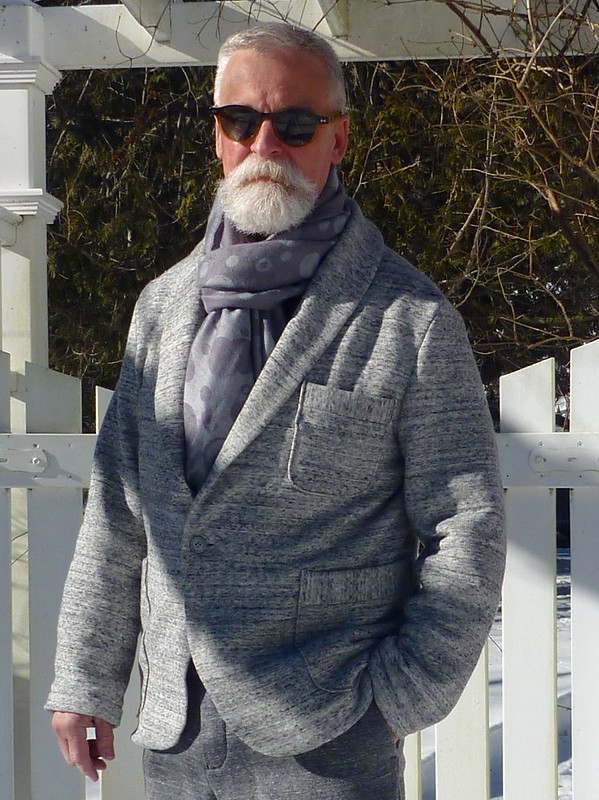


I was Soooo short on material for the jacket, I'd only ordered 2 yards, that there wasn't enough left for the pockets as designed. I had to cobble them together with the scraps that were left over. A band of lengthwise material was added at the top of each pocket. In the end it turned out to be one of those fortunate blunders, because it made for a much more interesting jacket.

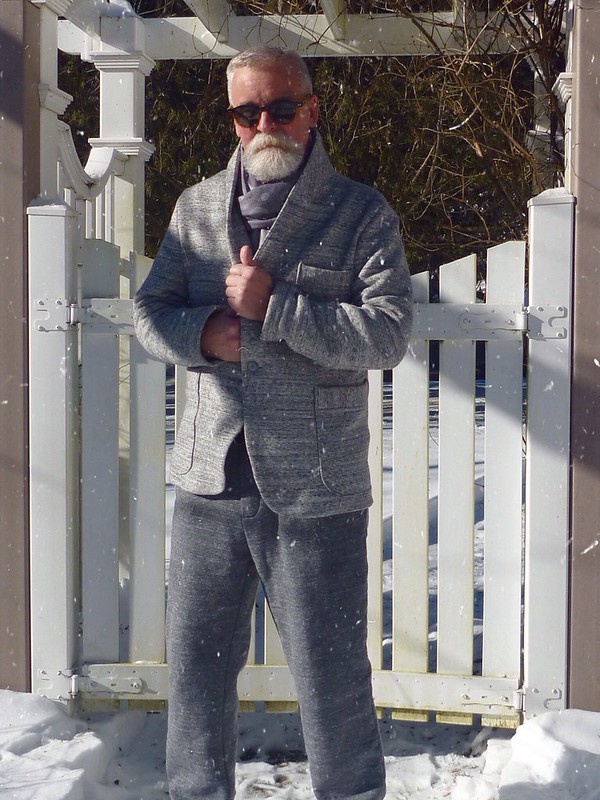


This project also opened my eyes to the versatility of adding gray to my existing wardrobe. Hey, I have the hair to match, right??? I'm also seriously considering black, a color I was told years ago to avoid. Maybe I've grown up enough to pull it off! I'll never be the all black kind of person, I love color too much. But a little bit might be a good thing.


So ends another project. (On a successful note!)


As always, I appreciate all the support and inspiration I receive from the sewing community. It's overwhelming.


Arrivederci from the coast of Maine, where I can honestly say that ..... "I'm living......


Thursday, January 14, 2016

Athleisure Progress

As I mentioned in the previous post, I'll be using the fleecy backed knit for my first foray into athleisure. It looks like it would be the most forgiving. (The loopy backed fabric has me completely freaked out!) I'll also be using the Jedediah pattern from Thread Theory. It's a moderately slim pant, and I've made it multiple times. Since I have pretty limited experience sewing with knits, I experimented a bit just to see what's possible (and also what's probably not).


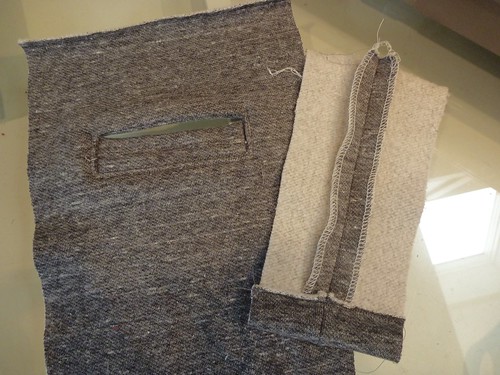
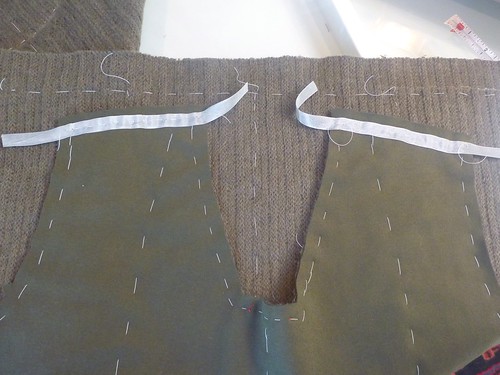
The Armani pants I tried on had a single welt pocket in the back, and it looks like that's entirely possible. I've pulled out my serger, which only does an overcast stitch, and it had no problem going through the material. One thing that's clearly obvious is that I'll be doing lots of trimming, and I'll need to be thinking of strategies to reduce bulk wherever I can. Oh.... And making a buttonhole was a complete disaster.


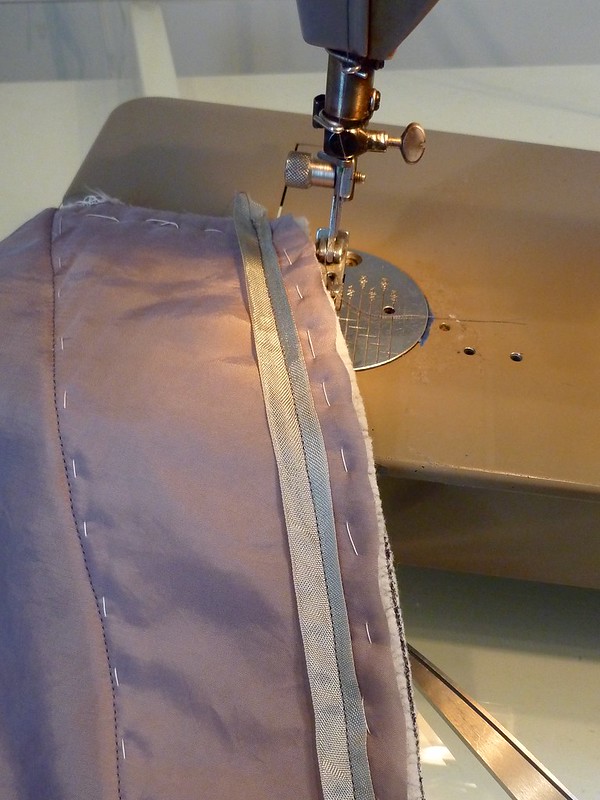
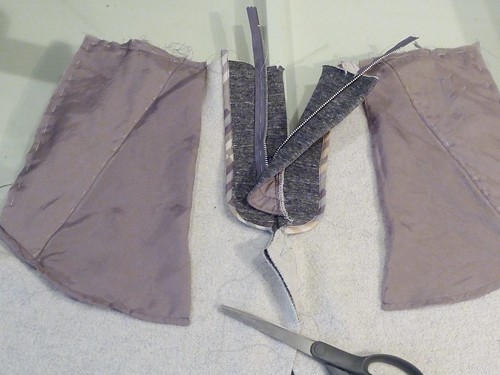
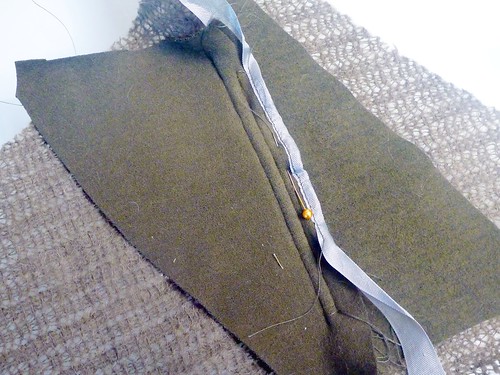
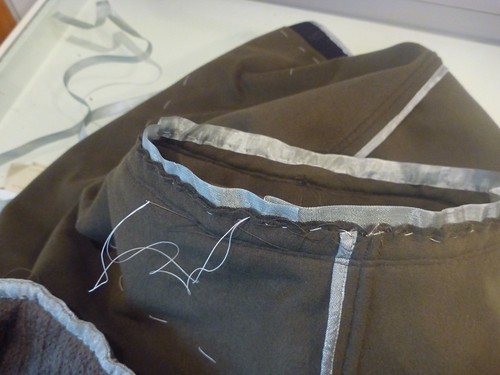
I've decided to make the pockets with bemberg rayon. It's super slippery and can be a challenge to work with, but it adds almost no bulk. Here I've stabilized the edge of the slant pockets with a strip of Snug Hug seam binding. This should prevent the pocket openings from stretching out. It also adds almost no bulk.


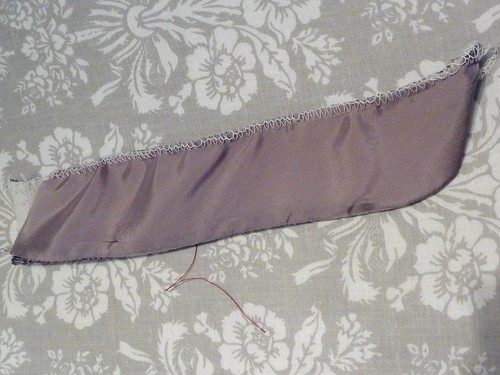
Not everything goes smoothly. Case in point, this dreadful zipper shield. Oy!


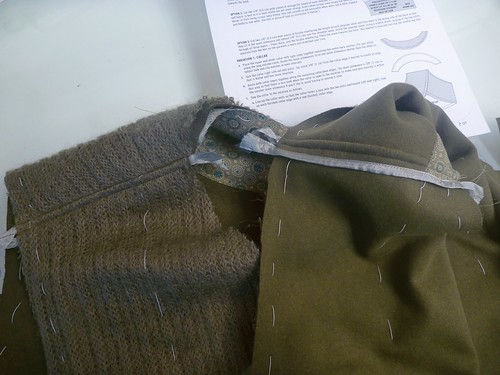
Ah, much better after applying a lightweight fusible to the bemberg. Another helpful tip from Roberto Cabrera is to always sew with the slippery fabric on the bottom. It really does help.


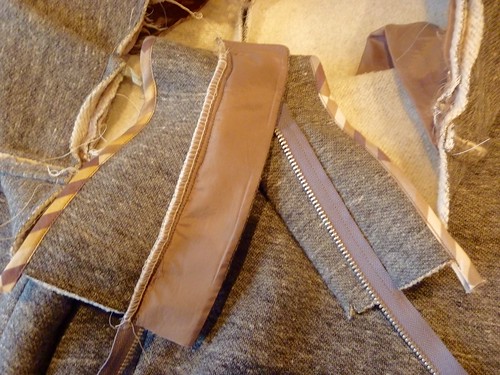
The completed front / fly from the inside. The bias binding was a gift from one of my readers and it was perfect for this project.


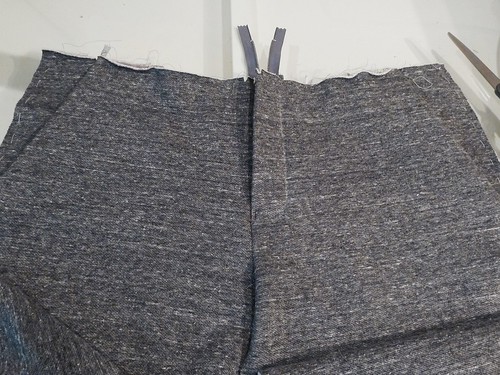
And here is the front view. No fake Bottega Veneta fly!


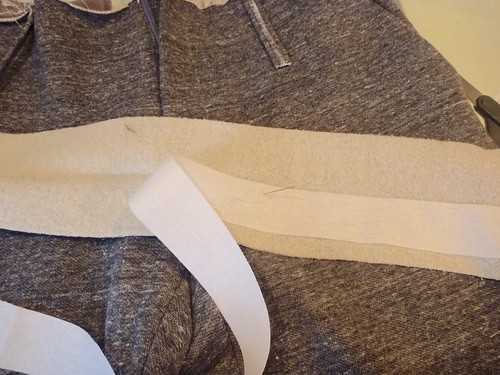
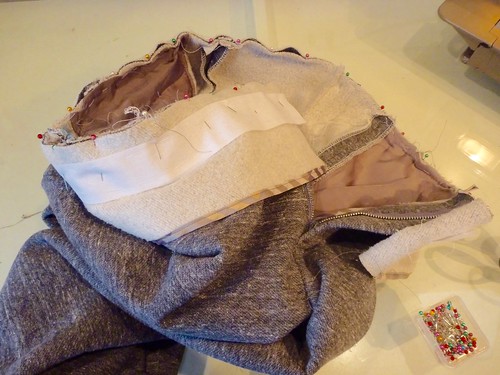
The waistband is interfaced with Light Crisp sew-in interfacing from Fashion Sewing Supply.


It's a lot of basting, and probably my least favorite step in making a pair of trousers. I should be wrapping these up soon. Next I'll be launching into a jacket to go with them, so no reveal for awhile.


Lastly, have you been checking out the menswear shows in London? Fall 2016. Holy Athleisure, Batman!!!! It's everywhere.


I'll be adding my own take on the trend soon!

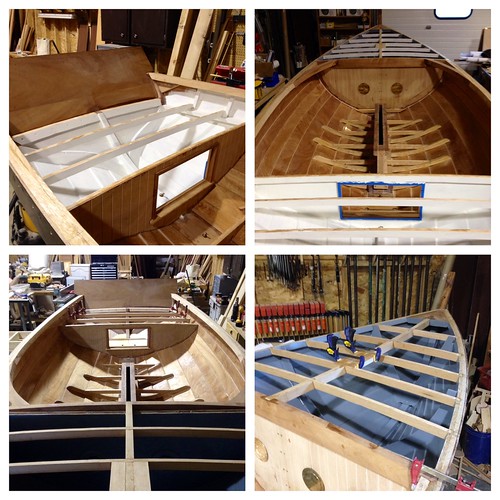
In the meantime, here's a little compilation of boat progress.


Cheers! And happy sewing.


Wednesday, December 30, 2015

"Athleisure" -- it's a thing, kids.

I'll admit it, I stumbled onto this fashion trend totally by accident. It all started when a young MD that I work with, showed up wearing a great looking pair of gray knit pants. They looked amazing (anything would look good on him). I felt uncomfortable asking him about them. Maybe I'm alone in this, but there's something a little creepy about letting a coworker know that you're checking out his pants. So I ran home and Googled "mens knit pants". BOOM...the entire world of athleisure opened up for me!

Trendy men can now move effortlessly from their health club to their hip jobs without skipping a beat. Or, with the right pair of sweats, one can create the illusion of fitness and skip the gym all together! But be warned, these are not your father's sweatpants. We've entered an era where a pair of sweats can cost hundreds of dollars.


Don't believe me? Follow the link for sweatpant sticker shock on this pair of very ordinary looking cotton pants. We're living in crazy times.


Here are some examples that are showing up on the runways for Spring. This group is from Greg Lauren, nephew of Ralph. The influence is pretty clear IMO.

Bottega Veneta with a fake fly front. Seriously??? I'm sorry, that's so cheesy. (No comment on the socks and sandals).


I'm not sure what to make of this, but I couldn't help but share it.


The Italians are clearly the kings of the look. This group is Emporio Armani. I'm loving it, especially the brown ensemble on the right.


Somehow this look reminds me of vintage skiwear from the 50's and early 60's. (Can stirrup pants be far behind?).

Canali. Yes, please! But getting back to reality......

I had the chance to try on a pair of these fancy sweats at an Armani A/X outlet store a few weeks ago. They had a zipper fly, a waistband that buttoned and one welt pocket in the back. The fabric was a creamy gray knit with a super loopy reverse. Very nice. The original price was $189 and they were marked down to around $80 I think.

They were a bit slimmer than Thread Theory's Jedediah Pant, but otherwise very similar. Suddenly I'm saying, "I can do this". If I fail, I can always wear them to snowblow the driveway! Now to find the right fabric.

Thursday, December 17, 2015

A flannel shirt to close out the year.

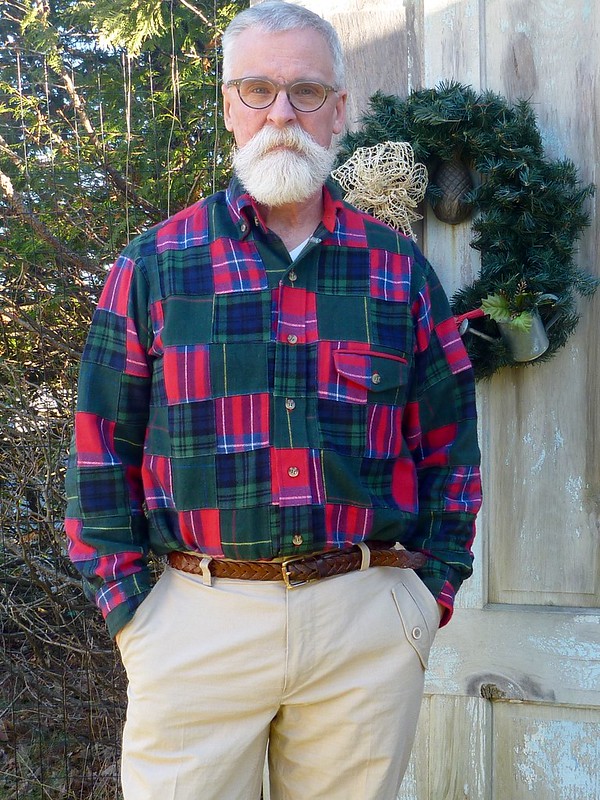
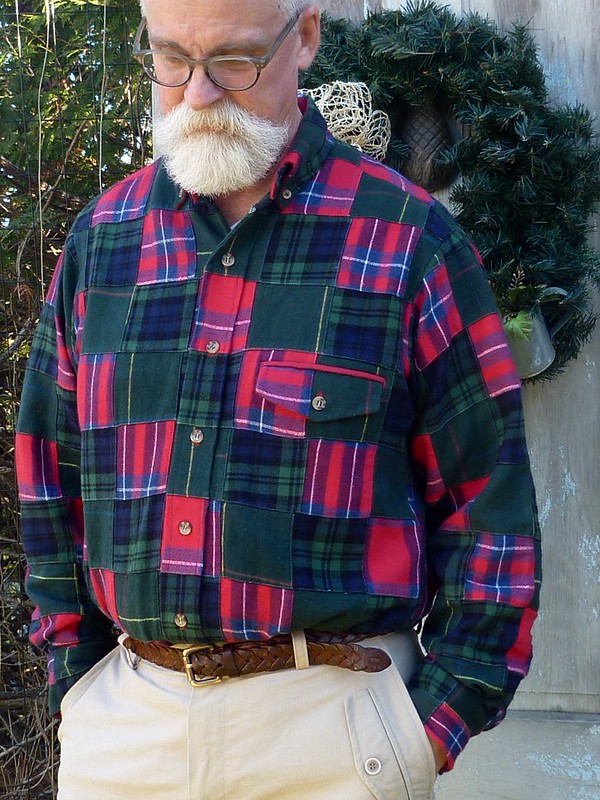
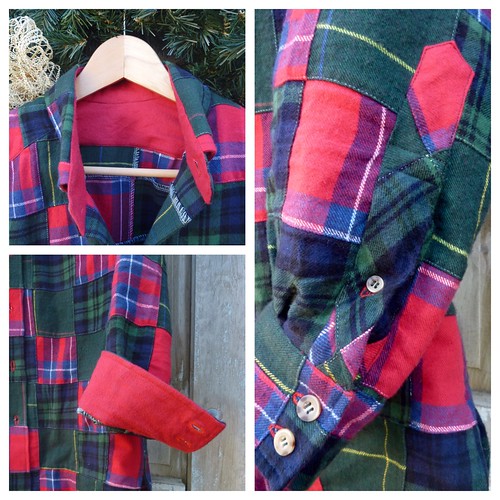
I'm pretty much set for the staff Christmas party / potluck next week. Skip the velvet blazer, bring on the flannel!


I bought the fabric this summer at Peter's MPB day. It's from Metro Textiles and was so inexpensive it's almost embarrassing. It's much beefier than any of the flannel offered at the "LL" store a few miles from here. The pants are a hack of Thread Theory's Jedediah Pants.


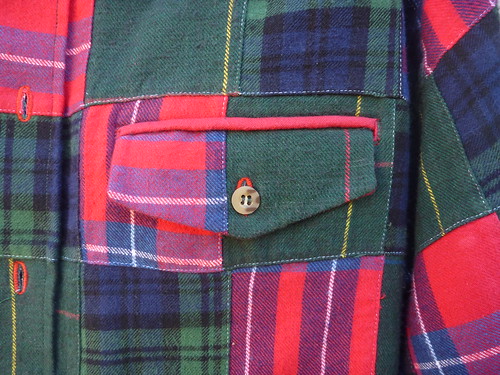
I always like a left chest pocket on my shirts but I'm not crazy about plaid patch pockets cut on the bias. Throw in the patchwork and I envisioned an even bigger mess. My solution was to make a welt pocket with a flap.


The welt is made with some solid red flannel I picked up at my local JoAnn's. I also used it for the inside collar stand, inside yoke and inside of the cuffs to help reduce bulk. All those patchwork seams can make for a very lumpy shirt.


The pocket bags are black flannel from my stash. I use the instructions from Roberto Cabrera's mens tailoring book. It's actually a double piping pocket for the back of a pair of trousers with just a slight twist. It's surprisingly easy to make, and results in a neat French seamed pocket. I've never posted a tutorial, but if there's any interest in how to sew this type of pocket, I could be talked into it.


As always, I'm greatful for all the friendship and support I've received through the sewing community. See you in 2016!


Peace.


Tuesday, February 3, 2015

More Finlayson Progress

Construction continues on the Finlayson sweater. Because I'm working with a double layer of knits, I find myself having to improvise most of the seams to reduce the bulk. Even with the added steps I'm doing, this sweater goes together easily.


Once again, I'm using Snug Hug rayon seam binding to stabilize the seams. Here I've placed a strip in the shoulder seam to prevent it from stretching. The bigger issue at the shoulder is really the bulk. There are four layers to contend with, two each of the wool jersey and the wool / mohair knit.


I experimented with some scraps and came up with this quasi flat felled seam. I trimmed three layers away and then pressed a jersey layer (which has been Snug Hugged) over them. Then the whole mess is top stitched.


It ends up looking like this on the outside. Personally, I kinda like it!


So here is the final result. On the left the shoulder seam as seen from the outside, on the right is how it finished off on the inside. There are no raw edges to come unraveled anywhere.


The same process was done on the side seams.


Unfortunately, I don't have any pictures of the whole collar assembly. Trust me, it really goes together easily. For this sweater I placed a layer of the wool jersey between the upper and under collars. Two layers of the loosely woven knit were just not substantial enough for my taste. I understitched the collar to help it keep its shape, being sure to stop about 4" from each end. A lesson I learned from Finlayson #1. Alternatively, it could be topstitched.


Inserting the collar can be kind of a mindbender (at least it is for me!!). My approach is to fold the collar into the correct shape first, and then flip it down onto the sweater front as seen in the diagram above. It's then just a matter of basting it all into place. This pattern is beautifully drafted, and the collar falls into place effortlessly. Still, I would recommend basting the hell out of it.


Again, my big issue was the bulk of the seams, especially the one across the bottom the placket. That seam contained 3 layers of wool jersey, and 5 layers of wool / mohair knit! Needless to say, I did a great deal of very careful and judicious trimming. This is NO place to slip up.


To bind off such a bulky seam I stitched two lengths of Snug Hug together very close to one edge. I then turned and pressed the ribbon, making a double width binding. I handstitched this over the trimmed seam allowances. Handstitching gave me complete control over this process, plus .... I really enjoy it.


And here is the result. Certainly worth the time and effort to have a clean finish on the inside, and worthy of the luxurious fabrics I'm working with.


The back neck edge and arm holes are also finished off with Snug Hug.


Lastly, a loop and horn toggle closure finishes it off.


This sweater's ready for the great outdoors! Time for another snowy photo shoot.