Showing posts with label double piping pocket. Show all posts

Thursday, December 17, 2015

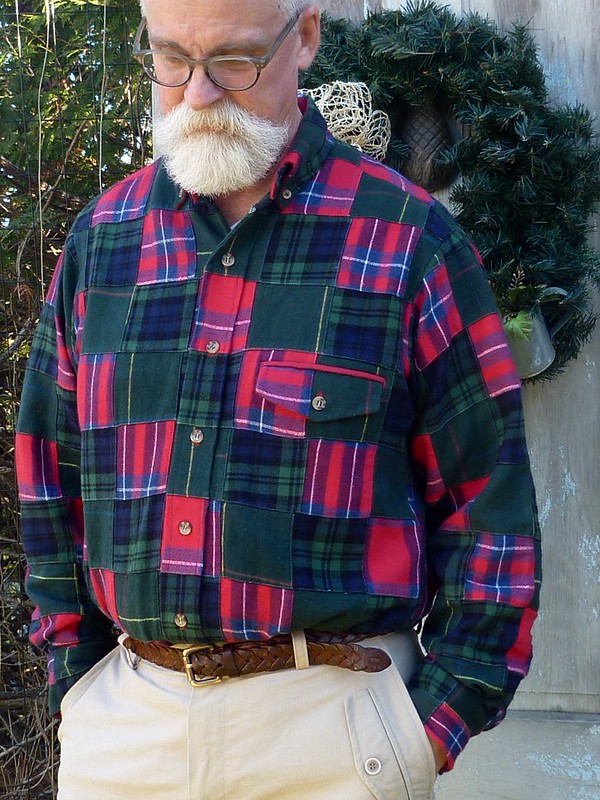
A flannel shirt to close out the year.

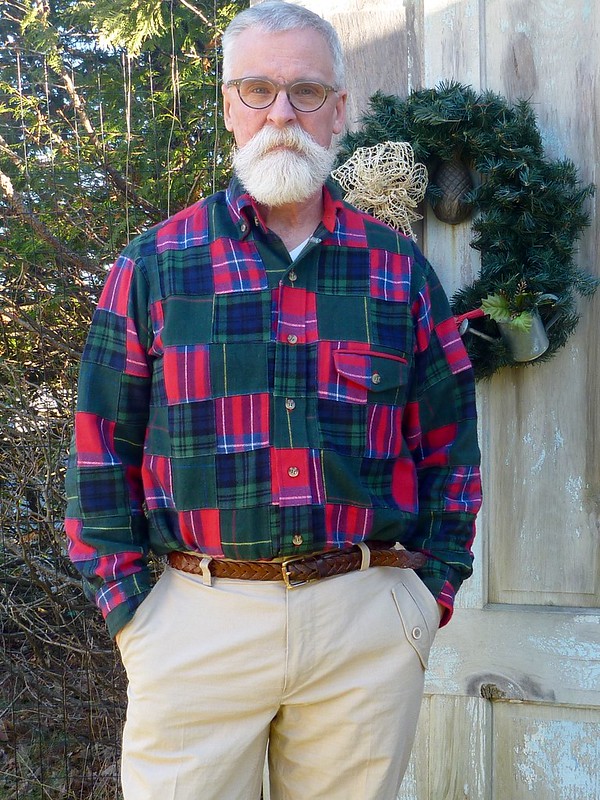
I'm pretty much set for the staff Christmas party / potluck next week. Skip the velvet blazer, bring on the flannel!


I bought the fabric this summer at Peter's MPB day. It's from Metro Textiles and was so inexpensive it's almost embarrassing. It's much beefier than any of the flannel offered at the "LL" store a few miles from here. The pants are a hack of Thread Theory's Jedediah Pants.


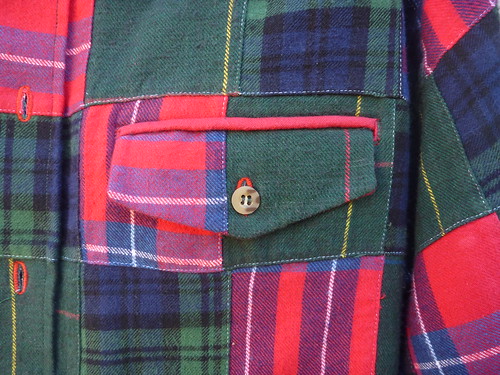
I always like a left chest pocket on my shirts but I'm not crazy about plaid patch pockets cut on the bias. Throw in the patchwork and I envisioned an even bigger mess. My solution was to make a welt pocket with a flap.


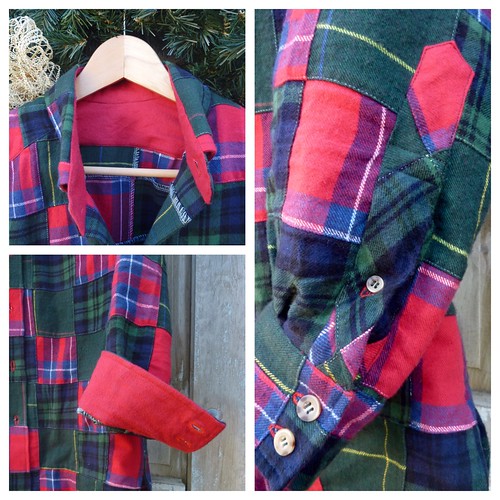
The welt is made with some solid red flannel I picked up at my local JoAnn's. I also used it for the inside collar stand, inside yoke and inside of the cuffs to help reduce bulk. All those patchwork seams can make for a very lumpy shirt.


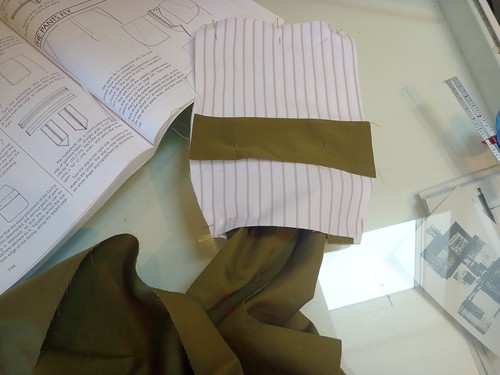
The pocket bags are black flannel from my stash. I use the instructions from Roberto Cabrera's mens tailoring book. It's actually a double piping pocket for the back of a pair of trousers with just a slight twist. It's surprisingly easy to make, and results in a neat French seamed pocket. I've never posted a tutorial, but if there's any interest in how to sew this type of pocket, I could be talked into it.


As always, I'm greatful for all the friendship and support I've received through the sewing community. See you in 2016!


Peace.


Monday, August 4, 2014

Pants progress -- Pockets

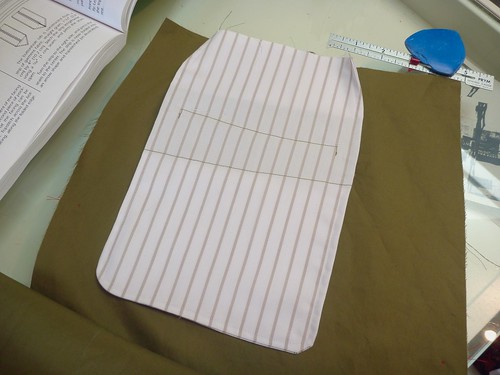
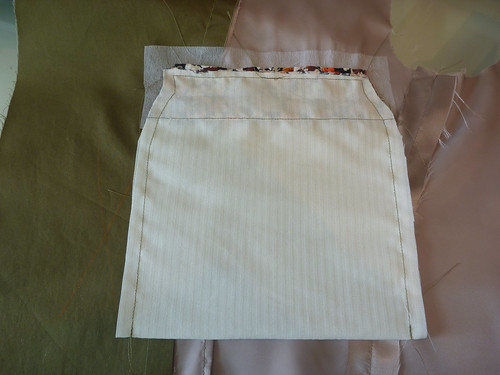
I've launched into the pants. My plan is follow the pattern directions for the front slant pockets, but I'll defer to Cabrera for the back welt pockets. Why you might ask? Firstly, his directions are crystal clear and there's a line drawing for each and every step. Secondly, I can totally ignore all the fiddly little pattern pieces. The pockets are just constructed of simple rectangles which are easy to chalk out and cut. I love it when things are made simpler.

Having made a pair of Thread Theory's Jedediah pants prepared me to make the front slant pockets. The construction here was exactly the same. The pocket facings are attached to either end of the pocketing. Then it all gets folded in half and stitched to create a French seam. The result is a pocket that's beautifully finished on the inside. No raveling seams, no serging required. The pockets on this pattern have a lovely curve to them.

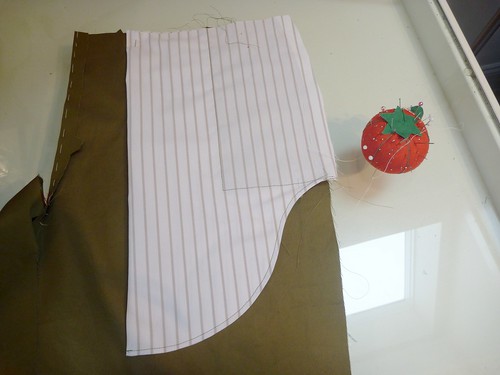
Here is the pocket from the right side. A nice feature of this pattern is that the pocketing extends out beyond the side seam allowance. This extra fabric eventually gets folded and stitched over the side seam, which makes the finish on the inside very neat and tidy. I will try adding this feature to my next pair of Jeds.

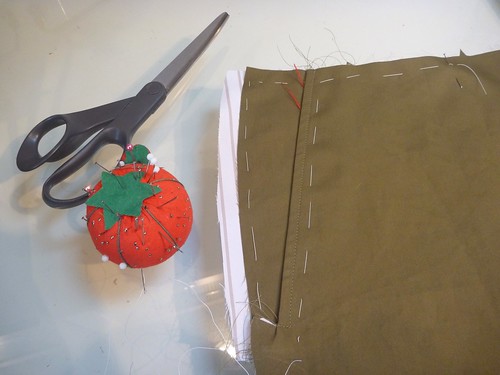
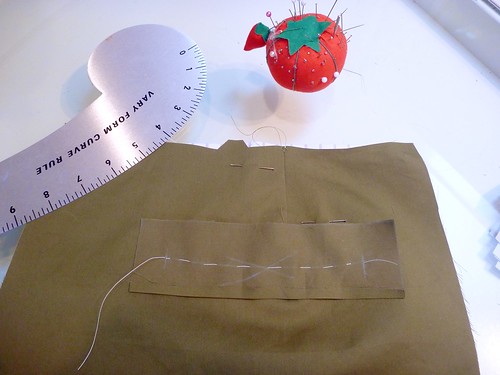
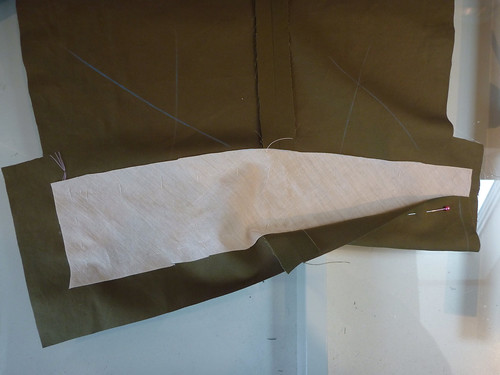
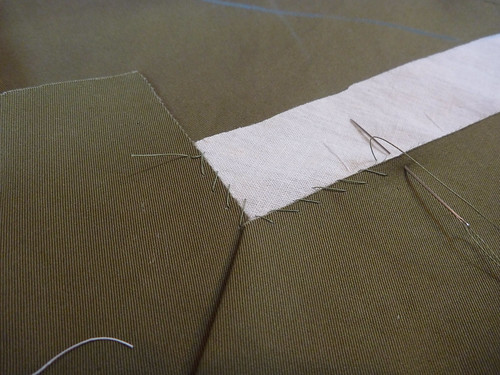
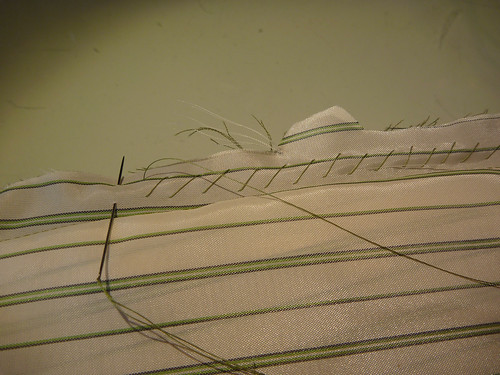
The back double welt pockets are new territory for me, so I let my buddy Roberto Cabrera take me by the hand and guide me step by step. This strip of fabric will become the welts. It's basted in a slight curve over the pocket placement line. The curve is intended to keep the pocket from gaping open. I won't bother to show all the steps here, just know that it's all extremely straight forward and not difficult at all.


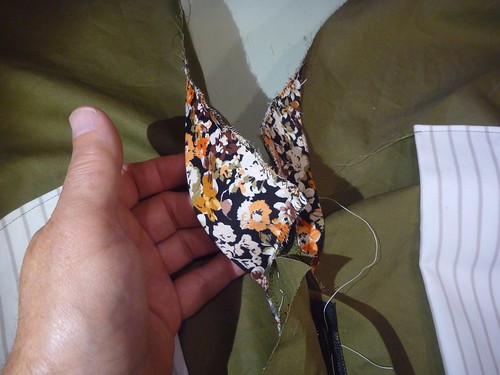
There are a few unusual sewing shenanigans; like where the entire pair of pants has to be pulled through the pocket in order to sew it up. Crazy.


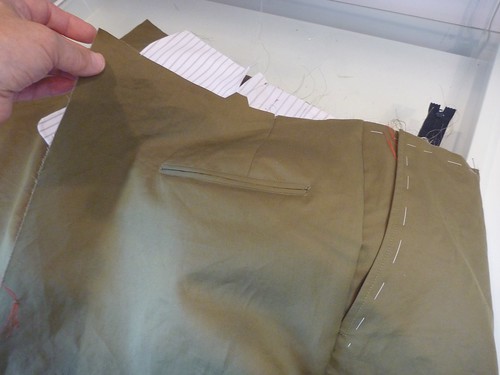
But again, the result is a nicely finished French seamed pocket.


So here are my pockets from the outside. Unfortunately, I don't have any extra buttons that match the jacket. Otherwise, I would have added a button loop closure to the back pockets. Next time, right?

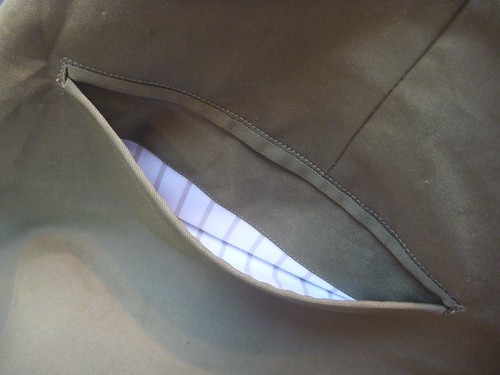
A peek into the back pocket, which ends up perfectly finished inside almost by magic.


Here I've added a crotch shield of my floral shirting fabric. It's a square of fabric, folded on the diagonal and then pressed into a curve. It's zig zagged onto the pant's front crotch before sewing up the inseam. I'm also planning on using my left over shirting to construct the waistband "curtain". I love adding little unexpected touches to my clothes when I can.
Now it's on to the waistband and belt loops, which I'll make according to Cabrera. I figure it will take the better part of a day. More later.

Oh, and the boat is half planked up.

Thursday, July 3, 2014

Tailoring Progress

I'm making steady progress on the wedding suit.

It's been awhile since I've done any tailoring, so the amount of basting and handsewing has been a little overwhelming at times. I'm using the Roberto Cabrera book on tailoring which is usually helpful, but tonight he has me totally baffled about constructing the collar. It's almost more confusing than putting in a zipper fly! So I'm just going to walk away for the night and pick it up in the morning when I'm fresh. I do that a lot, hence I'm one of the slowest sewers out there.

The sleeves are essentially done, they just need buttonholes on the vents. I do like Cabrera's method of making and lining the sleeves. You do have to make a muslin first because the length will be set when all is said and done.


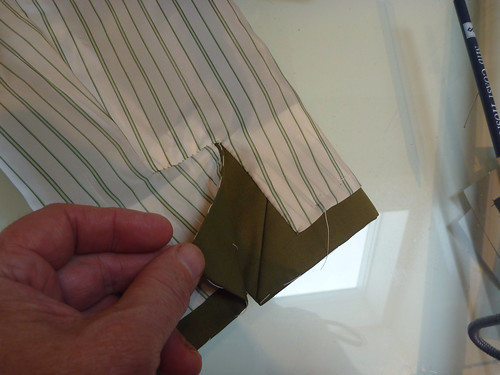
A wide piece of bias muslin is basted into the cuff along the hemline and fold lines of the vent.


The hem is pressed up and attached to the muslin. This way there will be no stitches visible on the outside of the cuff. The sleeve and lining are then sewn up as usual.


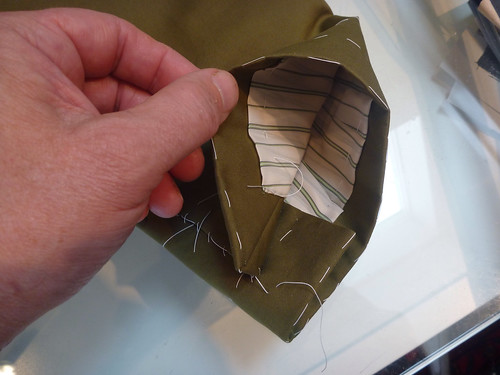
Both the sleeve and the lining will be wrong side out. They're stacked up and the corresponding seam allowances are quickly stitched together with a diagonal stitch. Nothing fancy here. Then the fun happens. Reach down through the lining and pull the sleeve up through it. Voila! A perfectly lined sleeve (inside out) ready to have the lining finished at the vent.


Here's the finished vent. You just have to fiddle with it until it works. Once it makes sense and comes together, I press it into position, baste to hold things together and then slipstitch with silk thread.


The sleeves are done for now and set aside.

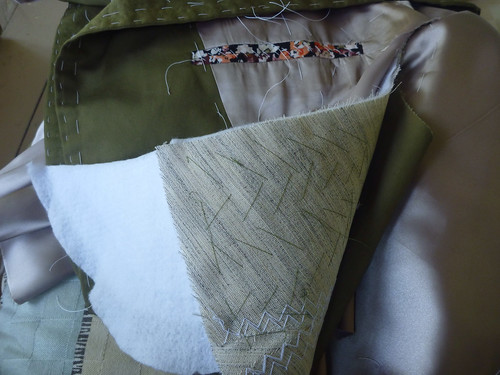
Next I've worked on the lining and added an inside left chest pocket.


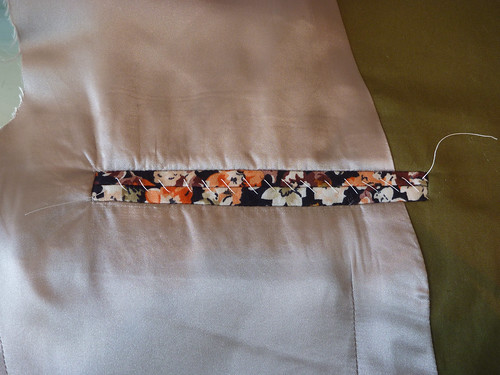
I used some of my left over shirting fabric for the welts. A fanciful touch. This is the same pocket construction as the outside pockets, just a bit smaller. I'm not bothering to make a right inside pocket because I would never use it, not to mention the time required to make it.


It looks like this from the inside.


I've put in the shoulder pads. The front of the pad is padstitched into the canvas. It's kind of a wrestling match, and I'm always glad when this step is over.

 
It's not pretty, but it works.
 

And here's where I leave off. Is there enough basting???? :)


Wednesday, February 20, 2013

Working on the jacket fronts

Today I finally had time to tackle the jacket fronts. I'm making this jacket out of a raw silk patchwork fabric. As much as I like the look of it, it's proving to be a challenge to work with. It's very loosely woven with flaws and slubs everywhere. Not to mention that it frays and falls apart almost by looking at it. To say the least, I'm treating it with kid gloves.

Because there are seams about every 3 inches, I spent the better part of a day just cutting out the various parts, one piece at a time. I tried my best to match in places, but the primitive quality of the material made it difficult. I also tried to avoid having seams of the fabric fall on the seams of the jacket, or along hemlines. There are definitely some potential "bulk" issues when working with this type of fabric. I as cut each piece I immediately took it to the sewing machine to staystitch any curves as well as the front opening.

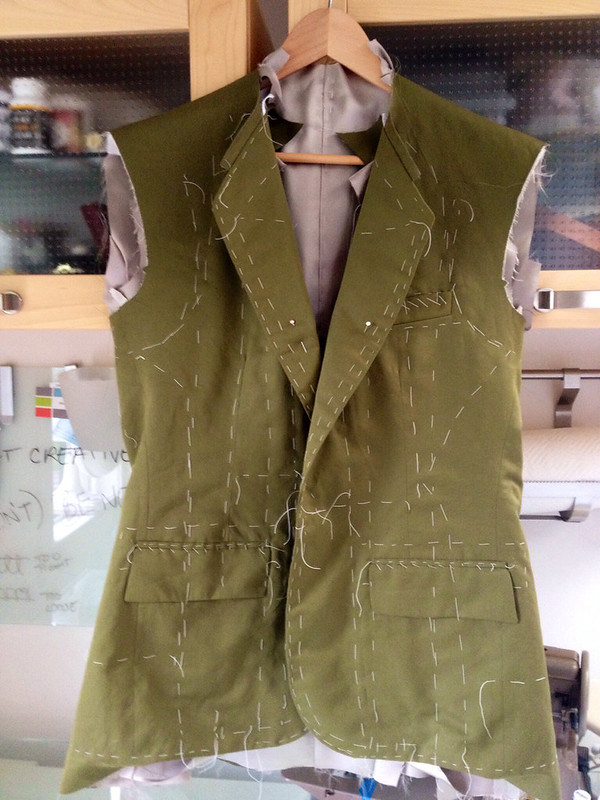
My inspiration jacket has patch pockets, but where I'm already working with a patchwork fabric, I felt that it might be too "hobo halloween costume". I've decided to use what Roberto Cabrera calls double piping pockets. I think it will be a cleaner look.

I always like to make a practice pocket before I launch into the real thing, so here goes.


I stabilized the reverse area of the pocket with a scrap of fusible interfacing. This is Pro Woven Light Crisp from www.fashionsewingsupply.com. As someone who's avoided fusibles like the plague, I can't suggest their products highly enough. Do yourself a favor and skip the stuff at JoAnn's.


I follow the directions from Roberto Cabrera's book on menswear tailoring, and here's the result. Not completely horrible, but when the lower welt was pulled through and pressed into position it revealed a flaw in the fabric.


Ooops! A broken thread in a highly visible area. This is why I like to make a trial pocket. It really helps expose the potential pitfalls. When working on the actual jacket fronts I'll fold the welting strips at the 1/2" mark just to make sure there are no flaws. This photo also shows just how loosely woven this fabric is. I'm determined, however, to make it work, so it's on to the real thing.


I'm not intending this to be a pocket tutorial, just an overview of the process for those of you interested in tailoring.

Here's the pocket after the welt sections have been stitched into place (they're on the front side) and the dreaded slash has been made. I hope you can see that the placement line is actually slightly curved which, according to Cabrera, will help keep the pocket from falling open.


The pocket from the right side after the welt strips have been pulled through and pressed into place.


Pocket on the reverse with the pocket bag attached.


This is all much easier to do than one might expect. The Cabrera book presents each step with an illustration, so it's simply a process of just following along.


The finished pocket. Yay! It works! This completes what will probably be the most difficult part of this project. It's on to the canvas.


I'm using the pre-made heavy weight canvas jacket front from B. Black and Sons. The pattern is placed over the canvas and the dart is transferred. The top and bottom of the dart is extended 1", and then the dart is cut out.


The dart opening is then closed by butting the edges together and zigzagging a bias strip of pocketing over the seam to hold everything together.


With the darts aligned, the jacket front is sytematically smoothed and basted to the canvas. The Cabrera book walks one through step by step. The result is that the two layers become one. Here the top seam allowance of the pocket is cross stitched to the canvas. One side of the pocket bag is also stitched to the canvas, but I forgot to take a picture of it!


The inside view of the basted front.


The outside view. The next step will be to trim the canvas and apply twill tape to the edges. I hope this has been informative for my readers interested in tailoring. Cheeers, and happy sewing.
Thursday, April 28, 2011

The crash!


I'm sure no one is crazy enough to be sewing along with me, but if you have the Cabrera book there is a huge error (or at least an area of potential confusion) on page 117!  BEWARE!

This is the beginning page of "The Lining".  Of course he has you toss out any patterns you might have and start from square one.  Using the existing back, side and front pattern pieces one adds extra fabric pretty much all around.  The glitch comes with the front lining piece which must overlap the front facing.  The illustration indicates just the 1/2" overlap.  To make this happen, however, one must add at least an extra inch.  In fact, there's no reason to add even more and then trim off the excess at the sides and armscye.  

Alas, I added only 1/2".  To make things even worse, I put in a double piping chest pocket, which probably took at least an hour to make.   In the end the whole mess was too small.  There was no room for a seam allowance at the side seam.  

Back to the drawing board after considerable swearing.  Oh, and did I mention how much I hate working with poly acetate lining material.