The "Chase Crush" Missoni-esque knit that I've chosen for this project is pretty light weight and VERY stretchy. It just doesn't feel substantial enough for a jacket. I had also ordered a dark purple bamboo knit from Vogue Fabrics, thinking that I would use it for Thread Theory's new Finlayson Sweater, but it also feels too light. My solution is to combine the two fabrics. Interlining with the bamboo will give me the heft I need. It's also incredibly soft. I wish you could feel this fabric. Soft as any cashmere sweater.
So here we go!
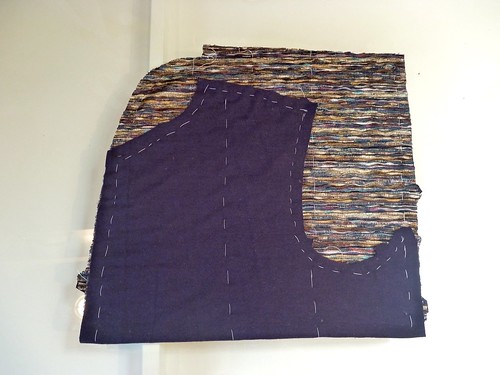
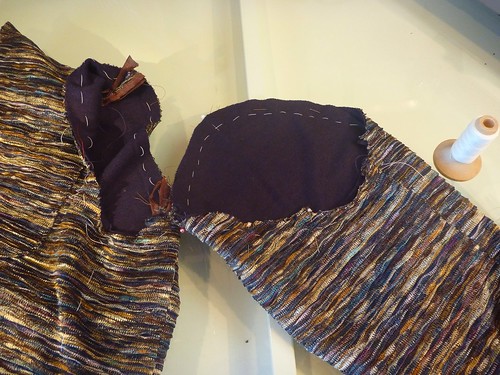
I'm a "baste-a-holic" so none of this bothered me. The pattern pieces were cut and then sandwiched together to act as a single layer of fabric. This process went quickly using cotton basting thread. It's amazing how having the right thread can make all the difference. This type of thread is virtually tangle proof, so you just zip along. Highly recommended. I threw in some extra vertical and horizontal lines of basting to keep everything in place.
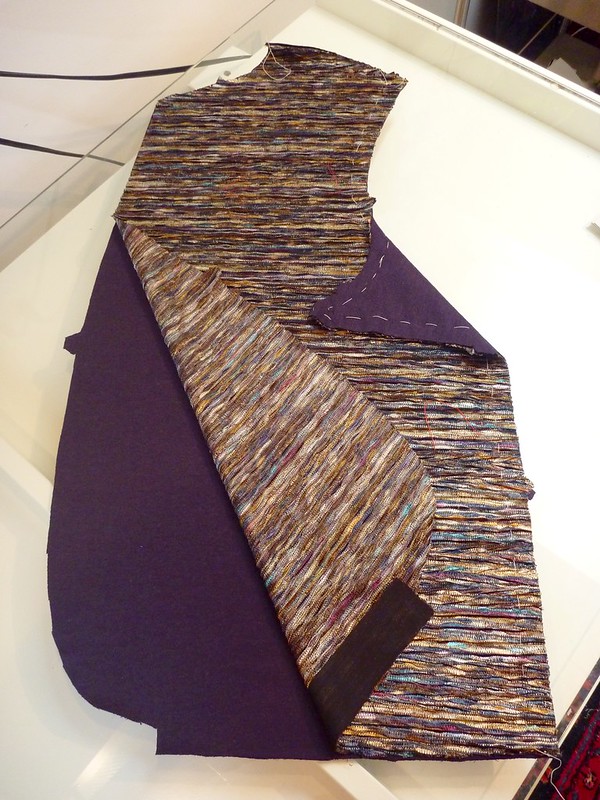
I learned from making my muslin that knits want to roll up after they've been cut. My Missoni-esque fabric is no exception. It's also quite loosely knit and I was worried about its stability. (Probably totally unfounded, but I'm new to knits and they unnerve me!). As extra insurance I applied a fusible knit interfacing to the hem of the jacket. This is Pro-Tricot Deluxe Fusible interfacing from Fashion Sewing Supply. This is a whisper weight stretch fusible, and was SO easy to work with. It fused effortlessly with very slight pressure on a wool steam setting. All my rolling and stabilization issues solved! Maybe I can work with knits after all.
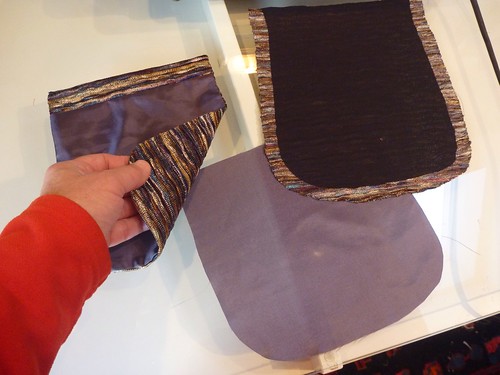
The patch pockets were stabilized with interfacing, and then lined with some leftover acetate from my stash of scraps. The pattern doesn't include this step, but then again it's a "quick and easy" pattern. I figure if you can make something better, why not take the time. It can sometimes make the difference between a garment you really love to wear, and one that just sits in the closet.
All the seams were both basted and pinned before stitching. I'm happy to report that I had absolutely no difficulty sewing this on my Singer 301(a no frills straight-stitch).
I wanted the sleeves to be lined so that there would be no raw edges to be finished. I used the technique from Roberto Cabrera's book on men's tailoring, (minus all the handstitching!). The inside out lining is place on top of the inside out sleeve with the seams aligned. I then zigzagged the seam allowances together so there would be some stretch. (Here you can also see the interfacing appplied to the cuff hem.) After zigzagging the seam allowances, I reach down through the lining and pull the sleeve up through it. Bam! A perfectly lined sleeve.
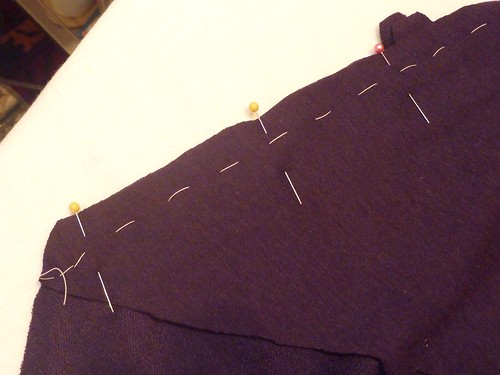
The two layers are then basted together at the top to keep the fabric acting as a single layer.
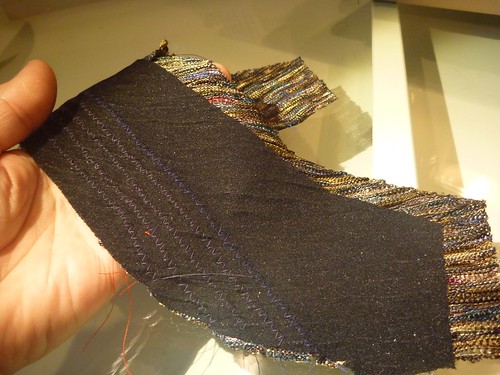
While I had my little Brother zigzag machine out, I added parallel rows of stitching along the roll line of the under collar toward the neckline as suggested in the pattern directions. This helps make a more substantial and stable collar.
Things are moving along, and I'm thrilled with my results so far. Next up is figuring out how to make a buttonhole in this kind of fabric.


No comments:
Post a Comment