Wednesday, August 13, 2014

Today's Man....for this old man

Look out! Here he comes. It's today's man.


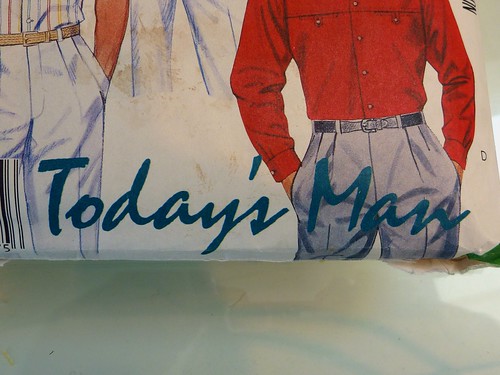
I've bought a few new (actually old) patterns lately, and this McCall's pattern from 1986 is one of them. I picked this up for a couple of reasons. First of all, it's a little different; which is something we guys struggle to find. There's just not much variety out there for us.


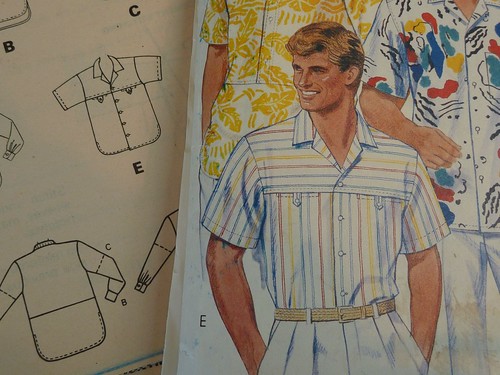
I've decided to make this version, View E. Some of you will no doubt see that this pattern is very similar to the Willi Wear shirt that Peter over at MPB just made (and didn't totally love). This version has a camp collar and button tabs at the chest pockets. Little details like that make it much more interesting and wearable IMO. Stripes tend to feature heavily in a guy's wardrobe, usually vertical stripes on a shirt or suit. Honestly, it gets a little tiring after awhile. So this combination of both vertical and horizontal stripes seems refreshing.


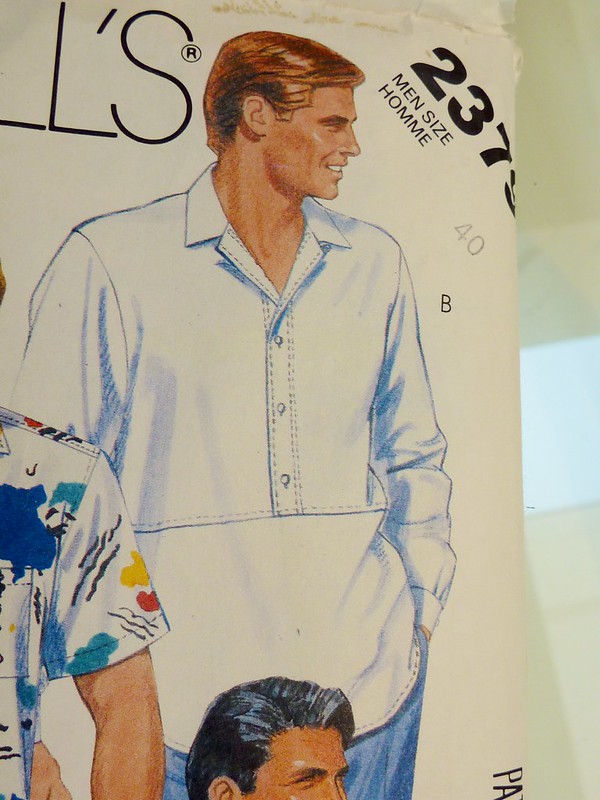
The second reason I picked this pattern was for View B, but I will have to devote an entire post to it. It involves an incredible surprise that came in the mail. So stay tuned.


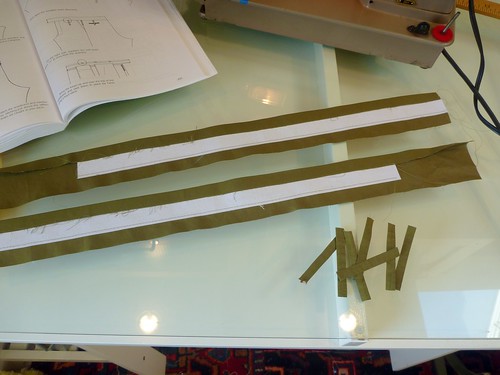
I'm going to be making my shirt from a striped linen that I picked up during last year's MPB day. Unfortunately, I wasn't able to attend this year, but it looked like a blast as always.


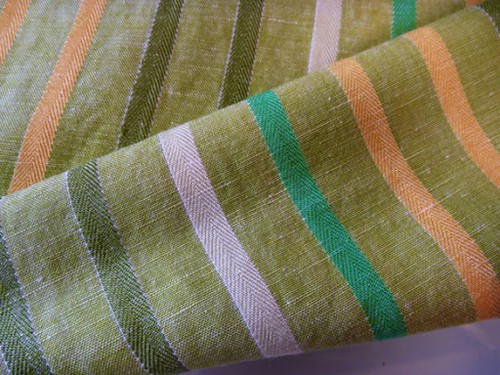
This fabric is from Gray Lines Linen on W 39th St. They have every kind of linen imaginable, from metalic linens to linen velvet, even linens to make your own dish towels. I just love this store. Everything is neatly arranged and the prices are ridiculously reasonable. In fact, the last time I was there this fabric was on one of the sale shelves for $4 / yard. Incredible. 100% linen, 60" wide.


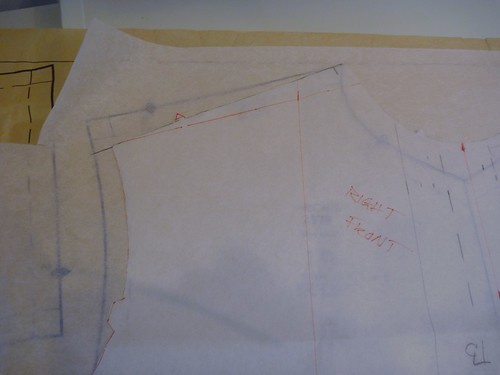
I'm learning that I need a sloped shoulder adjustment on just about everything, so I checked my TNT shirt pattern against this McCall's pattern. Yup. I need it here.


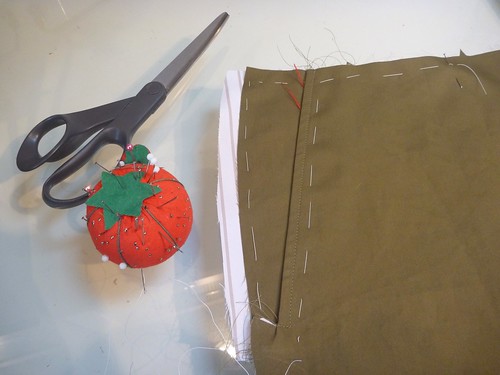
I traced off the pattern and made a quick and dirty muslin. In typical 80's style it's oversized, but I'm OK with that. I like Hawaiian shirts, and this shirt has a similar fit. What I didn't like was the shirt tail hem (way too long), and the lack of a back yoke (flimsy and cheap looking). So I set out to improve on Today's Man.


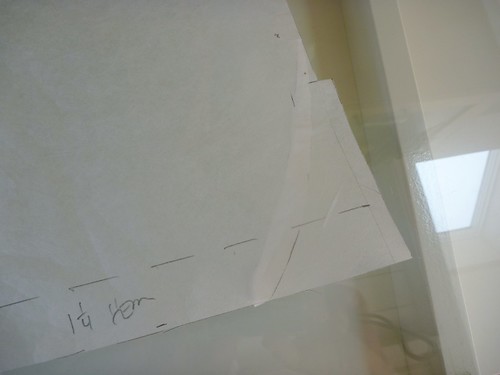
I squared off the hem, shortened it considerably and added little extensions that will become side vents. The back will be an inch longer than the fronts in my version.


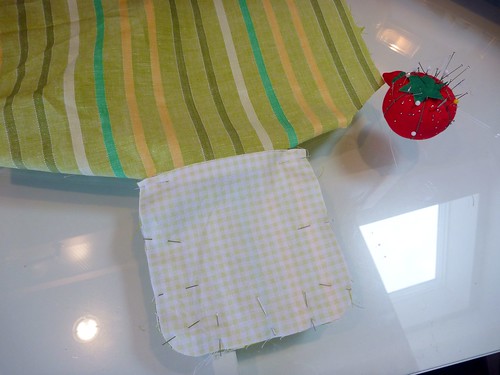
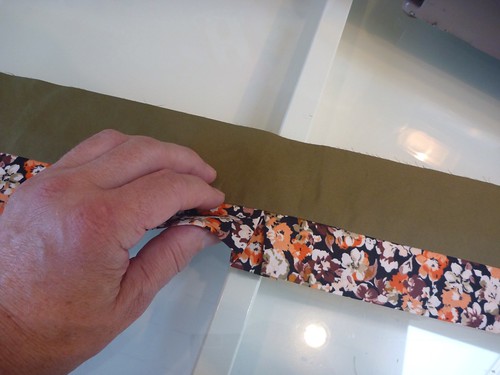
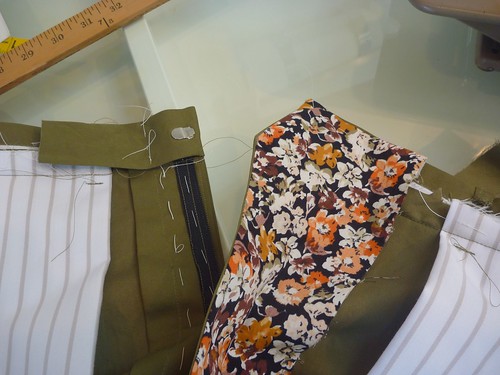
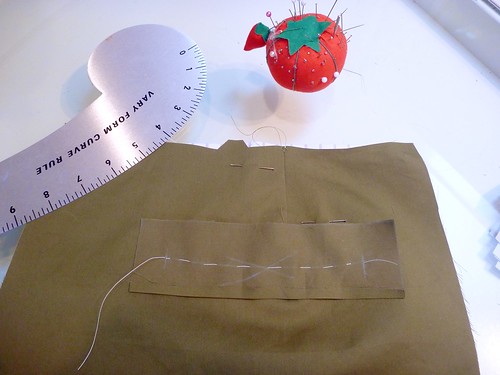
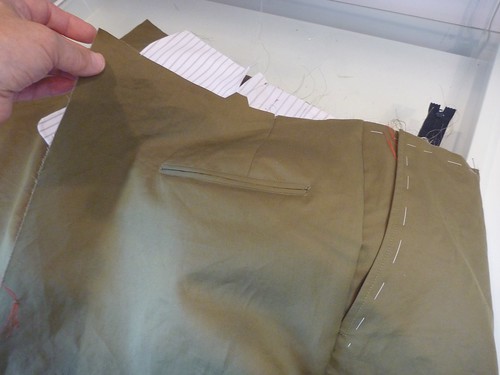
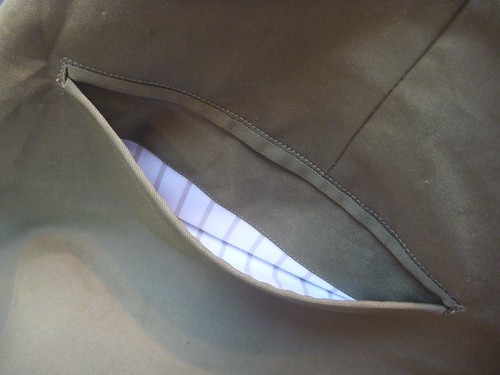
I learned from making my last pair of pants that making a French seamed pocket is really very simple to do. Here it is in progress on the chest pocket. Why the pattern directions don't include such a simple step is really vexing. I swear they just want us to be dissatisfied with the end results. No wonder so many people give up on sewing! This shirt would be a frayed mess inside if made according to the instructions. I can just picture a guy (most likely having this shirt made for him) saying, "um, yah, thanks for the shirt", and then trying to lose it in the back of the closet.


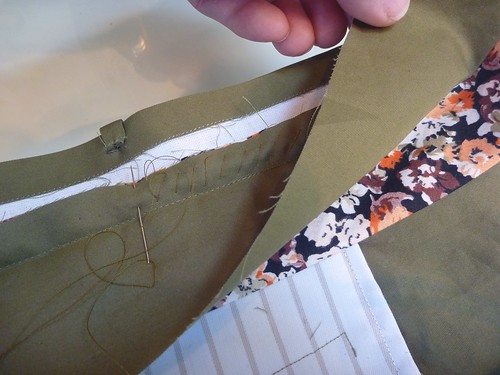
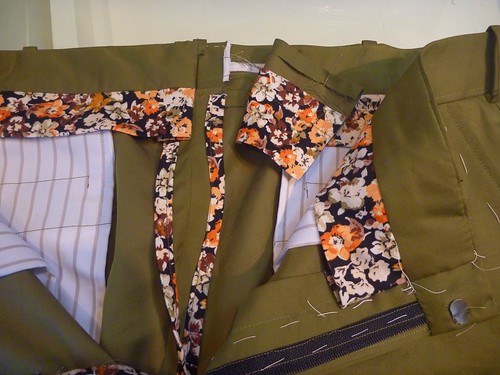
This was another easy improvement. Understitching the pocket bag, which gives the pocket opening a crisp finish and prevents the pocket from poking out. It takes all of 30 seconds. Of course the instructions don't include it.


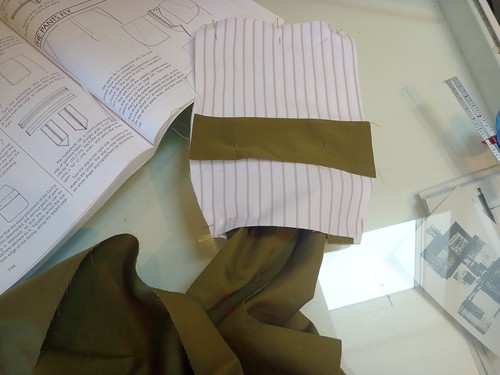
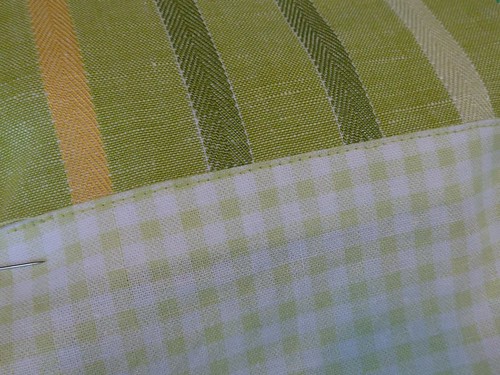
The facing is interfaced with Fashion Sewing Supply's Pro-woven light crisp fusible interfacing. I can't rave about this product enough. Because it's woven, it can be stitched to the facing,turned and then fused. It makes a beautiful clean finish, and you can skip all that trimming of the interfacing, folding over 1/4" and then topstitching. It's a big time saver and the results are so much nicer. Here you see it tacked into the horizontal pocket seam. It overlaps the pocket bag slightly and helps keep it in place.


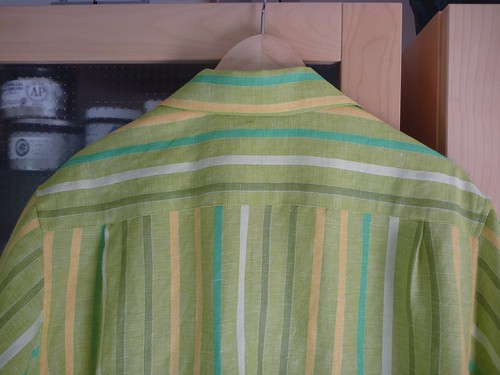
I added a back yoke and small pleats. Simple. Now it seems like a real shirt.


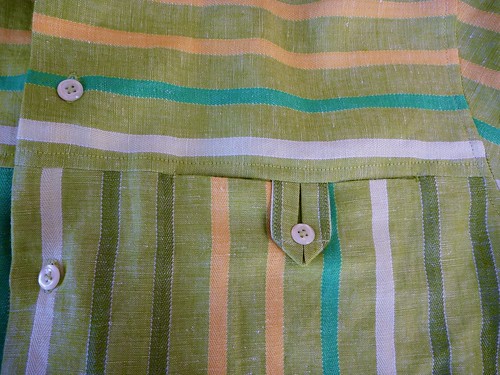
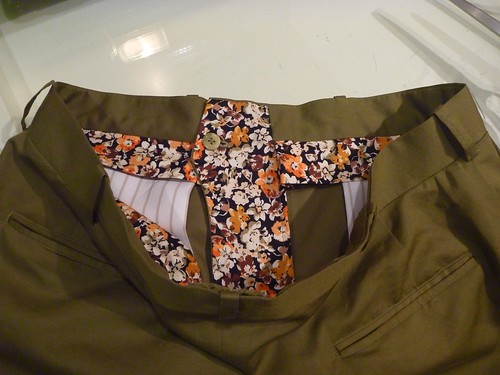
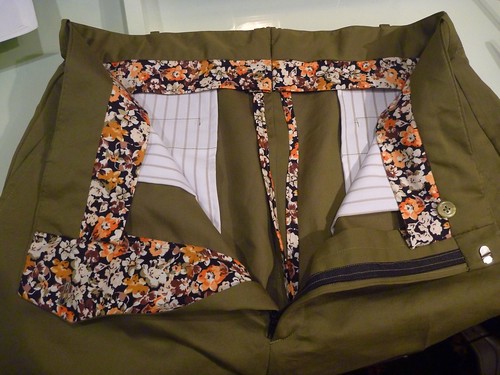
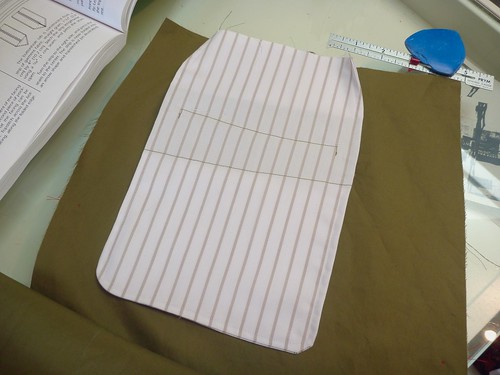
Here is one of the little button tabs. Surprisingly, they actually work and keep the pocket closed. I was worried that the button would just pop through the loop. I'm pleased with how they turned out, and they give this shirt some much needed pizazz.


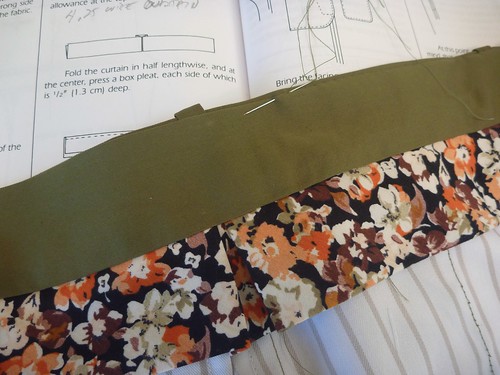
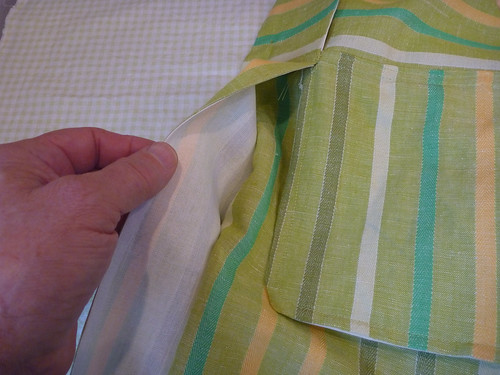
I made a French seam down the sides, ending at the vent. A little clipping here and there... Fold the extensions in and then stitch them down. I then bar tacked along the bottom of the French seam.


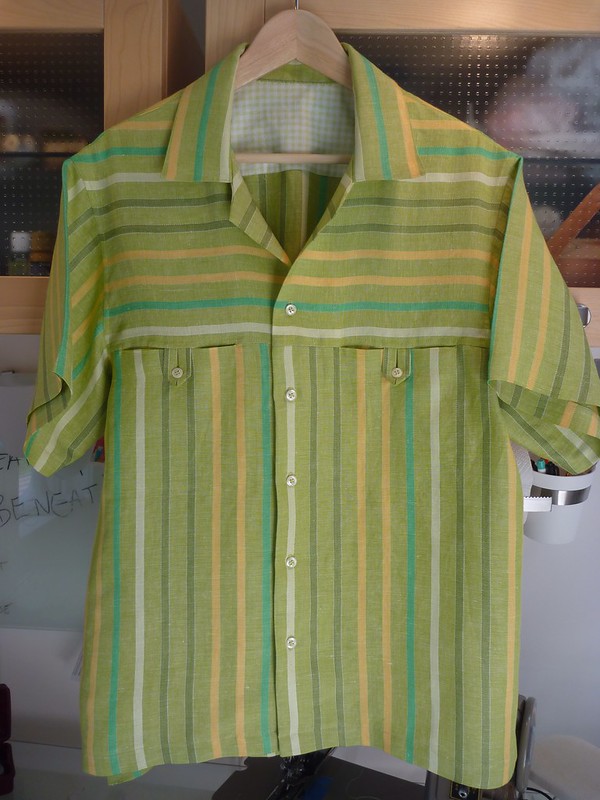
So here is the new and improved Today's Man. I know I'll truly enjoy wearing this shirt. Now to make a pair of linen shorts to go with it.


Wednesday, August 6, 2014

The Home Stretch, or....The All Day Waistband

I had a feeling that the waistband would be time consuming, and man was I right. I used the construction techniques from Roberto Cabrera; and while I love the results, there are probably much easier, and faster, ways to finish off a pair of pants.


The waistband is constructed before sewing up the crotch seam, so it's done in two halves. They're just basic rectangles sized according to the width of waistband that one desires. I'm making a 1 1/2" inch band, which is pretty standard. I've interfaced the bands with Prowoven Medium sew-in interfacing from Fashion Sewing Supply Co. It's stiff stuff! The belt loops are sewn and turned instead of folded and topstitched. It's a more polished look, but a real PITA. The interfaced band is sewn onto the pants, catching the belt loops which have been basted into position.


Next I constructed the inner lining with its attached curtain. The curtain is a bias strip of shirting, folded in half and stitched onto the lining. There's a box pleat at the center which adds some wearing ease. It's a classy detail, and I love getting to use my leftover floral fabric this way.


The seam allowance of the lining / curtain is diagonally stitched to the seam allowance of the waistband. The tops of the pockets are caught in this seam. You can also see that the belt loops have been brought up and tacked onto the waistband.


The seam allowance is folded down, the lining is pressed into position and slipstitched to the top of the waistband.


This pattern has a right fly extension, otherwise known as a French fly. I've lined it with my shirting. At this point, having abandoned the pattern instructions, I'm just making things up as I go along. It's all hand sewing, so I just press things into position until "it works". I've also added a hook and eye closure, which came with the worst instructions ever. That it works is a miracle.


Eventually, the back seam has to be sewn. I made some bias binding to finish off the seam. At this point, what's a little more work, right? My little Clover bias gizmo makes this a breeze, and it does make for a nice clean finish. The waistband lining is then worked across to the center back, where it's folded back and stitched into place. Here you see one side completed.


The finished front. A buttonhole is made in the French fly, and the button is attached at the seam level of the waistband.


The completed waistband. A ton of work, but beautiful. Whew! What a day.


Monday, August 4, 2014

Pants progress -- Pockets

I've launched into the pants. My plan is follow the pattern directions for the front slant pockets, but I'll defer to Cabrera for the back welt pockets. Why you might ask? Firstly, his directions are crystal clear and there's a line drawing for each and every step. Secondly, I can totally ignore all the fiddly little pattern pieces. The pockets are just constructed of simple rectangles which are easy to chalk out and cut. I love it when things are made simpler.

Having made a pair of Thread Theory's Jedediah pants prepared me to make the front slant pockets. The construction here was exactly the same. The pocket facings are attached to either end of the pocketing. Then it all gets folded in half and stitched to create a French seam. The result is a pocket that's beautifully finished on the inside. No raveling seams, no serging required. The pockets on this pattern have a lovely curve to them.

Here is the pocket from the right side. A nice feature of this pattern is that the pocketing extends out beyond the side seam allowance. This extra fabric eventually gets folded and stitched over the side seam, which makes the finish on the inside very neat and tidy. I will try adding this feature to my next pair of Jeds.

The back double welt pockets are new territory for me, so I let my buddy Roberto Cabrera take me by the hand and guide me step by step. This strip of fabric will become the welts. It's basted in a slight curve over the pocket placement line. The curve is intended to keep the pocket from gaping open. I won't bother to show all the steps here, just know that it's all extremely straight forward and not difficult at all.


There are a few unusual sewing shenanigans; like where the entire pair of pants has to be pulled through the pocket in order to sew it up. Crazy.


But again, the result is a nicely finished French seamed pocket.


So here are my pockets from the outside. Unfortunately, I don't have any extra buttons that match the jacket. Otherwise, I would have added a button loop closure to the back pockets. Next time, right?

A peek into the back pocket, which ends up perfectly finished inside almost by magic.


Here I've added a crotch shield of my floral shirting fabric. It's a square of fabric, folded on the diagonal and then pressed into a curve. It's zig zagged onto the pant's front crotch before sewing up the inseam. I'm also planning on using my left over shirting to construct the waistband "curtain". I love adding little unexpected touches to my clothes when I can.
Now it's on to the waistband and belt loops, which I'll make according to Cabrera. I figure it will take the better part of a day. More later.

Oh, and the boat is half planked up.