Things are progressing nicely on the spring-y shirt. Cutting out the various pieces takes some thought and a fair amount of care, especially when working with stripes. It took me awhile to wrap my head around the whole front placket matching, so hopefully this post can help some of you who may be contemplating a striped shirt.
Here goes....
To make the stripes evenly spaced across the front of the shirt a dominant stripe of the fabric is "stacked" on three parts of the shirt (the placket, right and left fronts). All three pattern pieces must be cut out separately.
Start with the placket. The dominant stripe of the fabric is placed along the centerline as shown above.
Eventually the buttonholes will be placed down the center stripe.
On the RIGHT side of the shirt the buttons will be placed on the dominant stripe that was chosen for the placket. That way when the shirt is buttoned the center stripe of the placket is directly over the identical stripe on the right shirt front. The button line is quite clearly marked on the pattern above.
After folding and top stitching the right front, the buttons end up centered on the dominant stripe.
The LEFT side of the shirt may require more thought. Remember the goal is to get the dominant stripe of the placket "stacked" directly over the same stripe on the Left front.
On my shirt the placket is attached to the L front with a 3/8" seam. The placket is 1.5 " wide, therefore the center of the finished placket is 3/4" in from the edge.
The dominant stripe is placed 1 1/8" ( 3/8" + 3/4") from the front edge of the Left front pattern piece as shown above.
Now the stripes will march uninterrupted across the front of the shirt. Yay!
Sadly, it can't all be matching nirvana.
I can't wrap my head around matching the sleeve plackets, so I deliberately placed them on the cross grain. They would also be attractive placed on the bias. Maybe next time!
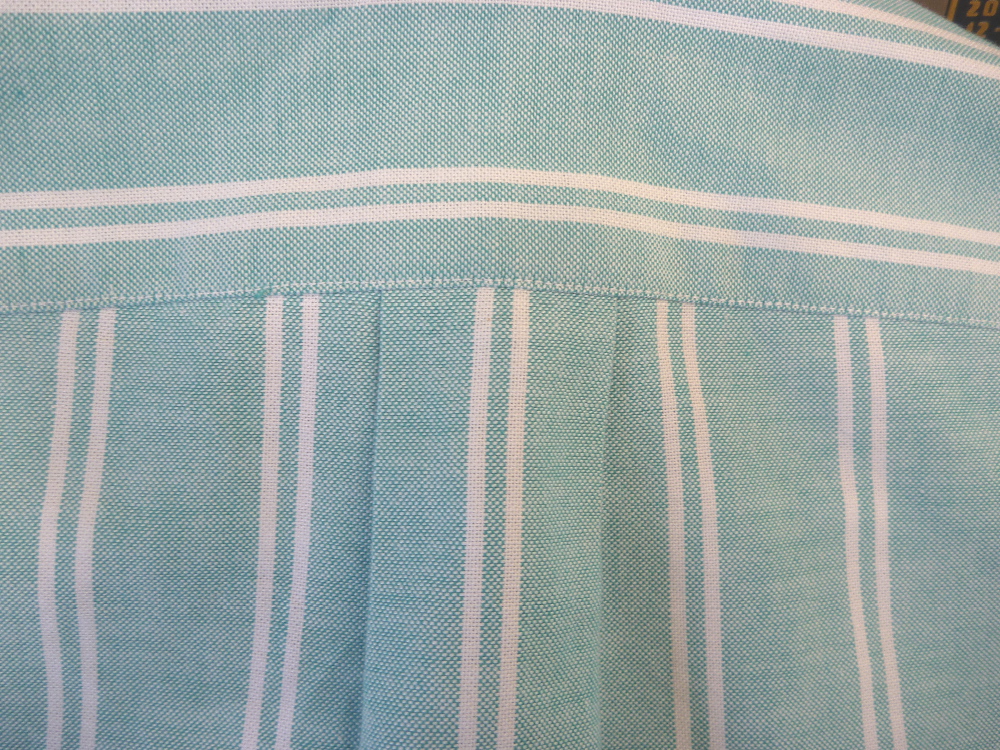
Here's the back box pleat with its centered stripe. When it comes to shirts, it's all about the little details. They can be fun or they can make me want to scream. This is my third version of this shirt and I learn something each time. Mostly, I try to make things as easy as possible for myself. I concentrate most of my efforts in cutting out the pieces. For example I set the stripe of the back yoke well in from the seam. This helps preserve the effect that it's sewn straight (which it probably isn't!) If a stripe had ended up on the seam, all my cutting and sewing imperfections would be magnified. I also did the same thing with the collar and cuffs.
I hope this has been helpful. Next time I'll show the finished product.