Sunday, March 20, 2016

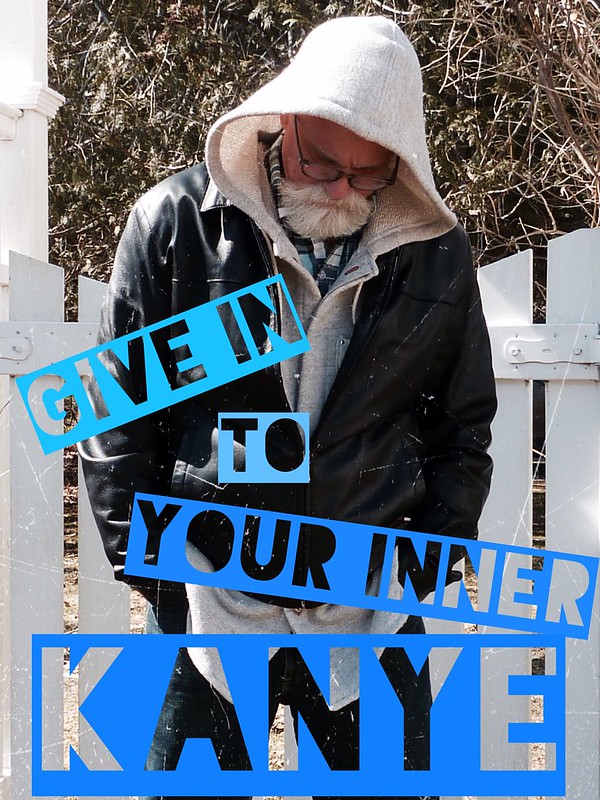
Geezer meets Yeezy

What can I say? Sometimes you gotta....


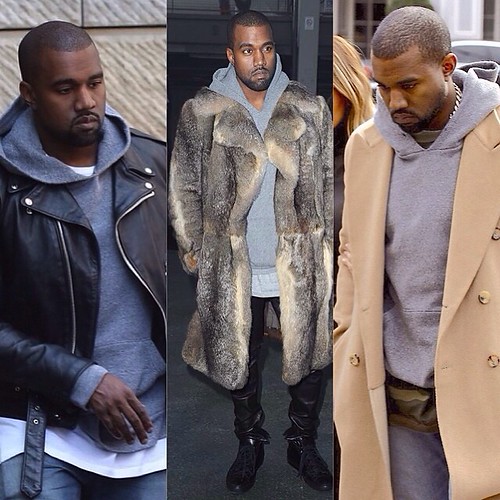
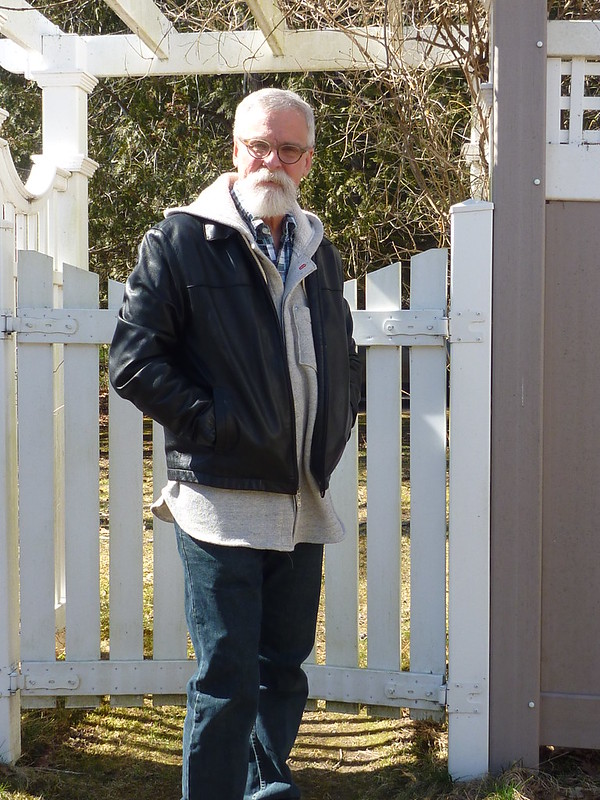
Because, apparently, there's nothing that can't be improved by adding a hoodie to it!


Leather jacket, fur coat, camel hair coat.... Hood-i-fy it man!


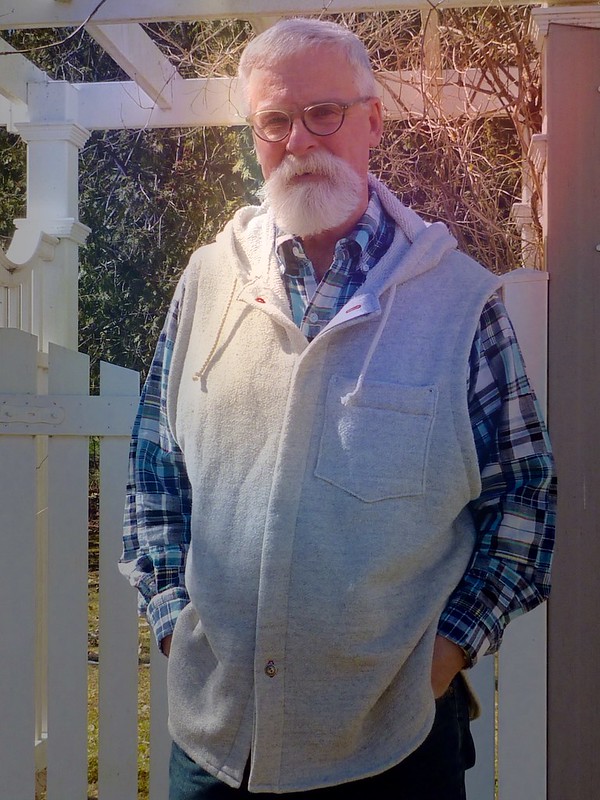
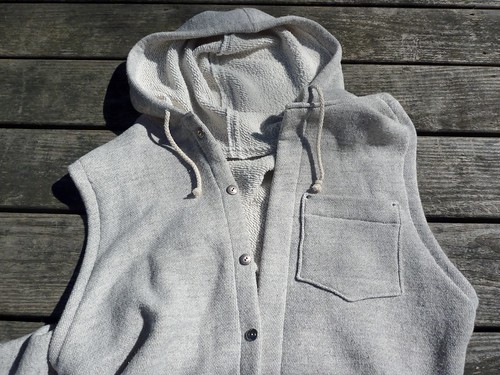
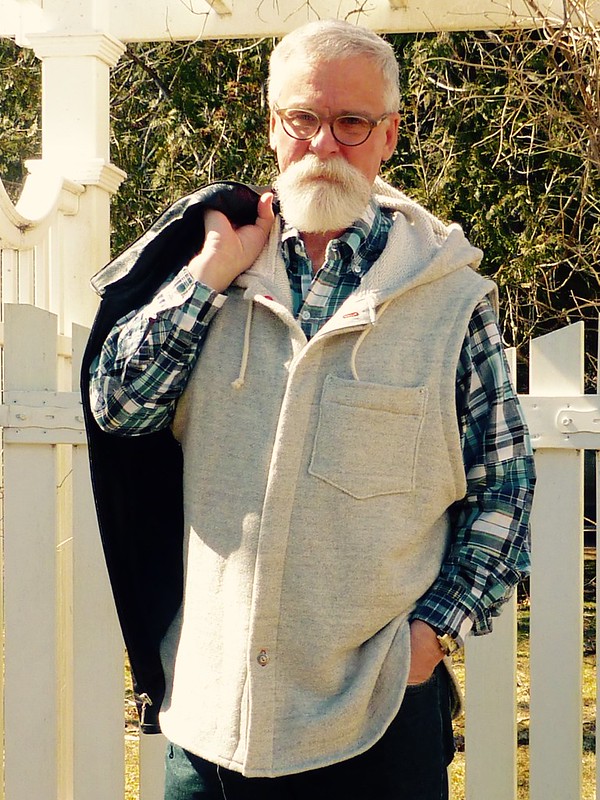
Enter Quik Sew 2292, made up in an athleisure fabric from Gorgeous Fabrics. Streetwear for the senior set!


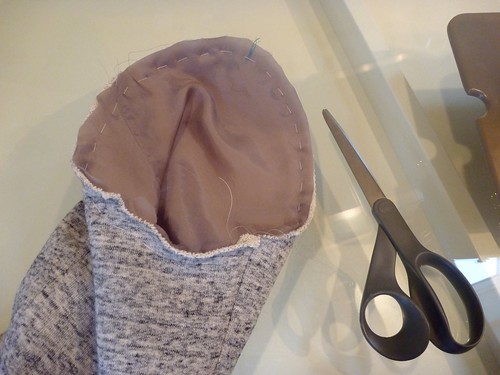
All joking aside, I wouldn't recommend this pattern to anyone. I have no idea who they thought this vest would ever fit. The shoulders were virtually square, and the back was enormous. Basically, a couple of rectangles with a hood stuck on it. It's also designed with 1/4" seam allowances which would have been impossible for me to deal with. (No fancy serger here!). It was a battle from the word go, and this is one project I'm very glad to put behind me.


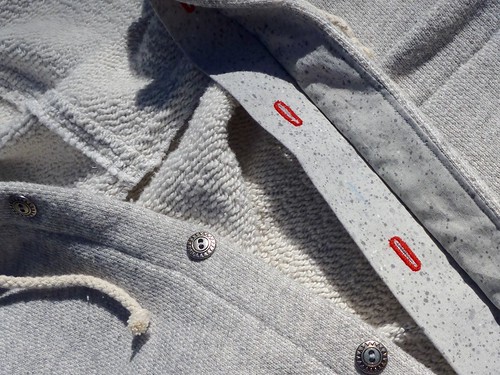
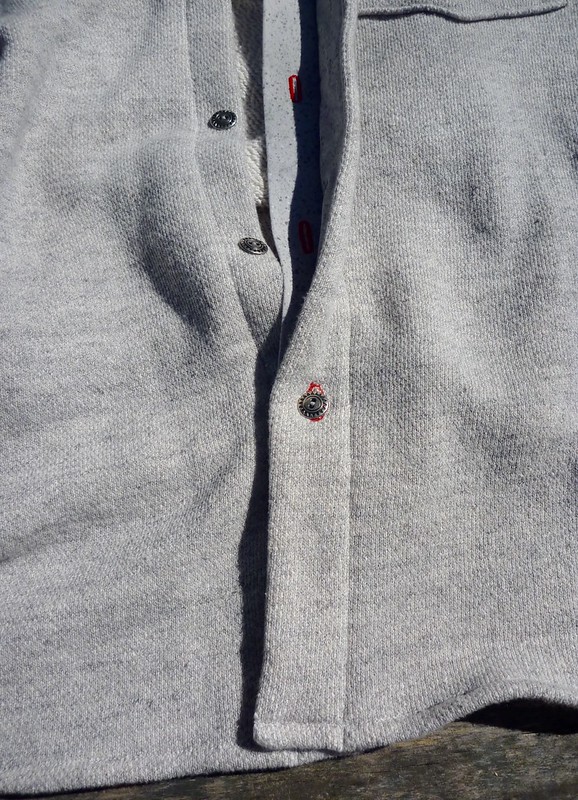
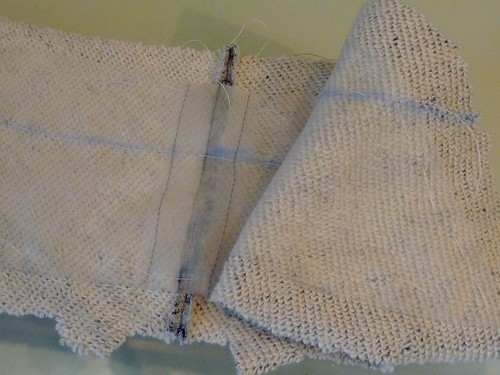
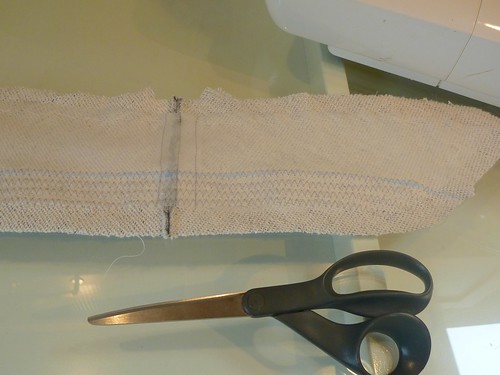
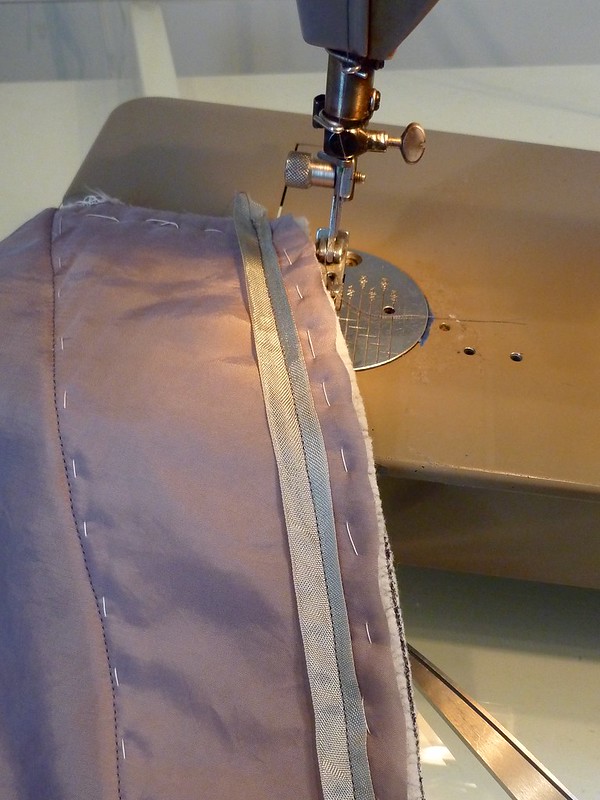
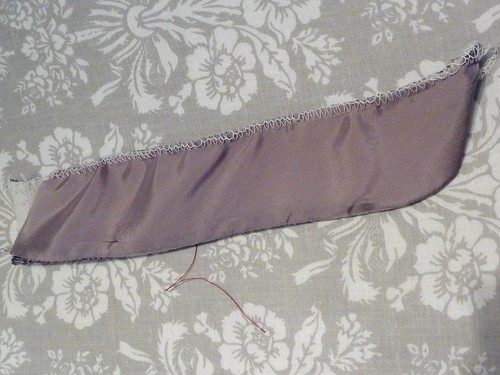
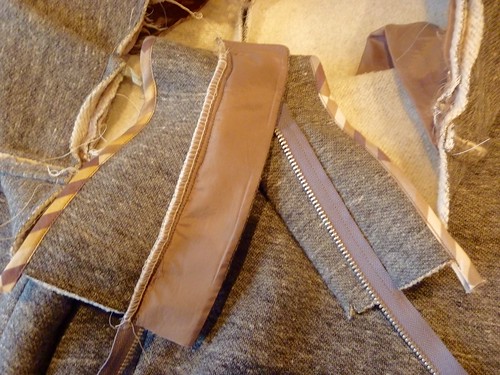
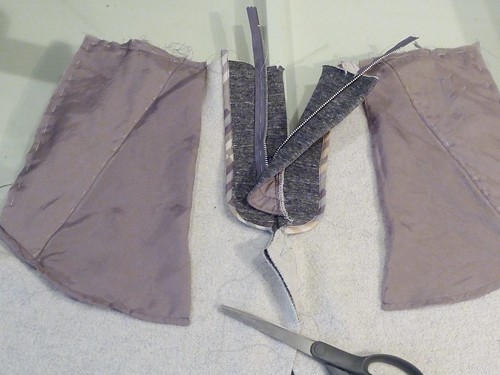
I've modified the front with a concealed button placket. The fabric, lovely as it is, isn't very buttonhole friendly.


I constructed the placket out of quilting cotton from JoAnn's. This is my third athleisure garment and I'm seriously grayed out. Hence the red buttonholes.


To counter the overall blandness of the whole garment, I decided to add a double buttonhole for the bottom button.


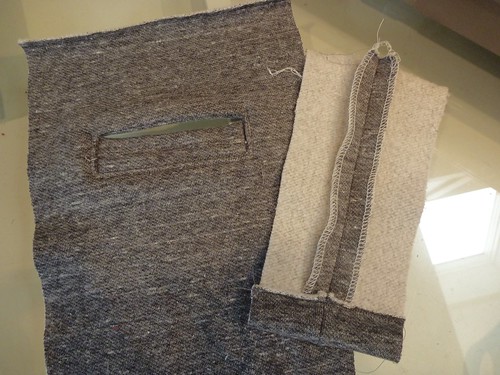
I also popped in a couple of rivets on the corners of the pocket.


This leather jacket doesn't see much wear because I always freeze wearing it. Maybe the hoodie isn't such a bad idea after all. I would have worn this to the MPB Winter Frolic had the unusually warm winter weather continued. Unfortunately it turned much colder, so my wool toggle coat was in order.
 
 
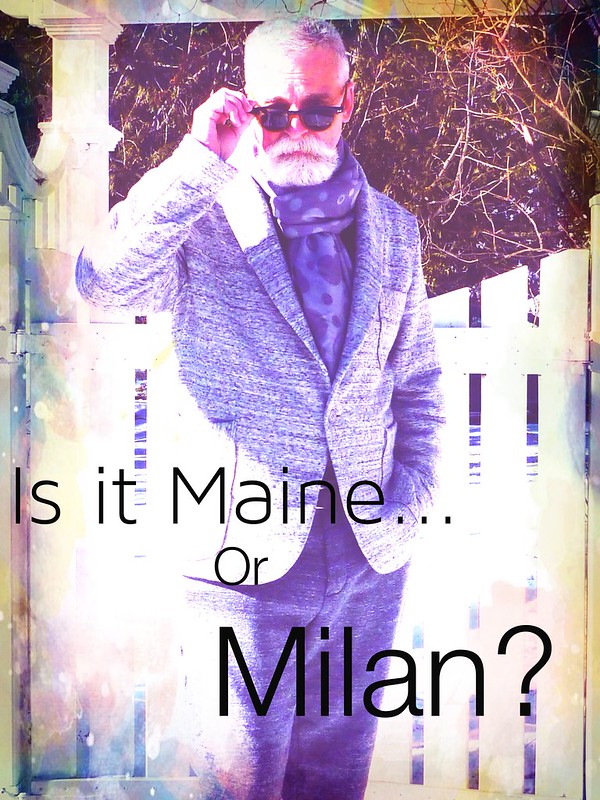
That's it for now. Gotta run. I think I hear the phone ringing. Maybe it's Hermes calling!!!


Thursday, February 4, 2016

Projects in the Pipeline

I'm not very good at following sewing blogs. Sure, I have a few favorites, but mostly I just meander from blog to blog. I never know what I might find, and that's part of the fun. Brew a pot of coffee and settle in. A few weeks ago I stumbled upon this....totally by chance.


This is a sew-along / challenge being sponsored by an amazing "brother of the cloth", Jamie Kemp in England. You can find all the details at his blog -- Male Devon Sewing.


Jamie's blasted out of the starting gate, and I swear he's half done already! He's already pad stitching like a madman. But never fear, the challenge of sewing a menswear blazer extends into June. Plenty of time for me (the world's slowest sewist) to play along.


I'm hoping to drag my sewing buddy Enrique along for the ride. Enrique, are you listening???? And, if you're reading this, consider yourself invited along as well. I'll be using Roberto Cabrera's menswear tailoring book (which has become a ridiculously hefty investment). I'll share his techniques and we'll take it step by step. So unleash your tailoring geek and join in!


My plan is to make a traditional black blazer that can be worn year round. Black wool with the full compliment of gold buttons. Think this....


Or maybe ????


Um... Right


My biggest problem when it comes to sewing, is that I'd really rather be attempting to make this....


Or...


And therein lies my problem of never having appropriate clothes to wear for my "real life". So it's black schoolboy blazer to the rescue! Balmain will have to wait (but do check out the Fall 2016 lineup, artistry that boggles the mind!). Want more...check out the video.


Barring a huge blizzard, I'm hoping to pick up fabrics for this project at the MPB Winter Frolic. In the meantime I'm working on another Athleisure project. This time a hoodie vest. (One pair of sweatpants turned out to be enough).


I'm having a devil of a time to get this damn thing to fit, which at the outset I thought would be a walk in the park. It looks so simple, right? But more about that later. I hope your sewing projects are going better than this damn vest!


Sunday, January 24, 2016

The Athleisure Reveal

So the question is.....


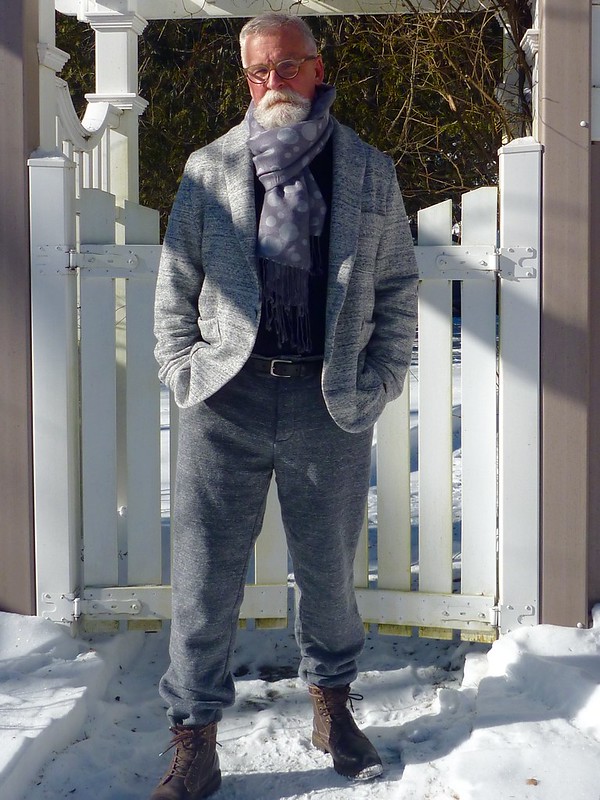
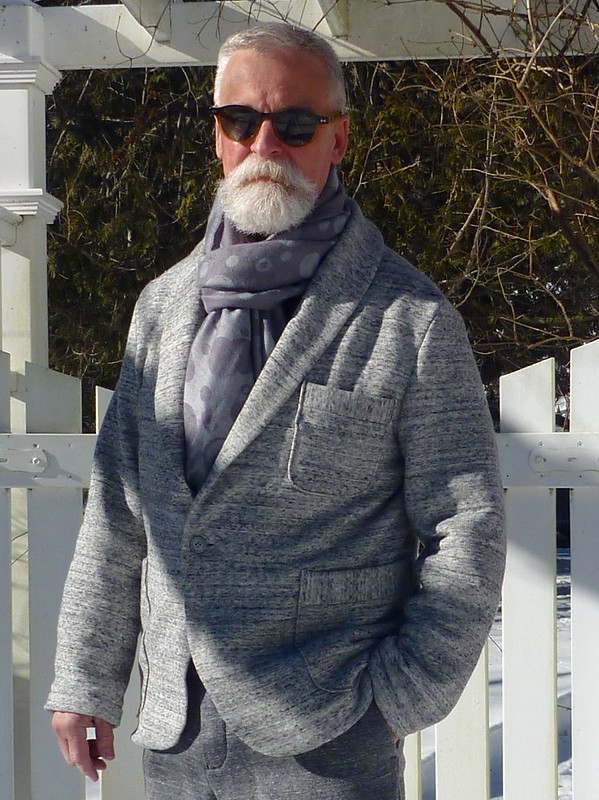
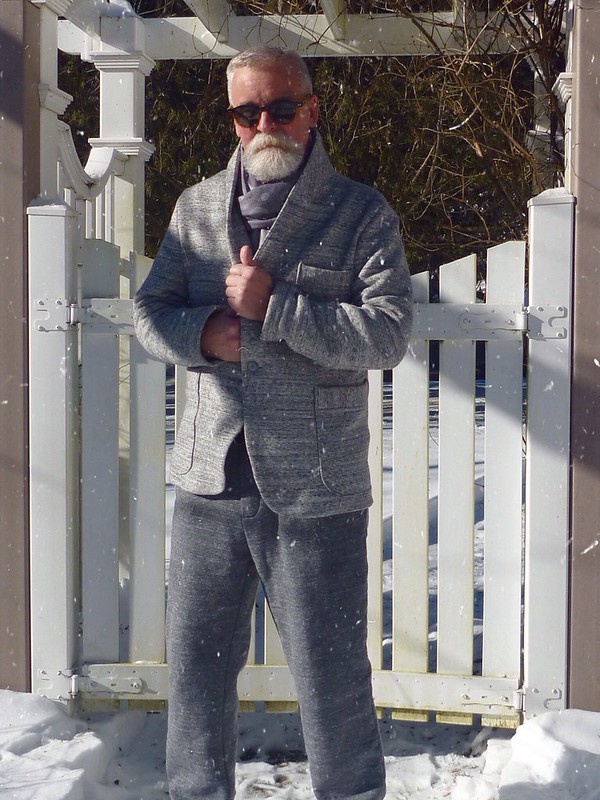
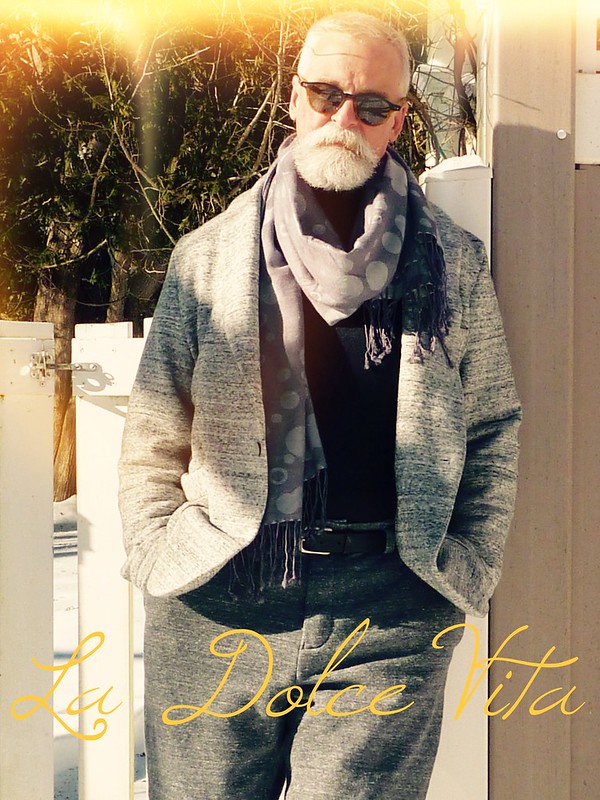
I had so much fun delving into the world of athleisure. Who knew sweats could actually be, dare I say, stylish. These clothes make me feel like I'm strutting down the runway at Armani!


Of course I'm really just in my backyard in Maine, and it's something like 18 degrees F.


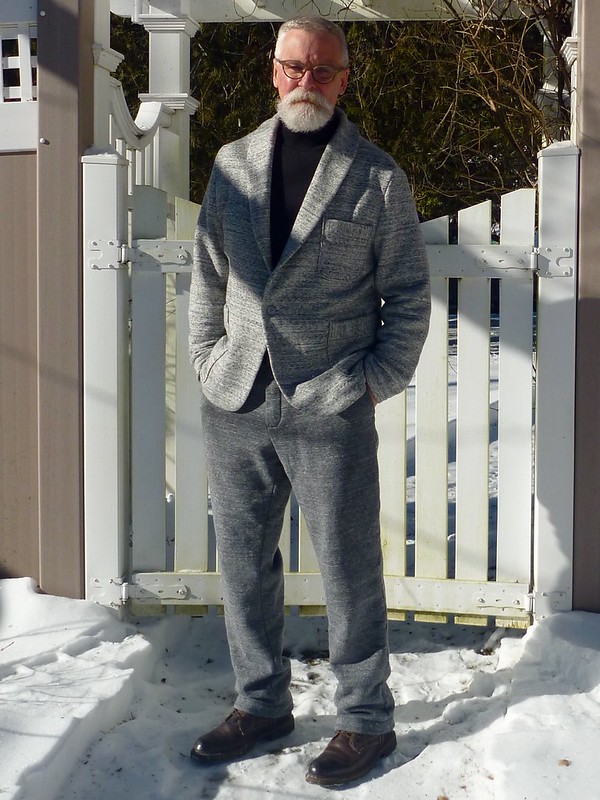
I realize this isn't going to be everyone's cup of tea, but for me it's been a success. The comfort and warmth factors alone have won me over. Plus, I feel I've successfully taken something trendy and made it "age appropriate". Like all trends, Athleisure will fade, but these pieces are basic enough to have some "staying power" in my wardrobe. That's always a win.


Kudos also to Gorgeous Fabrics. These fabrics were perfection, a joy to work with. I can't recommend them highly enough.


The pants are Thread Theory's Jedediah pattern. I made them 1.5 inches longer than usual so I can easily tuck them into a pair of boots (and they'll stay there!). It's also just a different look for me.


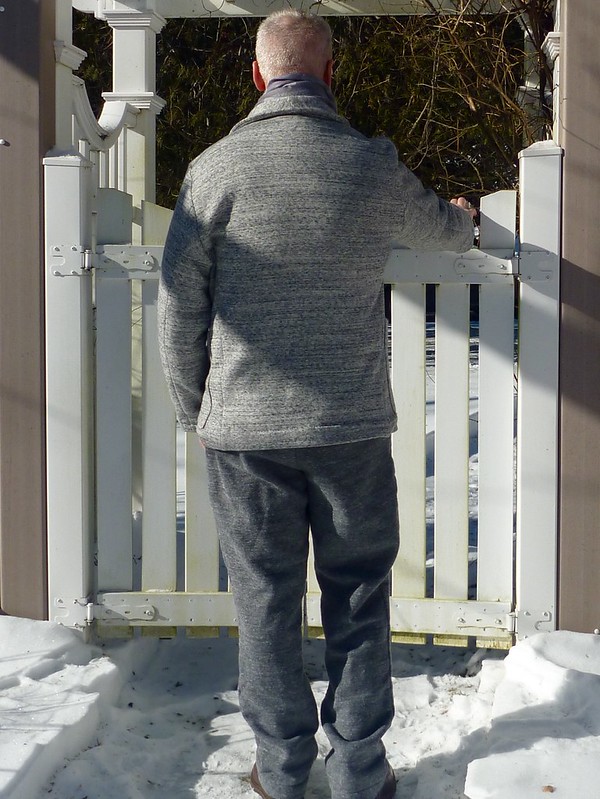
Not much interesting going on back here. I've worn the pants around the house for a few days, and have to tell you that they eventually bag out at the knees and the butt with wear. I washed and dried them before the photo shoot, and they thankfully snapped back into shape. Next time (I have fabric for another pair) I'll forget the welt pocket and sew them with the back yoke and patch pockets as designed. I'm thinking this might help them retain their shape better in the rear. I also might try going just a tad slimmer.

Then again, my daughter has suggested a hoodie vest, which could be interesting and something very new for me. Decisions, decisions...


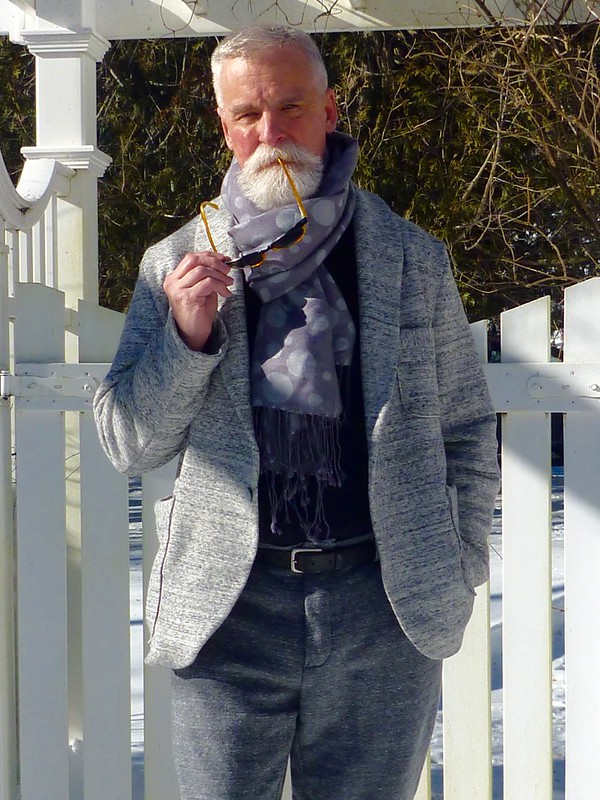
I was Soooo short on material for the jacket, I'd only ordered 2 yards, that there wasn't enough left for the pockets as designed. I had to cobble them together with the scraps that were left over. A band of lengthwise material was added at the top of each pocket. In the end it turned out to be one of those fortunate blunders, because it made for a much more interesting jacket.


This project also opened my eyes to the versatility of adding gray to my existing wardrobe. Hey, I have the hair to match, right??? I'm also seriously considering black, a color I was told years ago to avoid. Maybe I've grown up enough to pull it off! I'll never be the all black kind of person, I love color too much. But a little bit might be a good thing.


So ends another project. (On a successful note!)


As always, I appreciate all the support and inspiration I receive from the sewing community. It's overwhelming.


Arrivederci from the coast of Maine, where I can honestly say that ..... "I'm living......


Wednesday, January 20, 2016
The Athleisure Jacket

I've really got the Athleisure bug, so I immediately launched into a jacket to go with my new sweatpants. I'm using the black and gray "birchbark" looking knit. I'm hoping the combination will be Armani-esque. One can always dream!


This is the pattern I used for my "Phony Missoni" jackets of last year. This time around I'm going to try the shawl collar version. (The illustration kills me!). Because this fabric is super wide, 72 inches, I only ordered 2 yards. Talk about cutting it close. I was just barely able to eek it out.


There is some serious Snug Hug usage going on with this jacket. Here a strip is sewn into the shoulder seams to prevent stretching. It works like a charm.


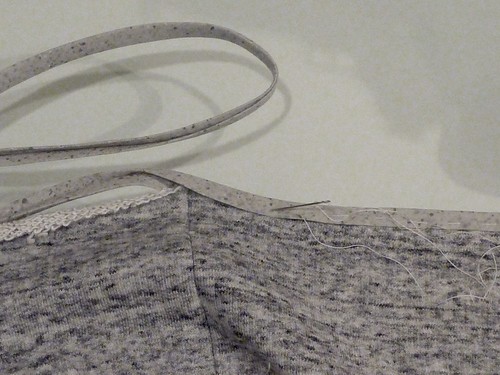
The seam allowance edges are covered with cotton bias binding. When the seams are pressed open the Snug Hug is completely hidden. I used this process on the shoulder seams and the side seams.


In places where the binding will be especially visible, namely the hem and front facings, I baste it in place before edgestitching. The thickness of the fabric combined with the loopy back made this necessary. Otherwise, I ended up edgestitching into air. Maybe you've been there too?


This is a little hard to see, but I interfaced the undercollar with silk organza. A little voice was saying, "what would Laura Mae do?


Rows of zig zagging along the foldline help create a little more structure.


The sleeves are lined with rayon bemberg to make the jacket slip on easily. Otherwise, it's completely unlined.


The world's worst buttonhole. This simply won't do!


Break out the silk organza and Laura Mae's bound buttonhole tutorial! The BEST!


Lastly, the collar and front facings are understitched to help help keep them from rolling out. Below the button the seam allowances are stitched to the facing. Above the button it's reversed, and the lapel / collar seam allowances are stitched to the jacket front and under collar. Sounds confusing, but it becomes obvious when you're doing it.


Next time, the Athleisure reveal. (Arctic Blast reveal may be more like it!).


Thursday, January 14, 2016

Athleisure Progress

As I mentioned in the previous post, I'll be using the fleecy backed knit for my first foray into athleisure. It looks like it would be the most forgiving. (The loopy backed fabric has me completely freaked out!) I'll also be using the Jedediah pattern from Thread Theory. It's a moderately slim pant, and I've made it multiple times. Since I have pretty limited experience sewing with knits, I experimented a bit just to see what's possible (and also what's probably not).


The Armani pants I tried on had a single welt pocket in the back, and it looks like that's entirely possible. I've pulled out my serger, which only does an overcast stitch, and it had no problem going through the material. One thing that's clearly obvious is that I'll be doing lots of trimming, and I'll need to be thinking of strategies to reduce bulk wherever I can. Oh.... And making a buttonhole was a complete disaster.


I've decided to make the pockets with bemberg rayon. It's super slippery and can be a challenge to work with, but it adds almost no bulk. Here I've stabilized the edge of the slant pockets with a strip of Snug Hug seam binding. This should prevent the pocket openings from stretching out. It also adds almost no bulk.


Not everything goes smoothly. Case in point, this dreadful zipper shield. Oy!


Ah, much better after applying a lightweight fusible to the bemberg. Another helpful tip from Roberto Cabrera is to always sew with the slippery fabric on the bottom. It really does help.


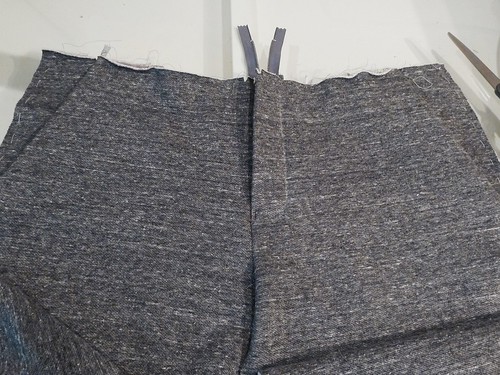
The completed front / fly from the inside. The bias binding was a gift from one of my readers and it was perfect for this project.


And here is the front view. No fake Bottega Veneta fly!


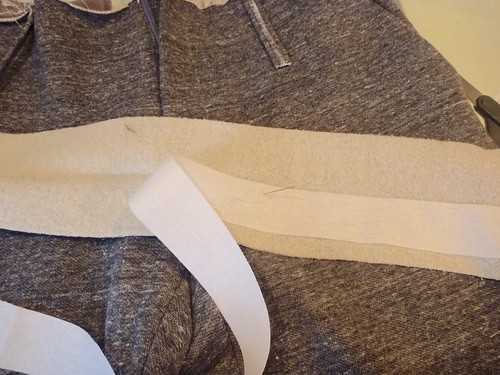
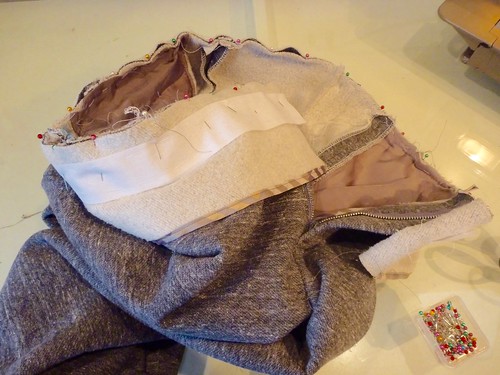
The waistband is interfaced with Light Crisp sew-in interfacing from Fashion Sewing Supply.


It's a lot of basting, and probably my least favorite step in making a pair of trousers. I should be wrapping these up soon. Next I'll be launching into a jacket to go with them, so no reveal for awhile.


Lastly, have you been checking out the menswear shows in London? Fall 2016. Holy Athleisure, Batman!!!! It's everywhere.


I'll be adding my own take on the trend soon!

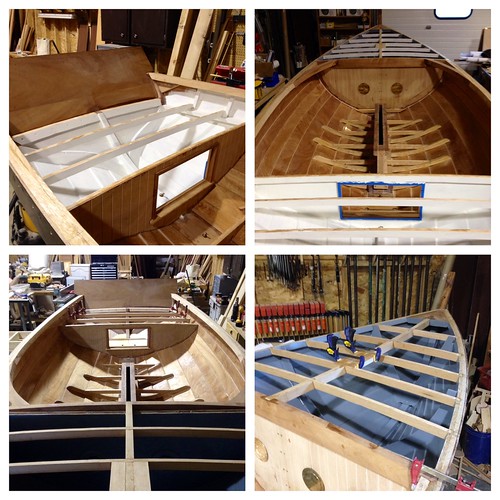
In the meantime, here's a little compilation of boat progress.


Cheers! And happy sewing.