OK, I know, this isn't exactly exciting stuff. I've described this process on other coats, so this is primarily for the benefit of my sew-alonger. These techniques are taken from The Bishop Method of Clothing Construction, a book from 1959 that I refer to often. The author, Edna Bishop, comes across as an imposing but somehow lovable tyrant.
Here goes.
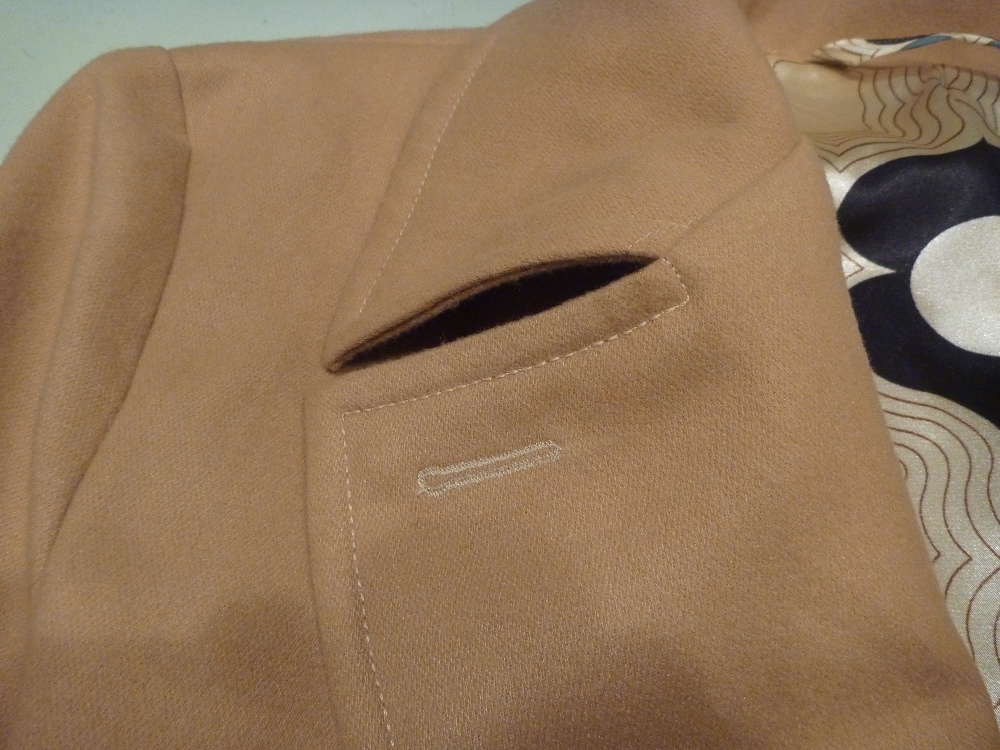
 The cuff is turned up and pressed. The hem on the sleeve is 1.5 inches. A 2.5 inch wide strip of bias cut haircanvas is placed in the hem so that 1 inch of canvas extends beyond the raw edge of the sleeve. I baste it temporarily in place. The edge of the sleeve is then stitched to the canvas with a 1/4" seam allowance. This is much easier to do on a free arm machine. On my 301 it's a PITA.
The hem is turned up and the canvas is slip stitched to the sleeve. This produces a cuff with a little "oomph" to it. I think this is desirable on any outerwear.
 The hem of the coat is treated in a similar manner. At the hem, however, a 2.5 in. strip of bias cut muslin is inserted.
 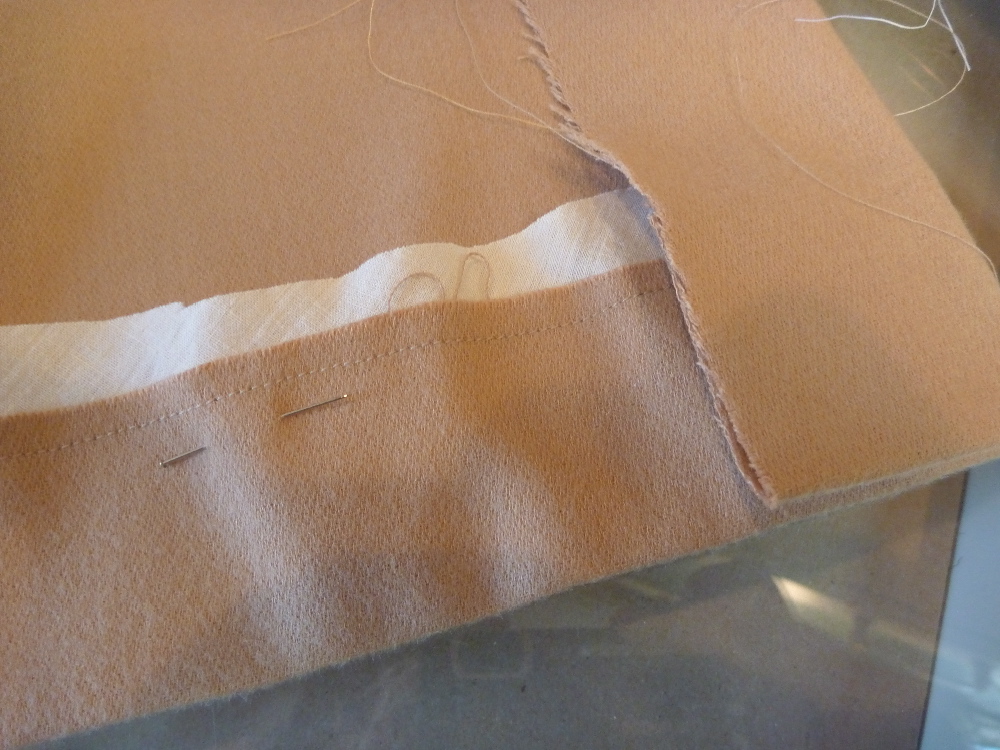 The muslin should run in under the facings and vent flaps just a bit. Maybe 1/2" . Again the muslin is stitched 1/4" from the raw edge of coat fabric.
The muslin is then slip stitched to the body of the coat. I don't have a picture, but the raw edges of the facings and vent flaps are cross stitched to the turned up hem. It might not look pretty, but it will eventually be almost entirely covered by the lining.