I've mentioned this before, but what I'm about to do has NOTHING to do with the instructions in the book. It's just a technique that works for me. It gives a nice clean finish to the inside of the coat, and almost eliminates any hand sewing of the lining.

Before getting started I've learned to make a simple hanging loop. It takes just a few minutes to make one from a scrap of lining material. Center it over the back seam of the lining and baste it into place. I didn't do this on the frock coat and I've been kicking myself ever since. There are so many times when we have to hang our coats on a hook, and it's so much easier to add a loop now.

Next I pin and baste the collar to the right side of the coat. Be very sure you have it right side up! The undercollar side should face the right side of the coat. If I hadn't added a 1/2" to the collar I would never have been able to get it to fit. In fact, I could have used just a touch more length. It did, however, all work out in the end with some easing here and there. The seam will have to be clipped (hopefully you've staystitched just about everything) and basted like crazy. The goal is to get the collar to stay put.

Next, the whole lining assembly is placed over the coat right sides together. The collar is sandwiched between the two parts. Pin and then baste the whole damn thing together. Don't give up, it's not impossible to do. There's just a ton of fabric to deal with. The seam will start at the hem and go up the front to the peak of the lapel. Then, with the needle down, rotate the work and stitch across the neck. My Singer 301 does a great job pounding through the 5 layers of fabric. At the top of the opposite lapel, switch directions and stitch down to the hem. My only advice is to just take a deep breath and slow down during this whole operation. My goal is always NOT to have anything to rip out.

There is a lot of bulk in the neck seam to put it mildly. I'm never sure what to trim. I decided to trim out only the collar seam. This worked well for me. Just be very careful with any trimming. One slip and the show is over.
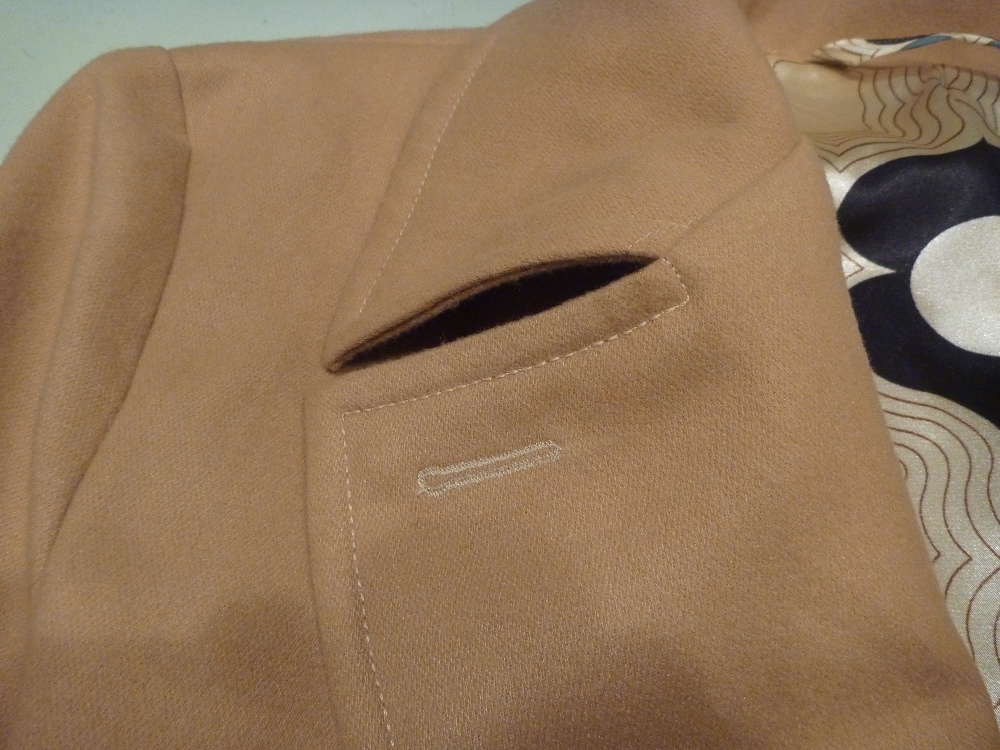
The lining assembly is then flipped to the inside of the coat and pressed. Now it's actually starting to look like something! When pressing the top of the lapels you will want the seam to roll to the underside. At the level of the second button hole you will want to transition that roll to the other side of the front. That way when the coat is buttoned the seam will not show. The only way I know to keep this "roll" in place is to baste the coat front prior to topstitching. Topstitch the coat fronts and add the button holes.
It's so interesting to look at the process. You are so right about the loop being a needed thing.
ReplyDelete