Thursday, September 26, 2013

A Little Tailoring

As much as I want this jacket to be unstructured, I keep veering off into "tailoring territory". It's hard to resist. I want this garment to be the best possible that I can produce, considering my abilities and the tools at my disposal. Chances are that I won't make this design again, and I probably won't be working with velvet again any time soon. If I know a technique that could possibly make a better garment, why not go for it? So instead of Breaking Bad, I'm Breaking Out Cabrera!


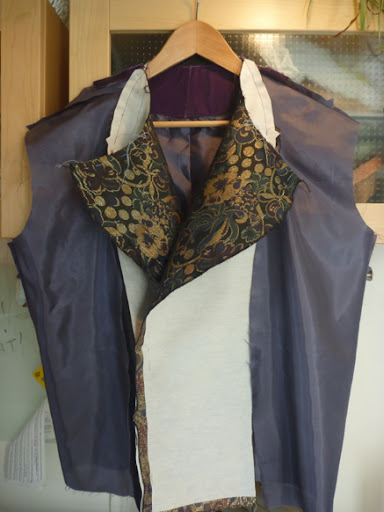
The left center front panel can be left unbottoned to create an asymetrical lapel, which is how I intend to wear it. Otherwise, all that fabulous metalic brocade is for naught! To beef up the lapel edge I've slipstitched on some 3/8" cotton twill tape. One edge is stitched to the brocade at the seamline, the other is stitched only to the interfacing. The goal is to have all the stitches invisible. I did this only on the left side. It's not difficult, and goes surprisingly quickly.

Then things start to slow down....
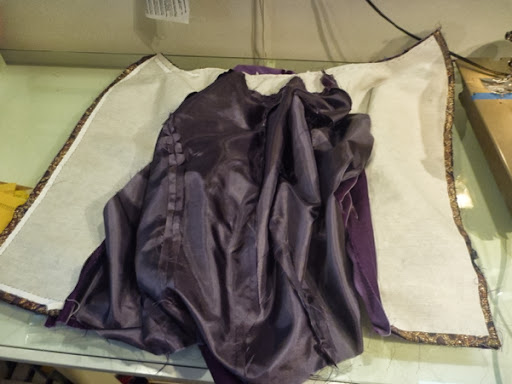


What's going on here is what I call the "big seam". OK, so there are some traditional tailors turning over in their graves right now; so be it. This is a process that's given me more professional looking results without all the collar handsewing. The facing/ lining component is aligned and basted to the jacket body. The band collar is sandwiched between the two. The two "halves" of the jacket are then stitched together in one continuous seam; think up, over, down and done! It takes awhile to set this all up. We're talking lots and lots of basting, but this is a technique that's worked well for me. In particular, it simplifies the collar. You do, however, need a machine powerful enough to go through four layers of velvet and two of interfacing.


Here is the whole mess finally ready for the sewing machine. Lots and lots of basting eliminates the need for any annoying pins. Personally, I like that, and so do my fingers!
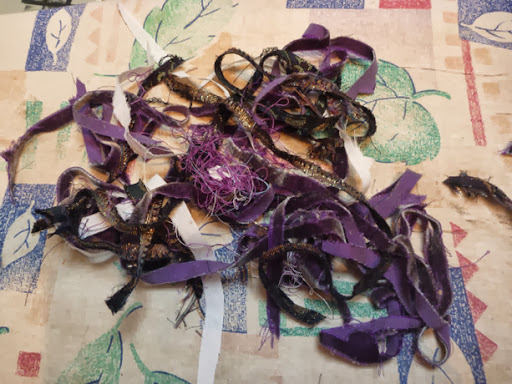


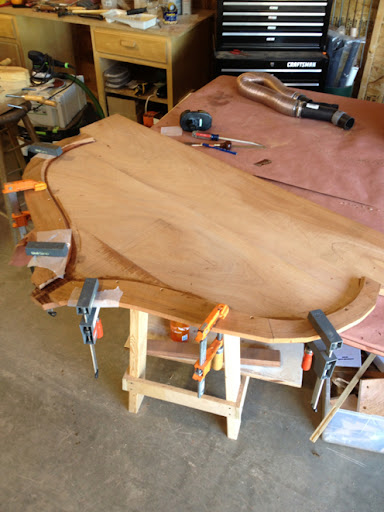
The seams will be very bulky, so I very cautiously trim away. One slip of the scissors and it's pretty much over. I frequently turn the garment rightside out and feel the seams as I go along. This guides me in where and what to trim.

A reader recently asked about the similarities between sewing and boatbuilding. Well, here you go!

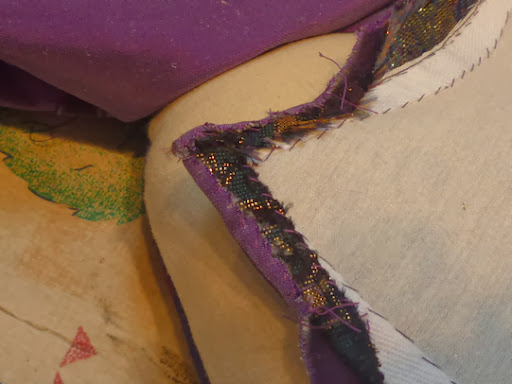


Now I go back to my buddy Cabrera. To control the fabric at the turn of the lapel point, the seam allowances are trimmed a bit and whipstitched back onto the tape. This doesn't have to be pretty (and it's not!). The remaining seams should be pressed open. This was difficult to do with my two fussy fabrics. I steamed them open as best I could before turning everything rightside out.


And so, here we are. Things are coming together.
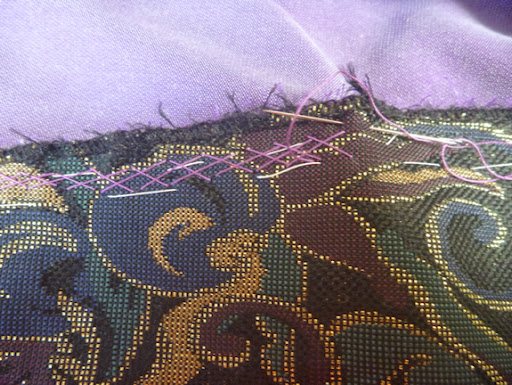


The brocade facings are still flopping around, so I cross stitched them onto the jacket seam allowance. I'm getting addicted to doing all this kind of hand sewing with silk thread. It almost never tangles. The white basting thread (which also never tangles) is holding the interfacing in place and will be removed after the cross stitching.


While I'm in a handsewing mood, I might as well hem the jacket. This is a technique I use all the time. A bias strip of muslin is sewn into the fold so that 1/2" shows above the hem.


The hem stitch is done between the muslin and the back of the velvet. This will produce an almost invisible hem from the right side of the jacket. The line of machine stitching ends up being the perfect place to attach the lining, but that will have to be another day.
Tuesday, September 17, 2013

Plodding Along

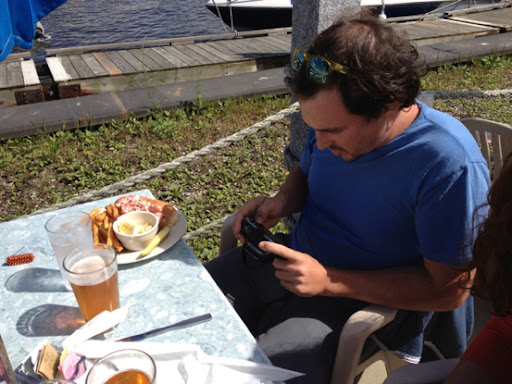
There's been very little momentum with my velvet jacket project. It seems I just get started and, Bam! Something comes up. Most recently my daughter and her boyfriend visited from California. I had a wonderful time with them and, trust me, lobster rolls and craft beers trump sewing any day!


Lunch at the Kennebec Tavern being posted to facebook no doubt.


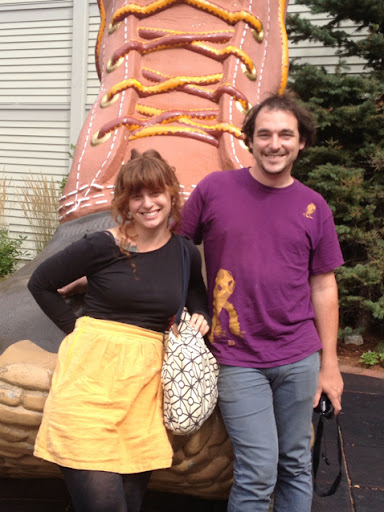
Smile, you're in Maine! No visit to Dad's is complete without a corny photo-op at LL Bean. Thanks Meredith and Evan for being such great sports.

But all good things eventually come to an end, and it's time to get back to the Belgian Chef's Jacket.

With the sleeves completed, it's time to tackle the lining. The pattern is for an unlined jacket so I'm just making it up as I go along. It's really not that difficult to do, just a few simple modifications to the original pattern pieces. Anyone who's followed this blog knows how much I hate working with polyester acetate. So it becomes just a matter of "manning up" and getting on with it. Here goes...


Using the pattern pieces I chalk on an additional 1" at the center back for a pleat. I also add some additional fabric at the armscye, knowing that I'll have to handstitch the armscye lining seam. I'd much rather trim fabric away than have too little.


I drafted a velvet back neck facing which is reinforced with Light Crisp Sew-in Interfacing from Fashion Sewing Supply. (Insert rave about their products here).


My worries about cutting the metalic brocade fabric were completely unfounded. It's much more durable than it looks. Just to be on the safe side, I ran the edges though my little Bernette serger to prevent ravelling. Then I basted on a layer of the Light Crisp interfacing, which should provide more than enough body for the "lapel". I'm loving the fluid "floppy" character of the velvet, so I find myself moving towards a more unconstructed look. More shirt, less jacket.


I've attached the brocade facing to the lining just at the top (the neck edge). As construction continues I'll cross stitch the edge of the facing to the back of the jacket's center front panel. This will hold it in place. The lining will then be slip stitched into place. Fortunately, I actually enjoy handstitching.


So here's the completed lining.


And just for fun, here's the lining roughly pinned into the jacket body.


I love getting a little sneak peek of the finished garment, and it always motivates me to charge towards the finish line. I may feel that I'm just plodding along, but there's hope for this jacket yet. This is a very different style for me (almost, dare I say, out of my comfort zone), but I'm genuinely happy with the way things are looking so far. Next step will be adding the collar.


In the meantime, the boat languishes :(