Showing posts with label rivets. Show all posts

Thursday, September 14, 2017

David's Bag

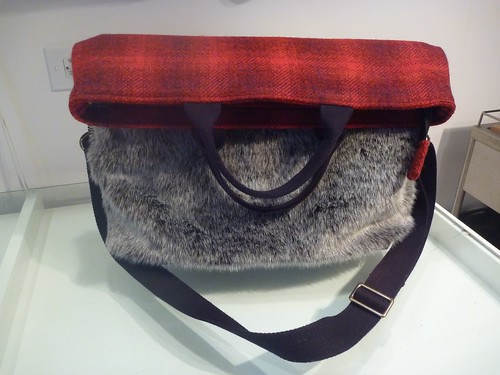
I had a good sized piece of faux fur left over from my backpack project of last year.


And....I heard a very loud "I want one!" from this guy.


This is my great friend David, the ultimate lumbersexual (if that's still a thing!). He lives in New York and he's always willing to tromp the garment district with me for hours on end, and then turn around and build a deck or shingle a dilapidated backyard shed. Trust me, there aren't many guys like that. I'm keeping him around!


In his day to day life he works for the company that provides services for the hearing impaired on Broadway. It's a very stressful job, and he looks forward to Monday nights when most of the shows "are dark". (Look, I'm learning some theatre lingo!) Every other day usually finds him frantically running from theatre to theatre, putting out fires just before the curtain goes up. Employees don't show up, equipment fails, bus loads of senior citizens arrive and overwhelm the service, Snarky patrons are out of control and need to be placated. Things rarely go smoothly. A warning to tourists in Times Square....don't get in his way, he'll run you over! This man needs a bag that can multitask as much as he does.


Plan. A messenger bag to hold his laptop, which can also become a large tote bag to schlep the various headsets and hand held devices between theatres.


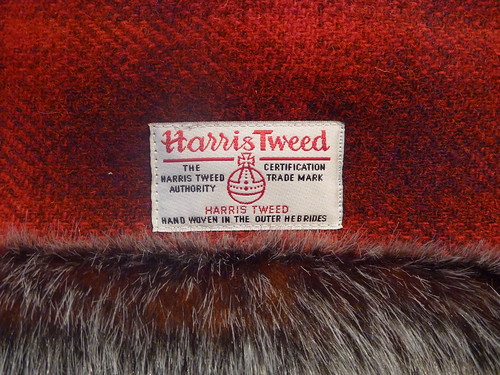
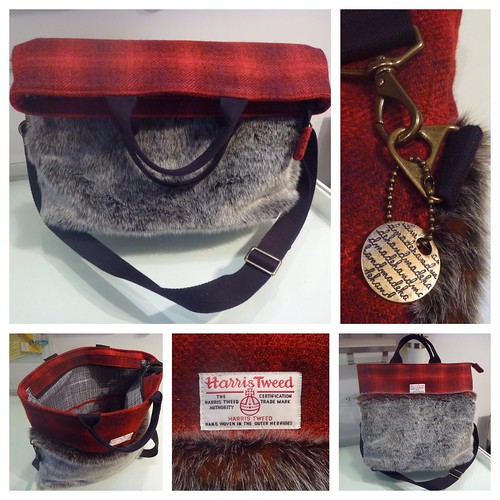
David loves buffalo plaid anything, so I set out looking for some wool fabric that would play nicely with the gray faux fur. My online search eventually lead to Etsy and a piece of ombré Harris Tweed. I like to think of it as buffalo plaid with a twist. https://www.etsy.com/shop/EsplanadeLondonCloth.


I think any bag maker will tell you that an arsenal of different interfacings makes for better bags. There are so many available, from stiff plastic-y ones, to ones that are thick and cushioned.


This is my new favorite! Medium weight Pro-Weft Supreme from Fashion Sewing Supply. It's a soft brushed knit interfacing with some slight stretch in one direction. I used it to back all the Harris Tweed parts of David's bag. It's a dream to work with, and fuses at a lower setting than the interfacings I would use for a shirt. I save every little scrap of this stuff. It's that good! Since making this bag I've used it to interface welt pockets, bound buttonholes and pocket flaps.


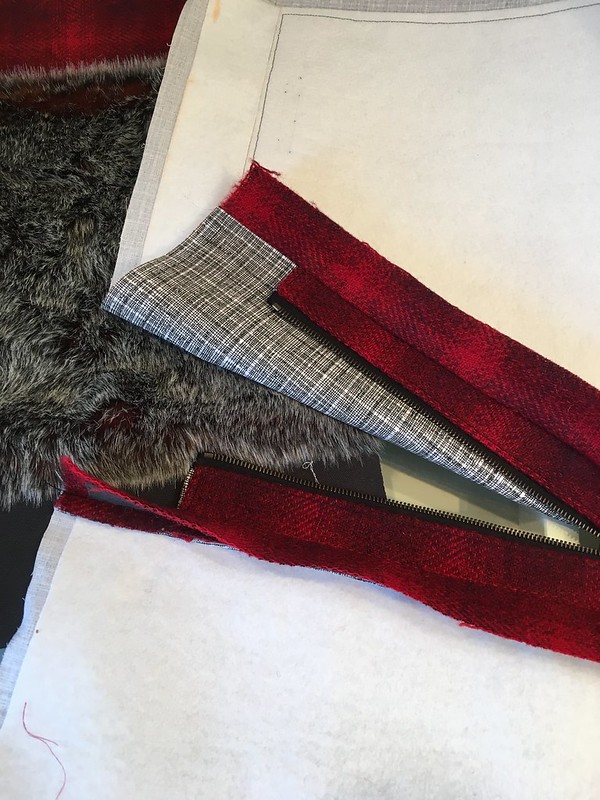
I don't have very many progress pics of this bag. This is the recessed zipper opening for the top of the bag in process. It's a nice feature to have, especially when the stuff you're toting needs to be protected. I highly recommend this video https://youtu.be/R-CHW9EEd3k. Like so many things in sewing, what looks complicated really isn't. What I love about this video is that everything ends up finished in the end. No ragged edges anywhere. Your bag will be as beautiful inside, as out.


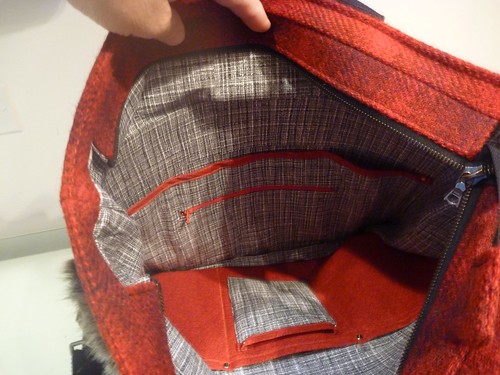
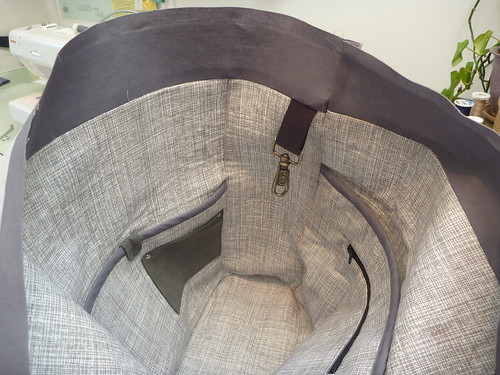
I lined the bag with quilting cottons from JoAnn's. There's a padded divider to hold David's laptop along the back of the bag. It has a zippererd pocket on the front side. Kyle, (my bag guru!) from Vacuuming the Lawn, shared a great tutorial on how do do this. So I'm passing it along. http://emmalinebags.blogspot.com/2012/01/how-to-sew-zipper-pocket-tutorial.html. Again, what looks complicated really isn't.


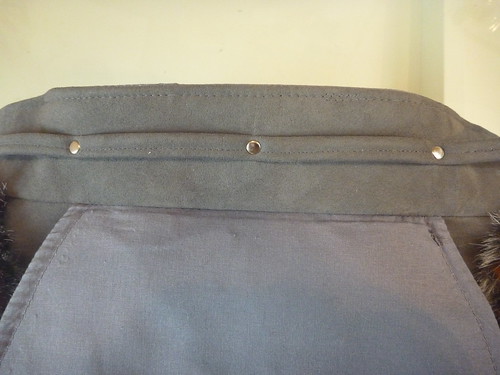
There are three small pockets along the front of the bag. I used some rivets as reinforcement along the top edge, mostly because I just love setting them!


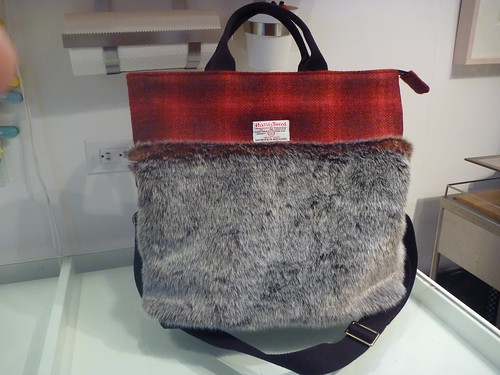
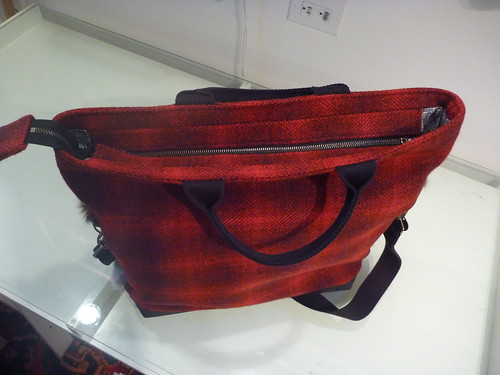
Here's the finished bag in "tote bag mode".


And here in "messenger bag mode".


The antique brass hardware for this project was from Buckle Guy and Emmaline Bags. Both, excellent sources.


We're all smiles with our fur bags! Have YOU made one yet?


Monday, September 26, 2016

Pantone, Progress and Problems

Clearly the Pantone prognosticators were watching me last March at the MPB Winter Frolic! Were they hiding behind the rolls of faux fur at NY Elegant? Did they watch me pick out this fur, knowing that I'm always way ahead of the fashion curve?


I picked this.....


Low and behold.....what do they pick for this Fall's color trends???


Potter's Clay and Sharkskin!


Of course, I'm being silly here. But I do find it amusing that my current project fits in with their color predictions. Truthfully, I would never have known about their color selections if Peter, over at Male Pattern Boldness, hadn't just finished a great work jacket in Aurora Red. Or is it Cranberry? Maybe Tomato?


In the end, who really cares? Certainly not me.


I completed the lining, which includes the scavenged swivel clip for my car keys.


I took my readers' advice and added a handle. It's not visible here, but the folded ultrasuede is held together with Wonder Tape (another gift from Kyle over at Vacuuming the Lawn). It's " secret weapon #2". It made the assembly so much easier. I added a couple of rivets for added reinforcement (plus, I just love using them).


The Janome had no difficulty sewing through all the layers here, which are considerable!


The drawstring is also attached with rivets. It's actually easier than the directions, which say to sew through all layers along the stitching line of the drawstring.


The upper band of ultrasuede is interfaced with a midweight fusible Pelon product that I picked up at JoAnn's. I have to say that I've been spoiled by the interfacings from Fashion Sewing Supply. However, the ones I had on hand all fuse at high temps, and I was worried about melting the faux suede. JoAnn's was the expedient choice, but it's hard not to feel that I paid a price "performance wise" with what I purchased there. When I make my next bag (I'm sure there'll be another) I'll take the time to order in some better products.


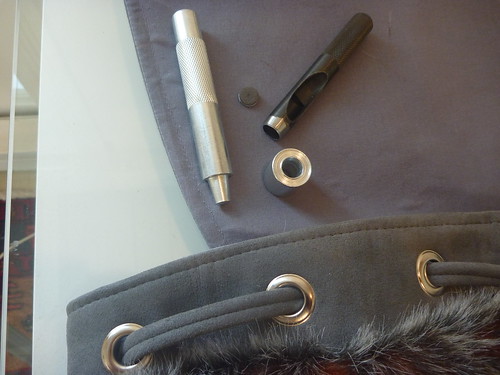
Setting the grommets was much easier than I had imagined. I bought this set on Etsy. Basically... Punch hole, insert the hardware, place on base and pound with a hammer. Tout fini!


I took my new backpack on a test drive this afternoon. I had a service appointment for my car which would take about 1 hour. I packed my iPad, Kindle and ear phones into their appropriate slots and headed out. A pretty significant problem became immediately noticeable.


Because the lining is only attached at the very top edge of the bag, the weight of items in the pockets allows them to shift around, mostly front to back. When than happens the top of the pack gets pulled down. It gives the impression that the backpack is collapsing in on itself. Not a good look!


Upon returning home I went to work correcting the problem. I secured the lining to the back panel of the exterior bag with four rivets. Not the easiest thing to do with the bag all assembled, but where there's a will there's a way. No more shifting lining, (and it looks good too!).


Next time....the completed backpack. Here's a little tease.


Sunday, March 20, 2016

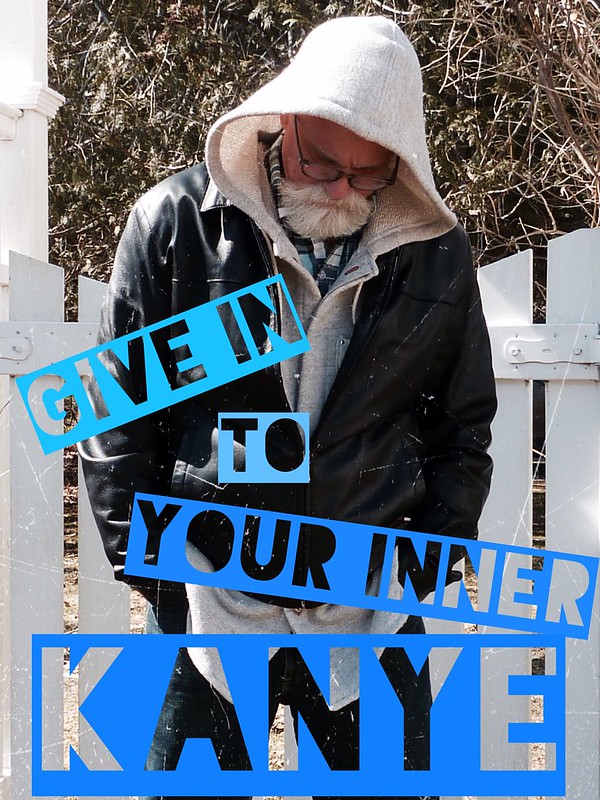
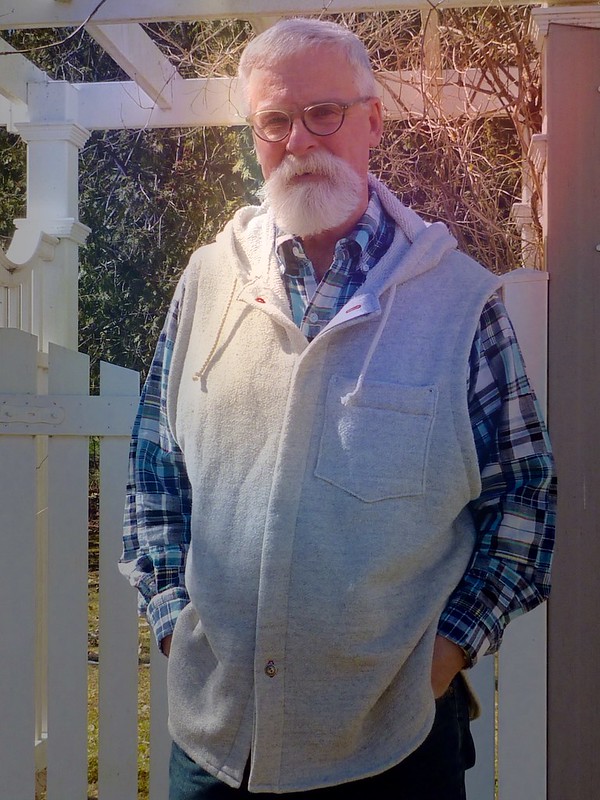
Geezer meets Yeezy

What can I say? Sometimes you gotta....


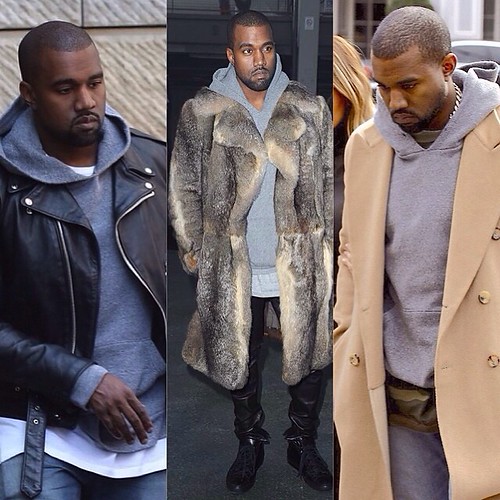
Because, apparently, there's nothing that can't be improved by adding a hoodie to it!


Leather jacket, fur coat, camel hair coat.... Hood-i-fy it man!


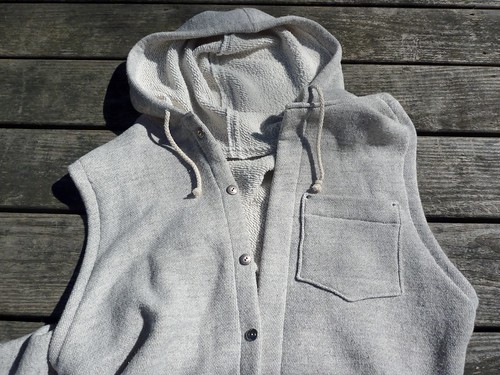
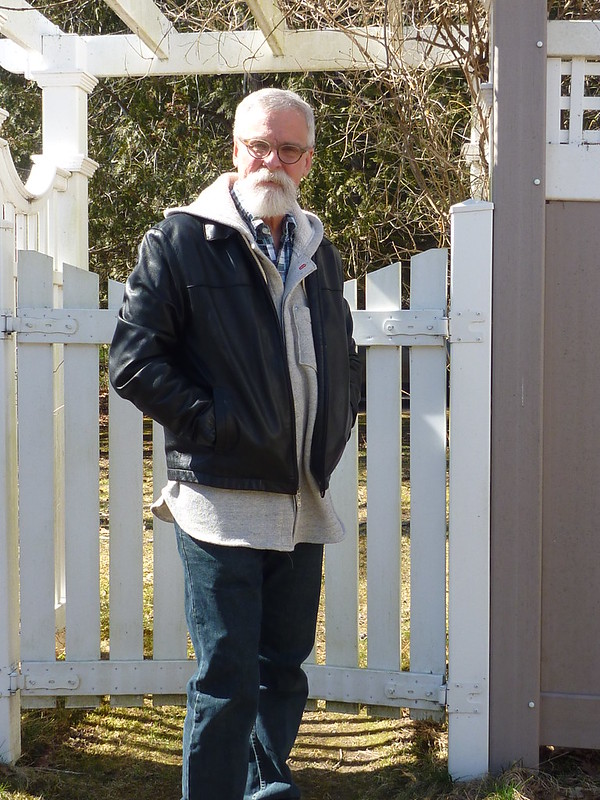
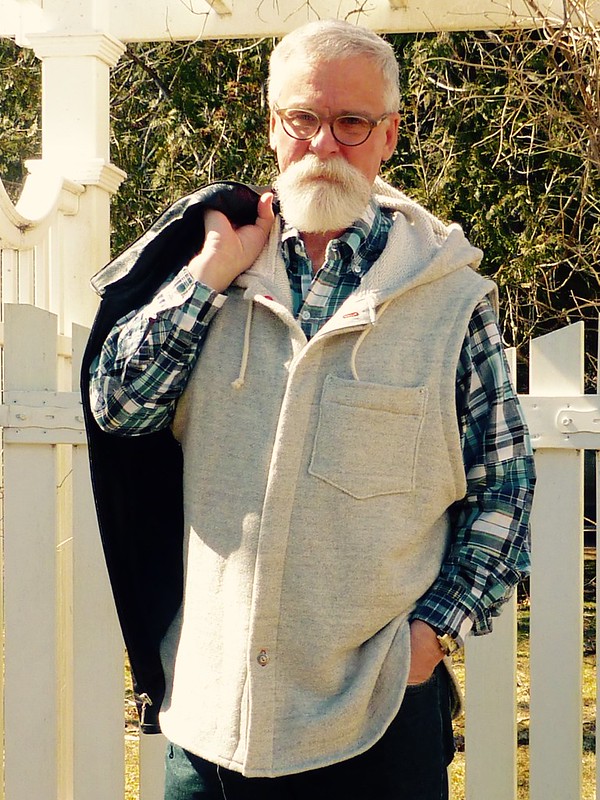
Enter Quik Sew 2292, made up in an athleisure fabric from Gorgeous Fabrics. Streetwear for the senior set!


All joking aside, I wouldn't recommend this pattern to anyone. I have no idea who they thought this vest would ever fit. The shoulders were virtually square, and the back was enormous. Basically, a couple of rectangles with a hood stuck on it. It's also designed with 1/4" seam allowances which would have been impossible for me to deal with. (No fancy serger here!). It was a battle from the word go, and this is one project I'm very glad to put behind me.


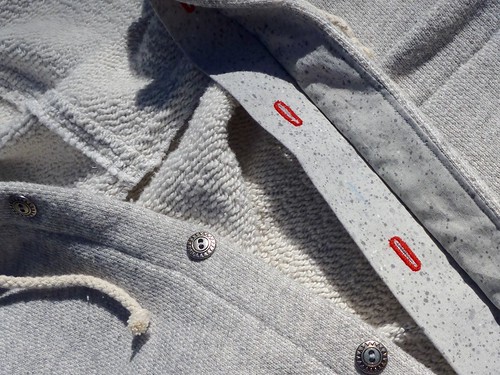
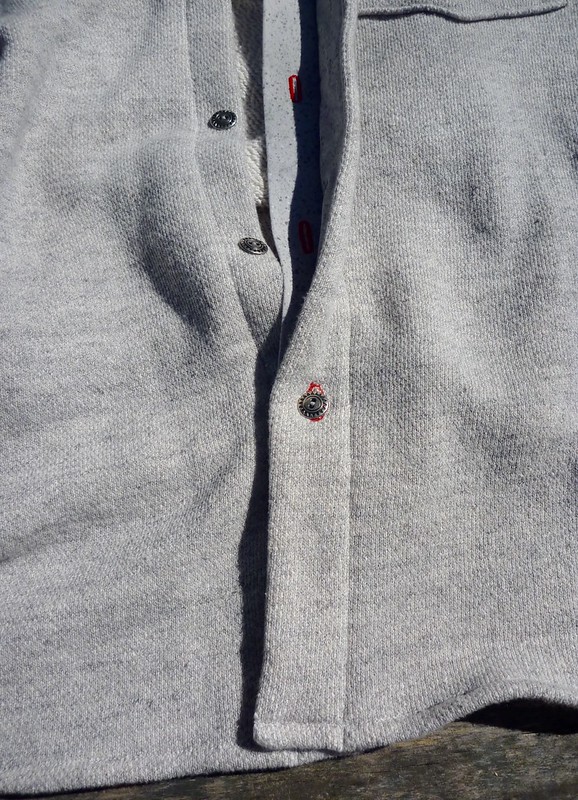
I've modified the front with a concealed button placket. The fabric, lovely as it is, isn't very buttonhole friendly.


I constructed the placket out of quilting cotton from JoAnn's. This is my third athleisure garment and I'm seriously grayed out. Hence the red buttonholes.


To counter the overall blandness of the whole garment, I decided to add a double buttonhole for the bottom button.


I also popped in a couple of rivets on the corners of the pocket.


This leather jacket doesn't see much wear because I always freeze wearing it. Maybe the hoodie isn't such a bad idea after all. I would have worn this to the MPB Winter Frolic had the unusually warm winter weather continued. Unfortunately it turned much colder, so my wool toggle coat was in order.
 
 
That's it for now. Gotta run. I think I hear the phone ringing. Maybe it's Hermes calling!!!


Wednesday, March 25, 2015

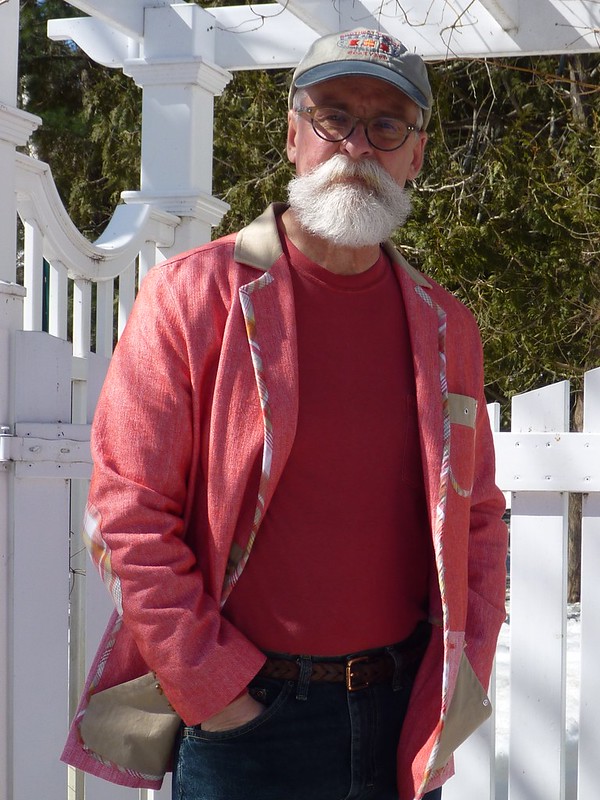
The Watanabe Inspired Jacket. Japanese style meets Nantucket Red

There's still plenty of snow on the ground here in Maine, but today I'm dreaming of summer on Nantucket; an island famous for whaling, cobblestone streets and its own color -- namely, Nantucket red.


I'm sure some of you are scratching your heads. What's he talking about? This is one of those New Englandy prep classics. A faded weathered red (better not call it pink!) that only gets better the more beat up and worn out it is. It's a color I associate with the yacht club set. A year round tan, boats, tennis, martinis and most importantly -- old money; none of which I have!!! Apparently the real deal comes from Murray's Tog Shop on Nantucket, but just about everyone's jumped on the bandwagon -- J. Crew, Ralph Lauren, LL Bean (who calls it Breton red). Oh, and a caution if you're considering wearing it, like white shoes it's only worn in the summer here in New England. Although I'm assuming that the "snowbirds" take it south with them for the winter.


So for a few minutes this afternoon I slipped on my new Junya Watanabe inspired spring jacket and joined the ranks of the idle rich -- minus the tan!


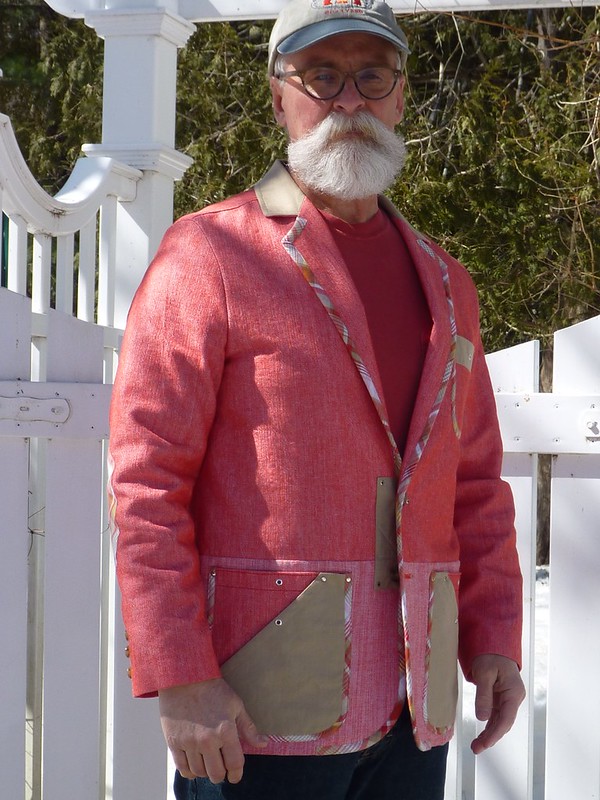
I have to say that I'm really pleased with the fit of this jacket, especially through the shoulders. The combination of a sloped shoulder adjustment and removing all the sleeve ease produced a really natural fit. It still has a slightly structured shape without any actual structure. No shoulder pads, no pad stitching, no unfortunate Miami Vice look.


The back is actually better than I anticipated. This is really a "sack jacket" -- there's no waist suppression whatsoever. The side seams and the center back are a straight shot. Considering that I was really grasping at straws trying to fit the back, it didn't come out all that badly.


It's not exactly the most attractive shape, but then again it's supposed to be a casual jacket not a business suit. Plus, there's so much more that I love about the way this project turned out. I refuse to get hung up on all the "what if's" and "coulda / shoulda's". We're all guilty of way too much of that as sewist. Agreed?


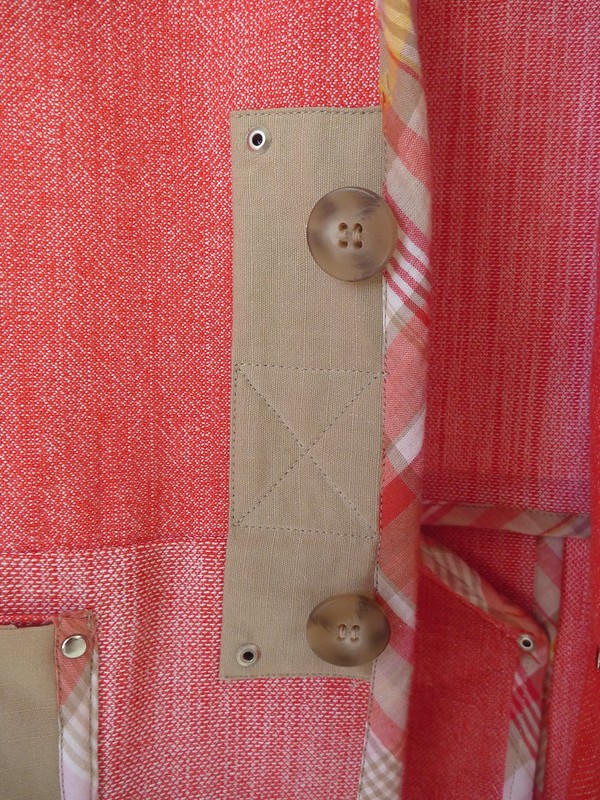
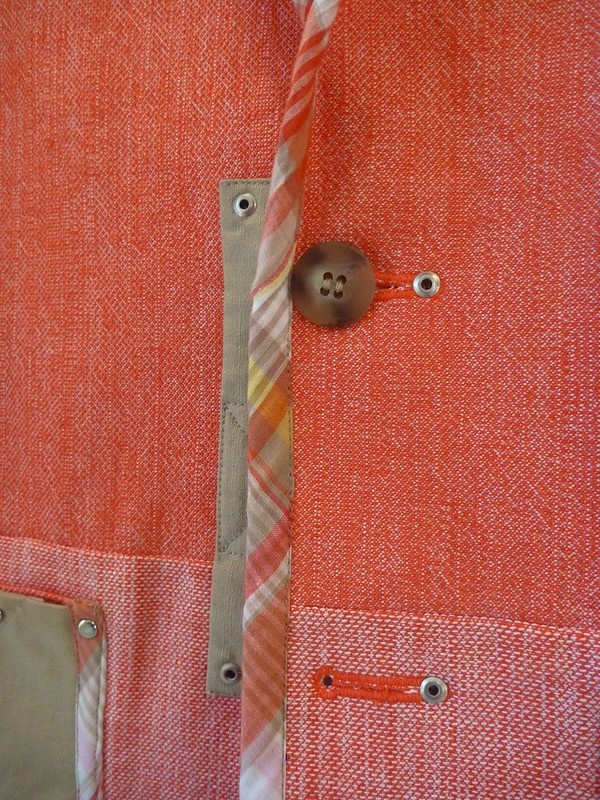
They say that God is in the details, and God knows I had WAY too much fun adding all the bells and whistles to this jacket. At times it was hard to resist the temptation to add just one more thing -- a rivet here, a patch there. It's probably not everyone's cup of tea, but I'm totally digging it.


Just to recap before I grab my paddle and head to the yacht club...


Cotton oxford cloth suiting from Denver Fabrics. I had my doubts, but ended up loving it. Ridiculously cheap.

Cotton madras plaid and khaki cotton from Peron Fabrics. (Not so cheap, but I have tons left for a shirt, shorts, pants and a fishing vest!).

Rivet instructions from Enriquesews Academy.


As always, I wish you all happy spring sewing. This is a great time of year to break out of the rut and make your sartorial dreams come true!


Thursday, March 19, 2015

Watanabe Jacket -- Progress #3, Finishing details

Here are the final details of my Junya Watenabe knock-off project.


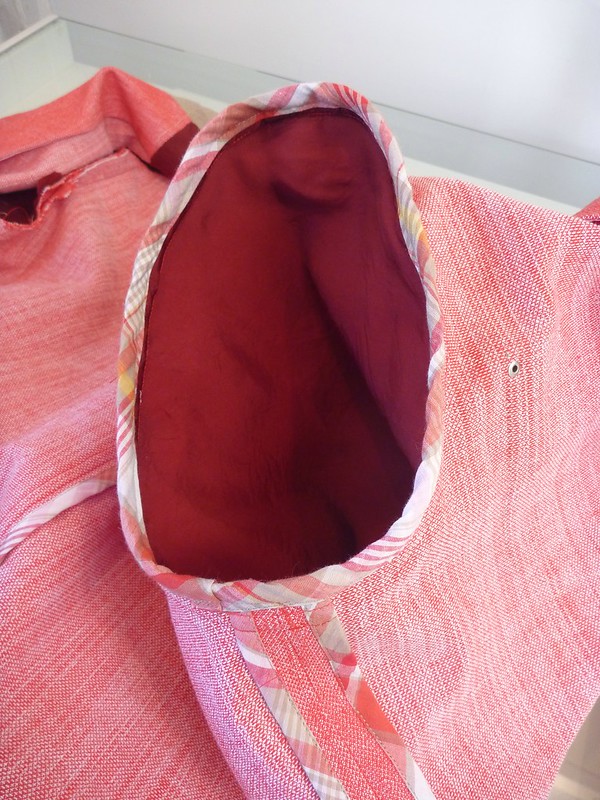
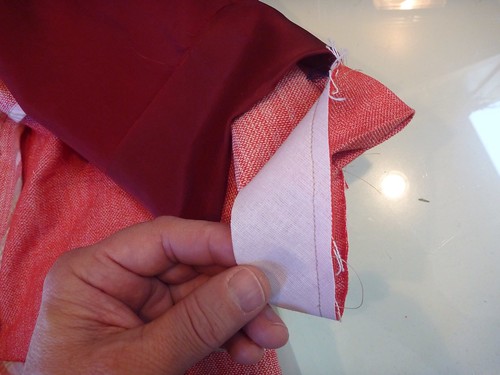
The sleeves were very easy to set, since all the ease (1 1/2" of it) was removed. As always, I baste the hell out of everything. The uppermost row of basting is holding the lining and fashion fabric together. After pinning the sleeve in place, I baste again along the seamline. This pretty much eliminates the chance that I'm going to get a little catch in the fabric as I sew the seam. Oy! There's nothing I hate more than having to redo a sleeve. I'd much rather invest the time in basting, and get it done right the first time around.


Bias binding applied to the raw edges.


A bias strip of sew-in interfacing is applied to the cuff. This makes for a much more substantial cuff.


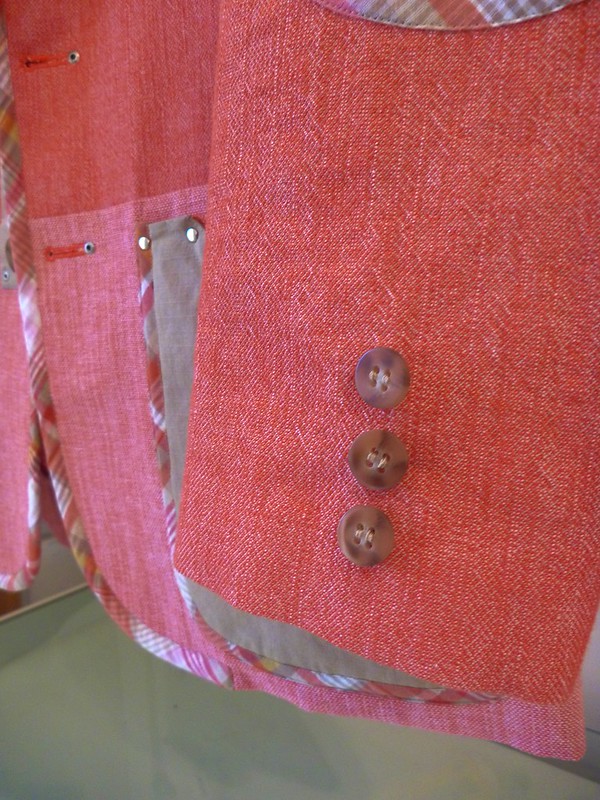
A vented sleeve is simulated by the addition of a few buttons.


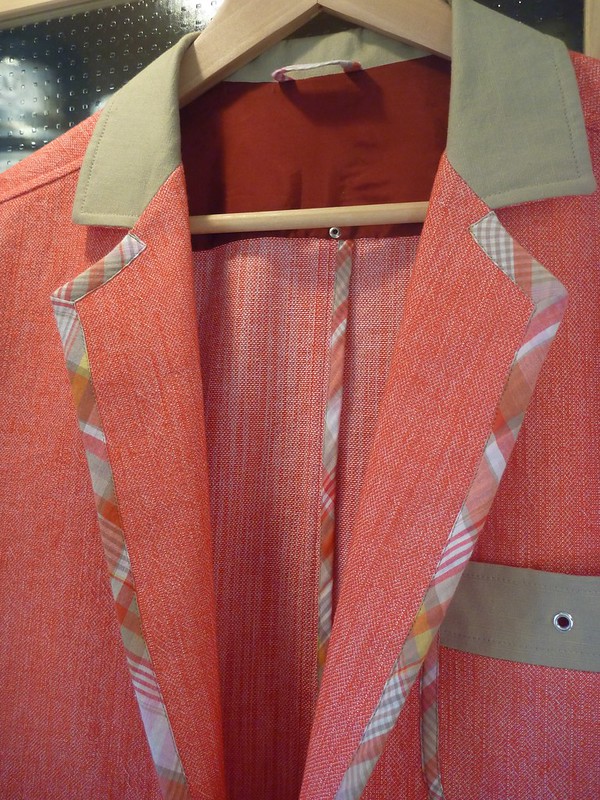
The lapel is trimmed with a wider bias binding. This was made with the 25 mm Clover bias maker (the blue one). The trim was basted in place and then edge stitched.


Patches feature heavily in Watanabe's designs, so I added this one.


I only have a 1 1/16" keyhole cam for my buttonholer, which is a little big for a 3/4" button. I shortened the buttonhole by popping in a rivet. Problem solved.


I think I'm getting a little carried away with this project!