Showing posts with label Buckle Guy. Show all posts

Thursday, September 14, 2017

David's Bag

I had a good sized piece of faux fur left over from my backpack project of last year.


And....I heard a very loud "I want one!" from this guy.


This is my great friend David, the ultimate lumbersexual (if that's still a thing!). He lives in New York and he's always willing to tromp the garment district with me for hours on end, and then turn around and build a deck or shingle a dilapidated backyard shed. Trust me, there aren't many guys like that. I'm keeping him around!


In his day to day life he works for the company that provides services for the hearing impaired on Broadway. It's a very stressful job, and he looks forward to Monday nights when most of the shows "are dark". (Look, I'm learning some theatre lingo!) Every other day usually finds him frantically running from theatre to theatre, putting out fires just before the curtain goes up. Employees don't show up, equipment fails, bus loads of senior citizens arrive and overwhelm the service, Snarky patrons are out of control and need to be placated. Things rarely go smoothly. A warning to tourists in Times Square....don't get in his way, he'll run you over! This man needs a bag that can multitask as much as he does.


Plan. A messenger bag to hold his laptop, which can also become a large tote bag to schlep the various headsets and hand held devices between theatres.


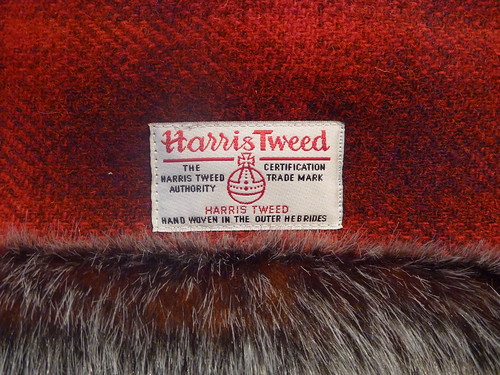
David loves buffalo plaid anything, so I set out looking for some wool fabric that would play nicely with the gray faux fur. My online search eventually lead to Etsy and a piece of ombré Harris Tweed. I like to think of it as buffalo plaid with a twist. https://www.etsy.com/shop/EsplanadeLondonCloth.


I think any bag maker will tell you that an arsenal of different interfacings makes for better bags. There are so many available, from stiff plastic-y ones, to ones that are thick and cushioned.


This is my new favorite! Medium weight Pro-Weft Supreme from Fashion Sewing Supply. It's a soft brushed knit interfacing with some slight stretch in one direction. I used it to back all the Harris Tweed parts of David's bag. It's a dream to work with, and fuses at a lower setting than the interfacings I would use for a shirt. I save every little scrap of this stuff. It's that good! Since making this bag I've used it to interface welt pockets, bound buttonholes and pocket flaps.


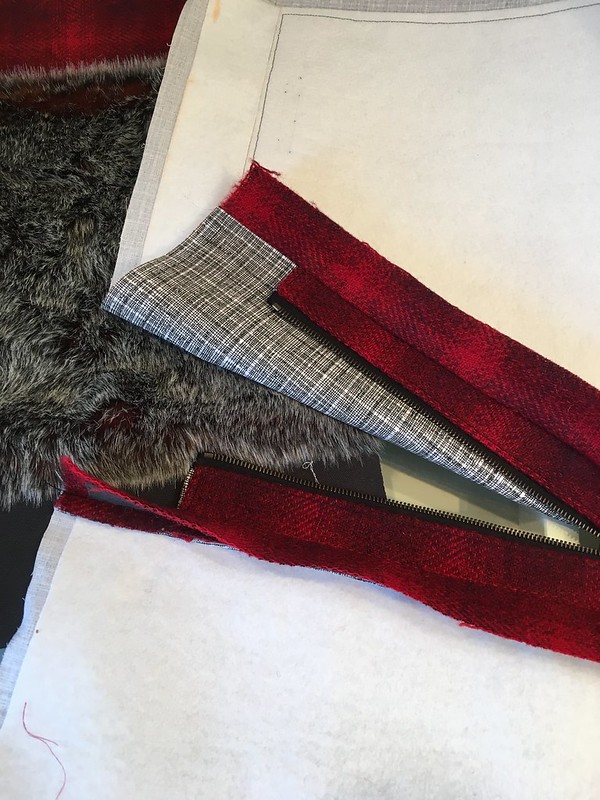
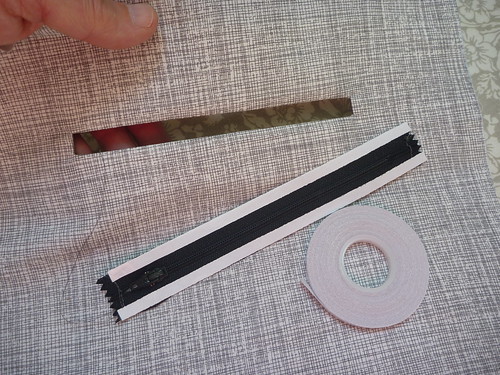
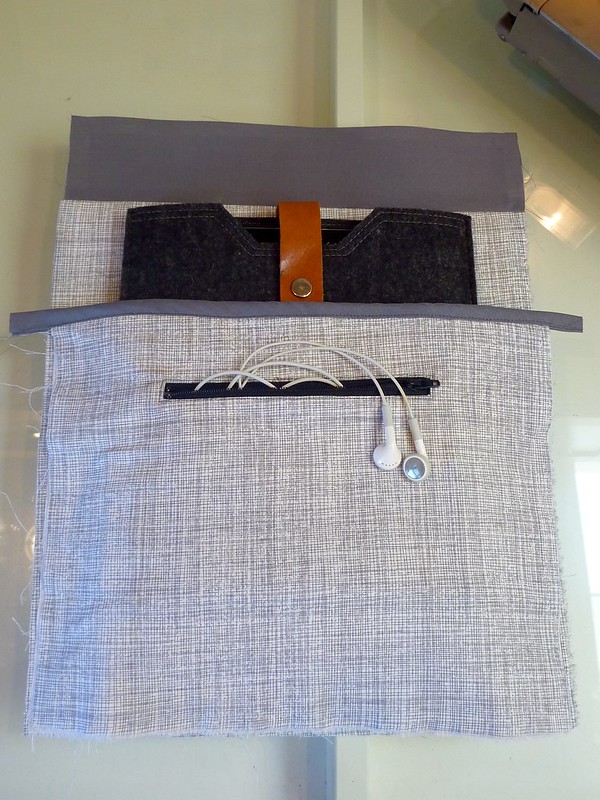
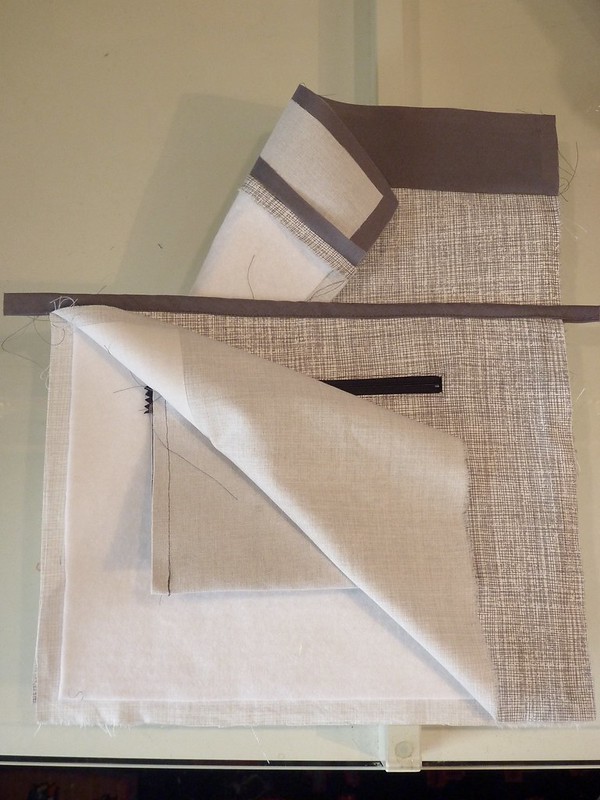
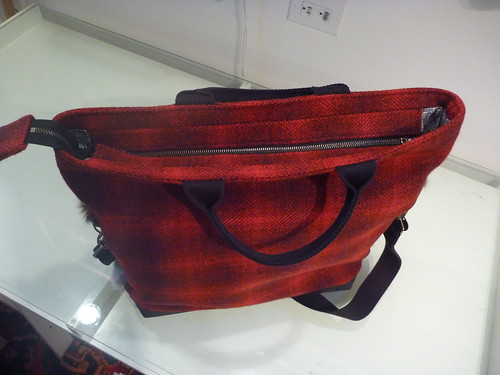
I don't have very many progress pics of this bag. This is the recessed zipper opening for the top of the bag in process. It's a nice feature to have, especially when the stuff you're toting needs to be protected. I highly recommend this video https://youtu.be/R-CHW9EEd3k. Like so many things in sewing, what looks complicated really isn't. What I love about this video is that everything ends up finished in the end. No ragged edges anywhere. Your bag will be as beautiful inside, as out.


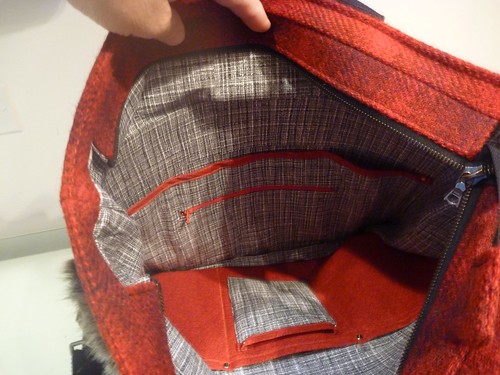
I lined the bag with quilting cottons from JoAnn's. There's a padded divider to hold David's laptop along the back of the bag. It has a zippererd pocket on the front side. Kyle, (my bag guru!) from Vacuuming the Lawn, shared a great tutorial on how do do this. So I'm passing it along. http://emmalinebags.blogspot.com/2012/01/how-to-sew-zipper-pocket-tutorial.html. Again, what looks complicated really isn't.


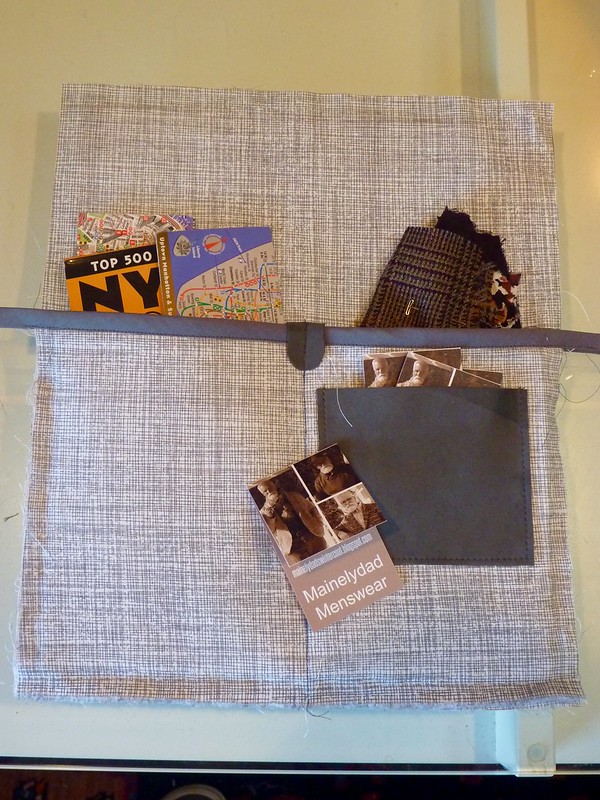
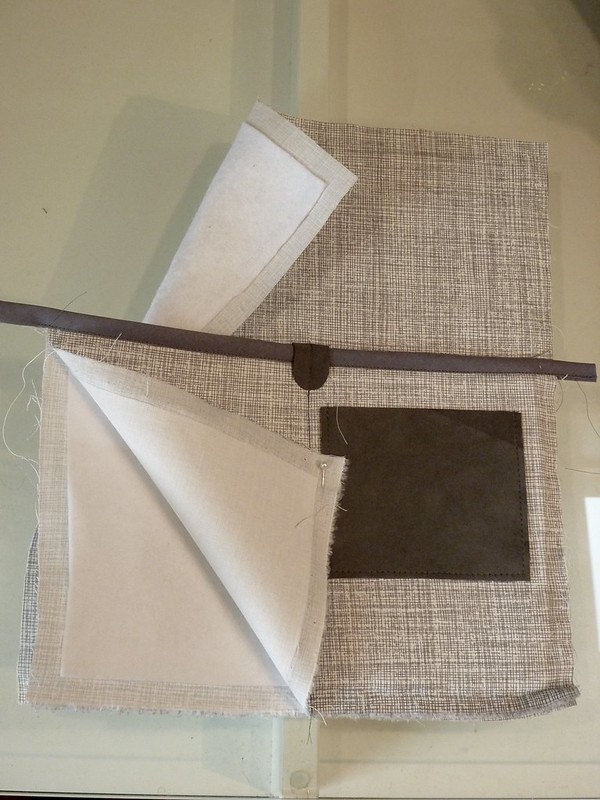
There are three small pockets along the front of the bag. I used some rivets as reinforcement along the top edge, mostly because I just love setting them!


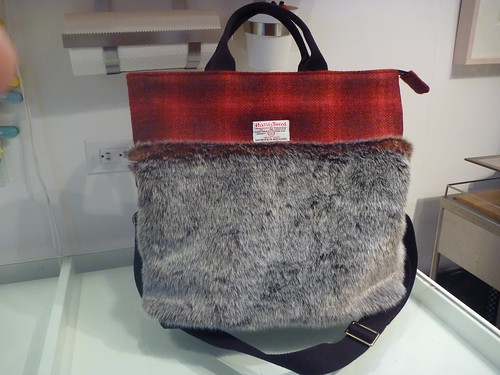
Here's the finished bag in "tote bag mode".


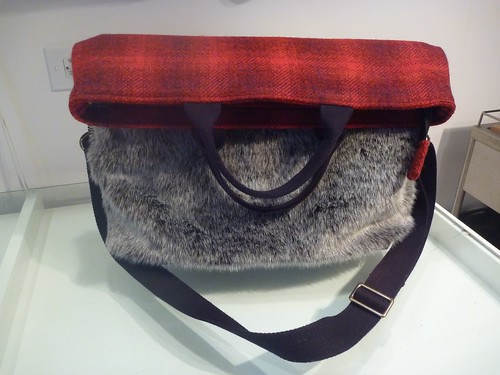
And here in "messenger bag mode".


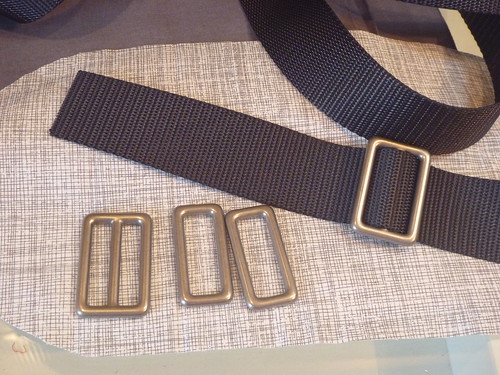
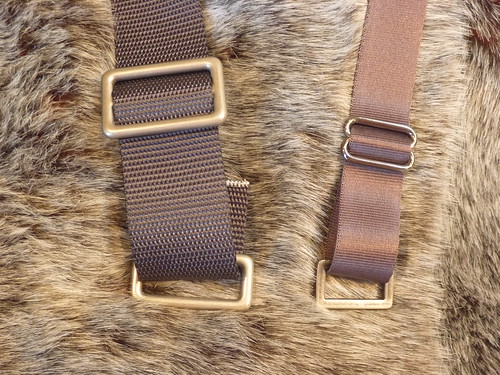
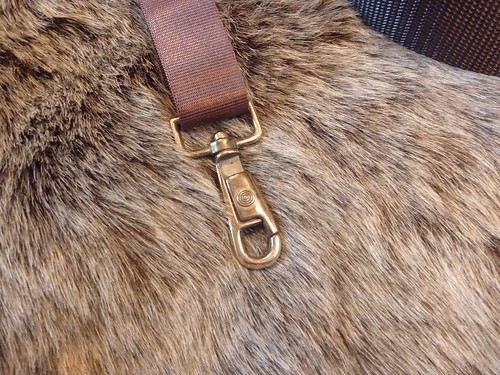
The antique brass hardware for this project was from Buckle Guy and Emmaline Bags. Both, excellent sources.


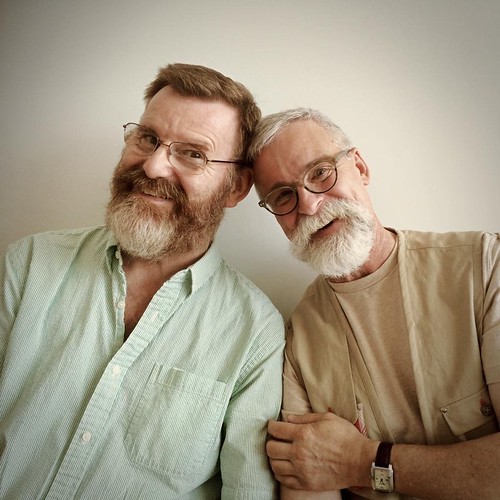
We're all smiles with our fur bags! Have YOU made one yet?


Monday, September 5, 2016

Rethinking my hardware choices, and launching into it.

I cut out some of the ultrasuede backpack pieces and did some test stitching on the scraps, only to find out that my trusty Singer 301 decided not make a single stitch. Arghhhh! It refused to pick up the bobbin thread, so it was essentially just sewing into thin air. I fiddled with the tension, cleaned out all the fuzz, gave it a good oiling, changed to a different needle, but nothing seemed to work. So...off it went to my sewing machine guru Mr. Klaus Heimann in Newcastle, Maine for some TLC.


While I was at a standstill I began to question some of my choices for this project. The only gray webbing I was able to find is on the narrow side, and the finishes on the hardware don't match. With time on my hands I decided to order some new components on-line. So here are the results.


The new webbing is 1.5" wide, charcoal polyester from Strapworks.com. It's much more substantial that what I originally bought. It came in just a few days from Oregon.


The new hardware is solid brass with a matte nickel finish from Buckleguy.com. Infinitely better than what I had originally purchased, and it matches. This is substantial hardware, identical in weight to what's on a Fossil messenger bag that I own. Mr. Buckle guy is in Massachusetts, so this was in my mailbox the next day.


Side by side one can really see the difference. I'm much happier with these small changes. (Which in the end are really big improvements)


The old webbing won't go totally to waste. It fits perfectly on this swivel snap that I scavenged off an old Lands End canvas briefcase. It will become a clip for car keys somewhere inside the bag.


I'm not wild about the "innards" of the Lucy Backpack as designed, so I set out to make it more closely meet my needs. I'd like a large padded pocket along the inside back of the backpack to hold my iPad or Kindle. The Lucy has a zipper pocket on the outside of the back which would drive me crazy. I'd much prefer any zippered pocket to be on the inside.


My plan is to make a little zipper pocket on the outside of a bigger pocket / sleeve. The zipper pocket was a breeze thanks to "backpack queen" Kyle over at Vacuuming the Lawn. She not only sent me the link to a great tutorial, she also sent me a roll of Wonder Tape and a box of Wonder Clips to make the job easier. Sewing people are the BEST, are they not. Thank you, Kyle!


So here's how it turned out. A pocket on a pocket. The lining is made with a quilting cotton from JoAnn's which is printed horribly off-grain, making everything look cockeyed. Grrrr. The top of the sleeve is finished off with some homemade bias trim, because...why not.


A variety of interfacings were used to give the lining some structure. I worry that the whole backpack could end up being a big floppy mess, so I'm working to avoid that.


Here I've folded all the layers back. The area of the welt is reinforced with a strip of Shirt Crisp Fusible from Fashion Sewing Supply. The pocket bag is also completely interfaced Shirt Crisp. The inner layer of the sleeve and the entire outer layer of the lining are reinforced with Pelon Thermolam, a fleecy fusible. Shirt Crisp was used again on the top trim piece where the grommets will be located.


And here is the lininging for the front of the backpack. It has two padded pockets, one for maps of NYC (invaluable for this country bumpkin), and one for fabric swatches that I always carry with me. A little patch pocket of ultrasuede holds my cards.


Pulled apart to show the interfacing.


Next time I'll finish up the lining (Wonder Clips will be involved), and venture into the unknown territory of faux fur! Until then, happy sewing!