I'm a huge fan of Claudine and her blog Rolling in Cloth. Maybe you are too? She's out in her backyard, gloved up and fearlessly spraying dye with abandon. Her results are truly inspirational, and she'd be the first to say it's not all that difficult. I'm so glad I had the chance to meet her at this year's MPB day, where she convinced me to give fiber reactive dyeing a try. I finally have a project that's "dye worthy" , so here goes!

So what I'm working with is Procion MX fiber reactive dye. This is industrial strength stuff, nothing like the stuff that comes in a little box next to the laundry detergent in the supermarket. Because I live in New England, I ordered my supplies from Pro Chemical and Dye, which is in Somerset, MA. They have a great website with lots of PDF tutorials. The online ordering was easy, and my supplies came quickly.
It takes surprisingly little by way of supplies, and none of it is particularly expensive. Gotta love that! I got several 2 oz. containers of dye (prices vary depending on color), a detergent called Prosopol and a pound of dye activator, which is sort of the secret ingredient that binds the dye to the fabric fibers.

You will need some other supplies. Glass mixing containers, measuring spoons, a face mask and gloves. These are NOT friendly substances, so safety is really important. I do not use any of this stuff for food preparation.
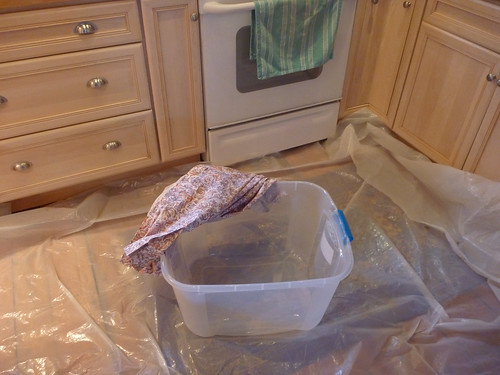
As you can see, I'm doing this in my kitchen! I covered the floor with plastic sheeting. The plastic tub I picked up at a discount store. I specifically went looking for one as wide as a shirt hanging on a hanger.
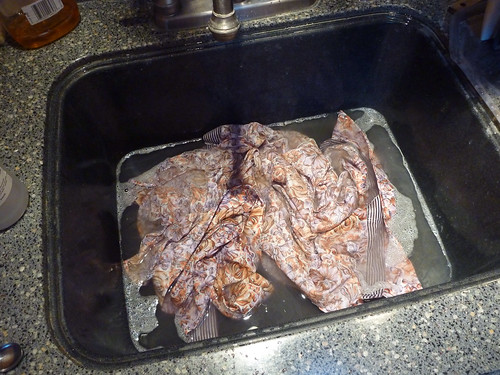
First the shirt gets washed in hot water with a little of the Prosopol and some dye activator. This preps it for dyeing. This is the only part of the process that requires hot water. The rest is all at room temperature, which really simplifies things. Simple is good, especially when you're doing something new for the first time.
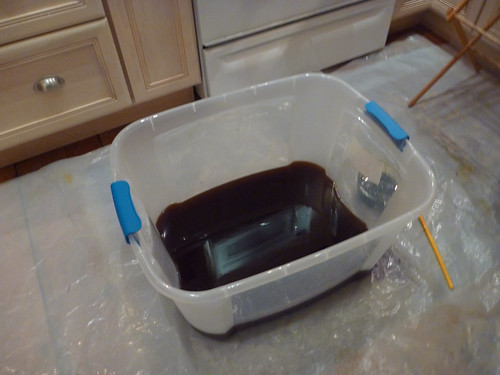
The dye bath is 2.5 gallons of room temp water, to which 3 cups of plain table salt has been added. (I wonder what the cashier thought when I checked out with 4 boxes of salt?). Dye activator is then added to "turn on" the reaction. To create an ombré effect I gradually increased the concentration of the dye as I dipped the shirt. Claudine was right! It's ridiculously easy and fun. Plus, the whole operation is much less messy than I imagined. You, too, can safely do this in your kitchen!
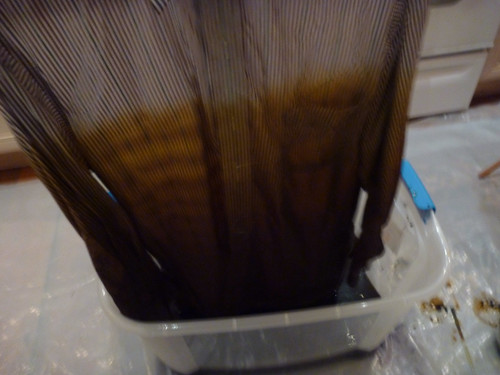
It's virtually impossible for me to hold the camera and the shirt, but I think you get the gist of what happens!
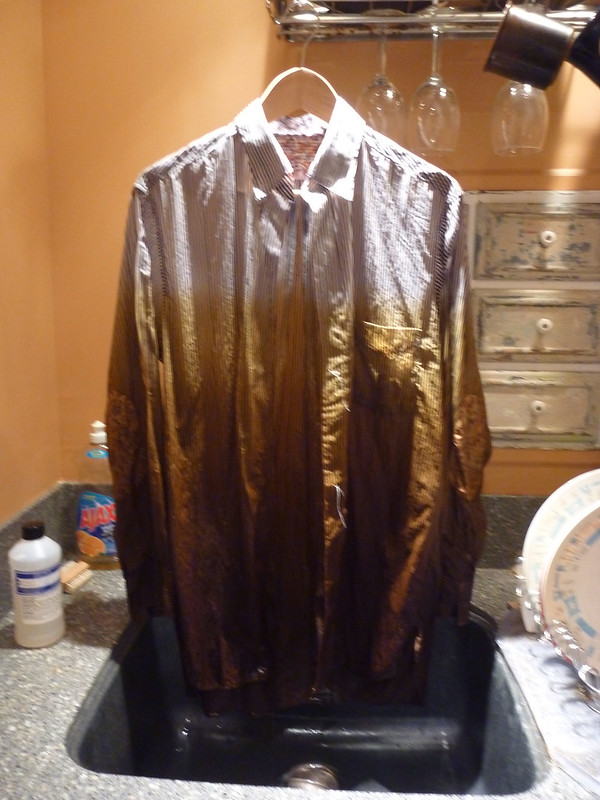
After countless dippings the shirt gets well rinsed, and then hangs to dry over the sink in the pantry.
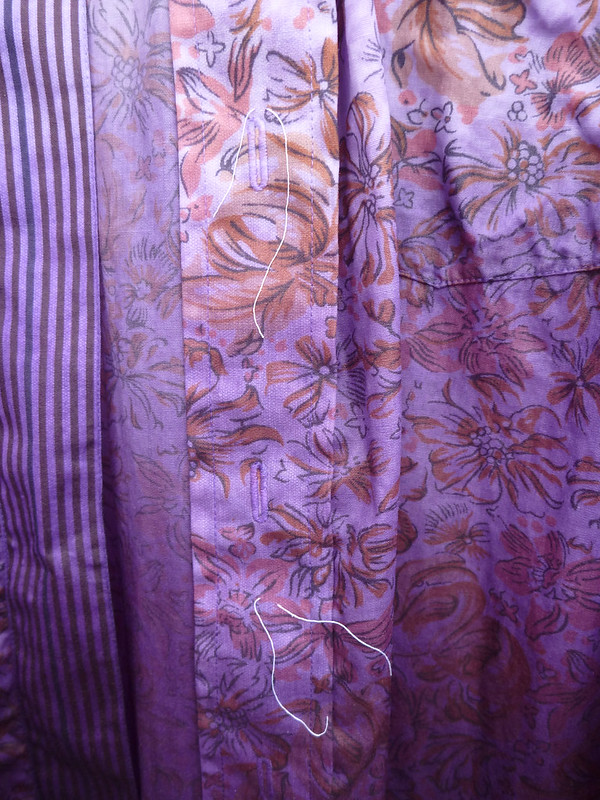
A couple of tips here... Because the dye only works on natural fibers you will want to sew the garment with 100% cotton thread. Otherwise, the buttonholes and top stitching will resist the dye. I DO add polyester threads spaced down the placket as a way of marking where I want the color transitions to take place. It's a control freak thing.
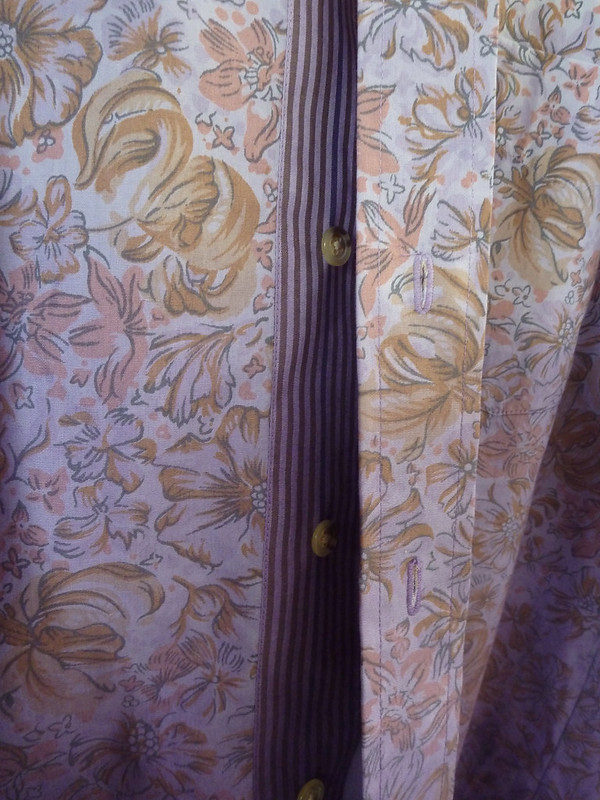
A sneak peek of what's to come!
Are there instructions on how much to increase the amount of dye as you go from lighter to darker or do you just eyeball it?
ReplyDeleteI dissolved the dye powder in 2 cups of water. Then I just gradually added small amounts of the concentrated dye to the bath, dipping the fabric to check the result. The main thing to remember is that you can only go darker, so it's probably good to start somewhat cautiously.
DeleteWow! It looks awesome!
ReplyDelete