I had a feeling that the waistband would be time consuming, and man was I right. I used the construction techniques from Roberto Cabrera; and while I love the results, there are probably much easier, and faster, ways to finish off a pair of pants.
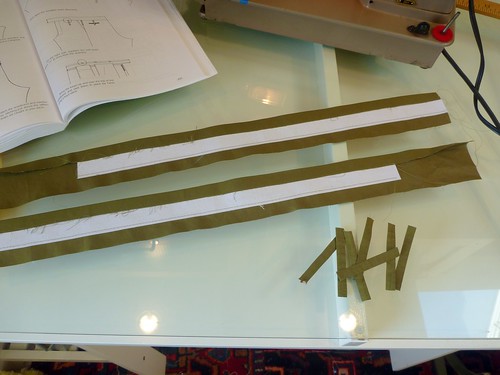
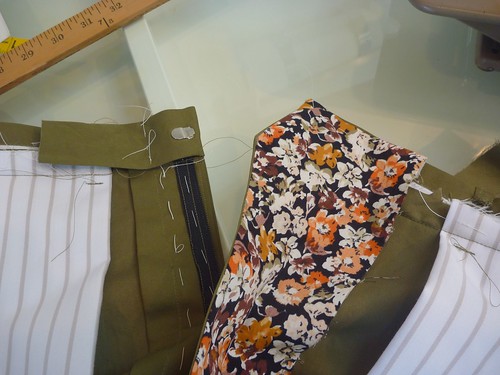
The waistband is constructed before sewing up the crotch seam, so it's done in two halves. They're just basic rectangles sized according to the width of waistband that one desires. I'm making a 1 1/2" inch band, which is pretty standard. I've interfaced the bands with Prowoven Medium sew-in interfacing from Fashion Sewing Supply Co. It's stiff stuff! The belt loops are sewn and turned instead of folded and topstitched. It's a more polished look, but a real PITA. The interfaced band is sewn onto the pants, catching the belt loops which have been basted into position.
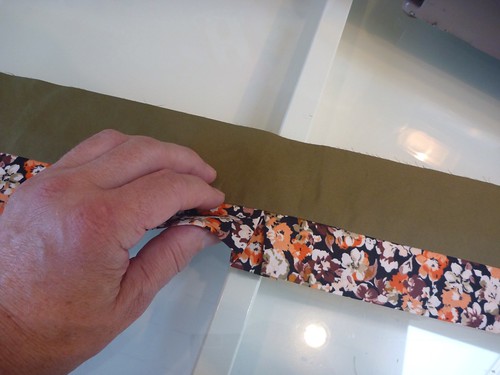
Next I constructed the inner lining with its attached curtain. The curtain is a bias strip of shirting, folded in half and stitched onto the lining. There's a box pleat at the center which adds some wearing ease. It's a classy detail, and I love getting to use my leftover floral fabric this way.
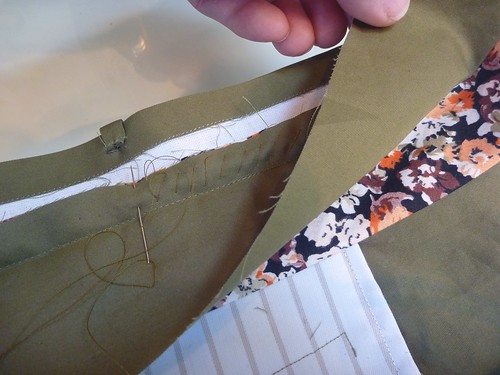
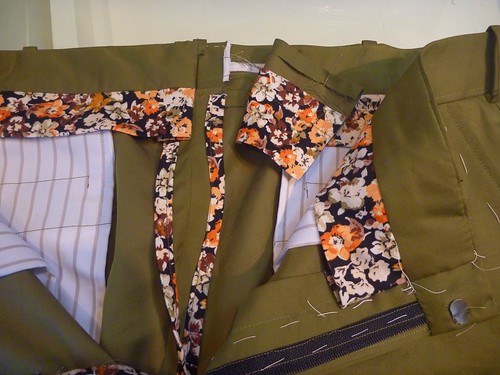
The seam allowance of the lining / curtain is diagonally stitched to the seam allowance of the waistband. The tops of the pockets are caught in this seam. You can also see that the belt loops have been brought up and tacked onto the waistband.
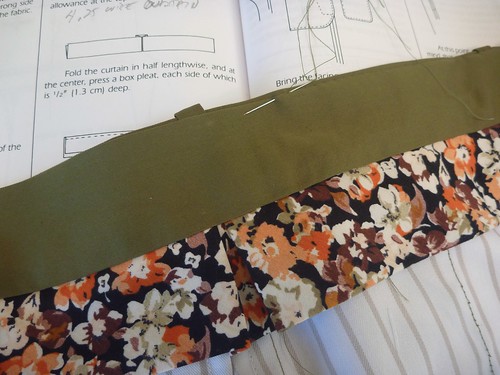
The seam allowance is folded down, the lining is pressed into position and slipstitched to the top of the waistband.
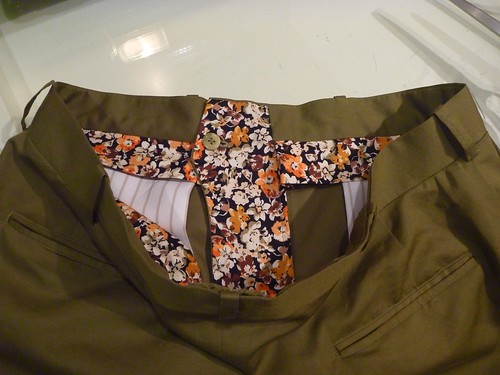
This pattern has a right fly extension, otherwise known as a French fly. I've lined it with my shirting. At this point, having abandoned the pattern instructions, I'm just making things up as I go along. It's all hand sewing, so I just press things into position until "it works". I've also added a hook and eye closure, which came with the worst instructions ever. That it works is a miracle.
Eventually, the back seam has to be sewn. I made some bias binding to finish off the seam. At this point, what's a little more work, right? My little Clover bias gizmo makes this a breeze, and it does make for a nice clean finish. The waistband lining is then worked across to the center back, where it's folded back and stitched into place. Here you see one side completed.
The finished front. A buttonhole is made in the French fly, and the button is attached at the seam level of the waistband.
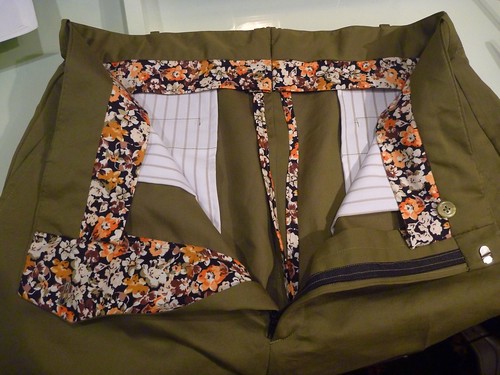
The completed waistband. A ton of work, but beautiful. Whew! What a day.
that is the most complicated waistband i've ever seen constructed--what a beautiful finish on the inside!
ReplyDeleteThank you for this peek into your pants, Duane. They look terrific!
ReplyDeleteWhat a job! The inside looks so pretty!
ReplyDeleteThat looks excellent! I have altered such pant waistbands and they are a dream to work with.
ReplyDeleteLovely! I learned how to do this finish this week on a course at English Couture Company. It gives an excellent finish.
ReplyDeleteThanks for the instructions. Now I know this is doable though time consuming.
ReplyDelete