Warning: Shirtmaking geek alert!
Purrrring along here in "Hello Kitty" world. With the fronts completed I turn my attention to the back and yoke. I've decided to eliminate the center box pleat at the back, so things are pretty simple here.
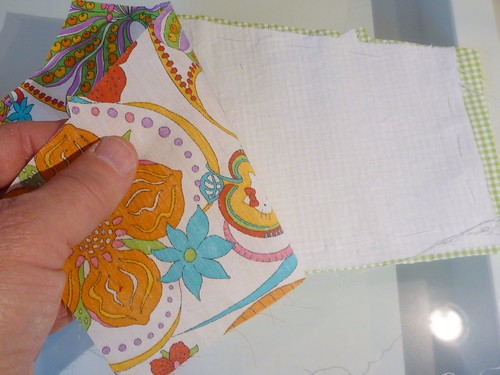
My plan all along has been to use the gingham as a contrasting inner yoke. One problem though.... The tana lawn is so sheer that the gingham shows through. To solve that problem I basted in an interlining of white batiste. Problem solved. Not only is the transparency issue fixed, but the whole yoke is more substantial.
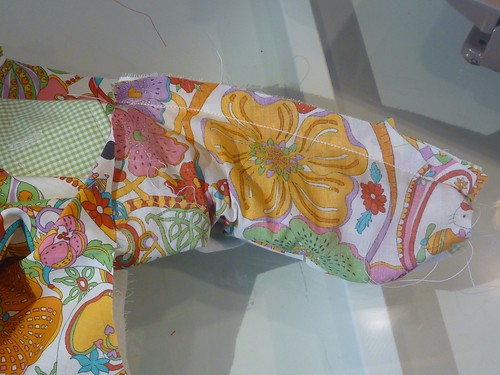
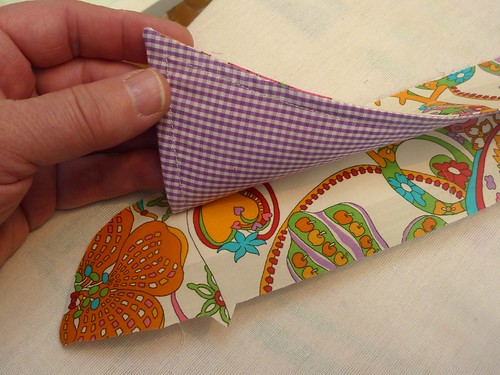
What's going on here? This is the much beloved "burrito method" of attaching the yoke to the shirt fronts. It works like a charm, and gives a professional finish to the inside of the shirt. It's really an indispensable technique in any shirtmaker's bag of tricks.
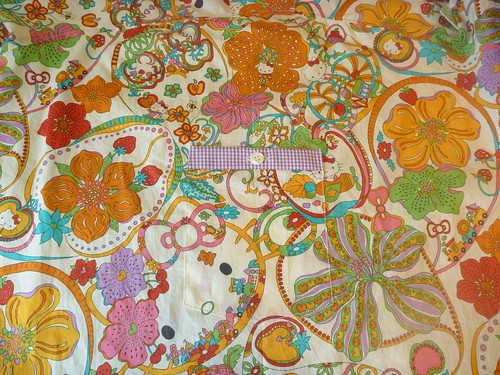
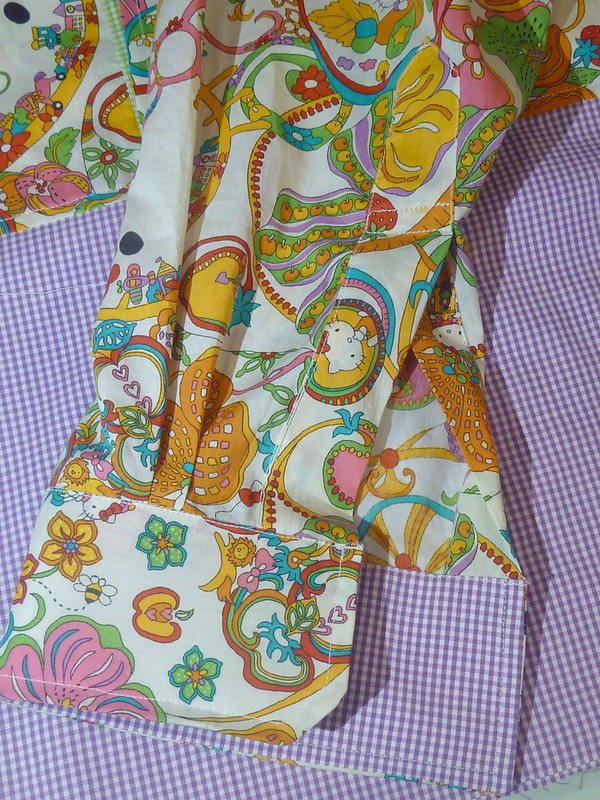
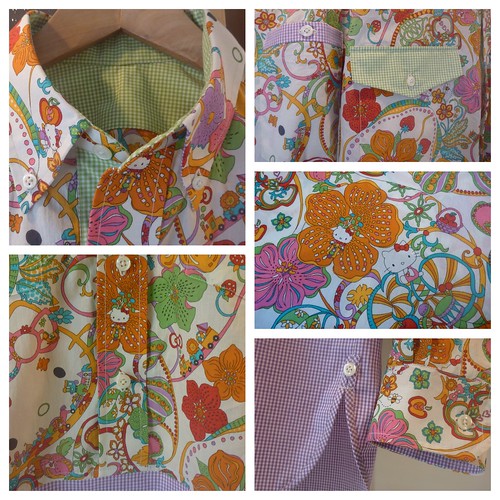
I added a pocket to the upper right sleeve just for fun. I tried it with a flap like the front pockets, but decided it was just too much. A simple band with a button seems better. If I had an iPod, this would be the perfect place to stash it.
Inside, everything is finished off. No raw edges for this guy!
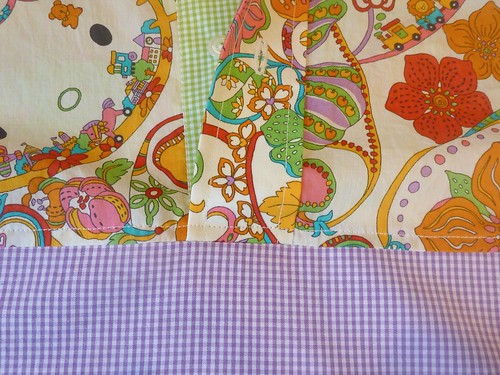
The lavender gingham is used as a contrasting inner cuff. I can't topstitch a curved cuff to save my life, so I just lop off a corner at an angle. Works for me!
When the sleeves are rolled up, the lavender color is brought up higher on the shirt. It helps balance off the green of the pocket flaps and contrasting placket.
The collar and band are interfaced with Prowoven Light Crisp Fusible from Fashion Sewing Supply. Their interfacings are frequently on sale, and I highly recommend having an arsenal of different weights in your stash.
Even with a white interfacing the collar was too transparent. Using the gingham for the undercollar gave a more consistent look. I use Peter's (of Male Pattern Boldness fame) method of attaching the collar and stand. Tutorial here.
Have I mentioned that I stink at sewing curves? My TNT pattern has curved tails. I usually fold them over about 1/4" twice and stitch them. It's always a struggle, and my results are average at best. It's a good incentive to keep my shirts tucked in!
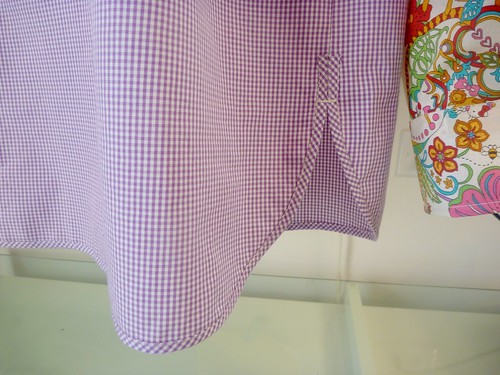
The dilemma presented by this shirt is how to deal with tails that are intentionally untucked. My solution is to finish off the lower edge with a bias binding, something I've never attempted before.
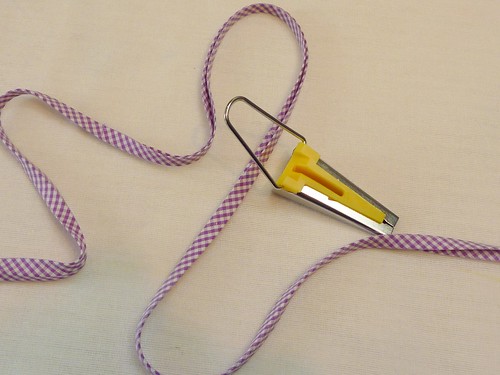
Clover bias gizmo to the rescue! This is the 12mm size, which produces a binding about 1/4" wide.
I trimmed off the 5/8" seam allowance at the bottom edge, basted the binding in place and then edge stitched it on. A little time consuming....Yes. But I think the final result was well worth it. Not only is it neater than my usual method, but it adds some weight to the hem.
Spring is right around the corner!!!



Wow! I'm impressed with your pocket placement and the whole shirt looks very professional.
ReplyDeleteThis is ridiculously gorgeous, just the perfect indulgence. Fabulous work! I really would like to see more of this burrito method, if I may at some point please? I am intrigued.
ReplyDeleteAlso, can I suggest in terms of sewing curved hems, that you turn over the first 1/4 inch, sewing close to the fold, then trim the excess off it before turning over again? It is so much easier to get a nice finish. But the bias edge is so nice a way to complete it, I may have to borrow it too, I am working ona doozy of a shirt, yet to be blogged about, and I must get on and do so!
Found the burrito tutorial on MPB - it makes so much sense! I also notice that neither of you trimmed back your seam allowances inside the yoke, which I have always done without thinking twice. Next time I make a shirt out of fine fabric like lawn I will follow your example, I reckon it is good stabiliser. Thank you for all the learnings!
DeleteThe burrito method makes such a clean job of inside. You shirt is lovely. I like the bias binding solution.
ReplyDeleteThat all looks amazing. I would never have thought of mixing the print with gingham but it's come out really well.
ReplyDeleteYour shirt looks great, I love the fabric combinations. For a curved hem tutorial, I recently watched this one by Jennifer Stern at https://vimeo.com/118859018. It is helpful.
ReplyDeleteThese intricate prints are bk in fashion for men. I know I'd get bored of plaids n stripes!
ReplyDeleteAbsolutely beautiful shirt. Better than any I see in stores. Your craftsmanship really rivals RTW. Can't wait to see you modeling this shirt you handsome scamp
ReplyDeleteFabulous shirt! You should be well proud of yourself. I have been meaning to try the collar point method - now I will.
ReplyDeleteBeautiful shirt. I like the sewing tips. I use the burrito method, the collar method, and I will try the bias method. Thanks!
ReplyDeleteThat looks really really good. I look forward to seeing you wear this shirt.
ReplyDeleteAbout the technical stuff: I think I'll try that collar point method. And I love the look of the hem you've made here but there is another easy method for hemming curved shirt tails using bias binding (this is the one I use all the time): For this, regular, story bought bias tape works very well. You fold it open on side, match the edge of that side to the bottom of the shirt (right sides facing) and stitch on the fold line. Then, you press the bias tape to the inside of the shirt and topstitch its top edge in place. I've shown it here on my blog: http://petitmainsauvage.blogspot.nl/2014/04/shirt-details.html
Thanks for sharing your technique! I'll have to try that.
DeleteHi! Mainelydad, I hope that you are fine
ReplyDeleteThis is called attractive plus stylish pattern, I like the pattern of your shirt.
Thanks for sharing and keep sharing
Bane Coat leather Jacket
You certainly enjoy using the techniques and I've used both the burrito and collar threads before, they do make the job so much easier. Your shirt is looking amazing and can't wait to see it in some spring weather.
ReplyDeleteWOW !!! So many intricate details!!!!
ReplyDeleteLOVE LOVE LOVE!!
This shirt is so magical! I have a question; how did you finish your side seams with that bias tape on your curved hem? I'm working on a similar detail on a shirt I'm sewing (mine is with side seam pockets) and it seems to me I can only serge those seams, since it won't work to do a french or flat fell there.It I was to guess I'd say you serged it, but just wanted to check....
ReplyDelete