With the jacket fronts complete I moved on to the sleeves. It was a nice break from all the detail work (pockets, taping and pad stitching). The sleeve construction is really quite simple, it just gets fussy where the lining meets the vents.
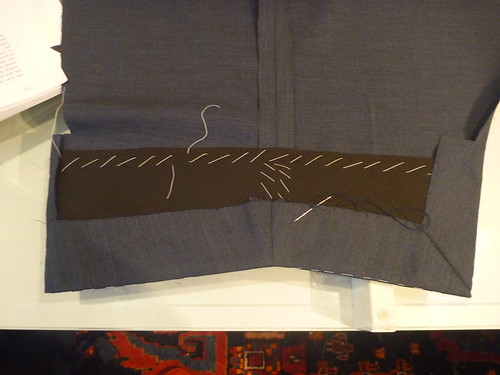
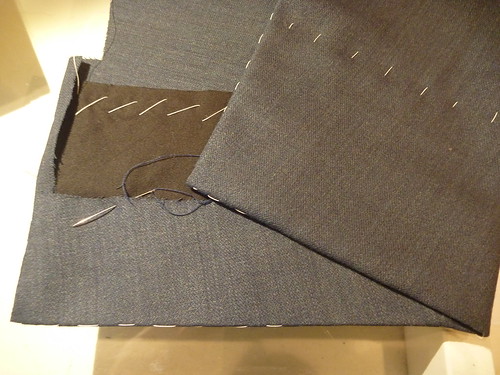
A wide strip of pocketing cut on the bias is basted into sleeve cuff. The vents and hem are folded into position and slip stitched into the pocketing.
No stitches are visible from the outside. It's like the hem is held in place by magic!
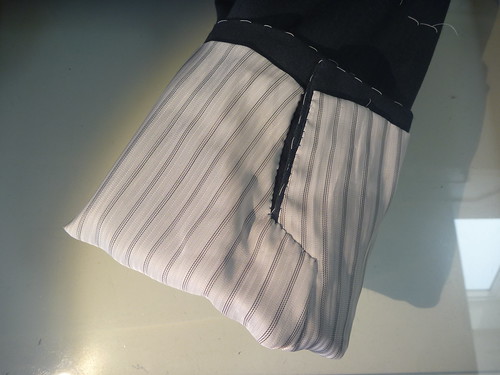
Getting the lining in around the vents is NOT magic! It took me awhile to figure out what part overlaps what, and how to get from one side to the other. Working with lining material is its own special hell. It's a lot of frustrating work for something that will never be seen!
Moving on.....
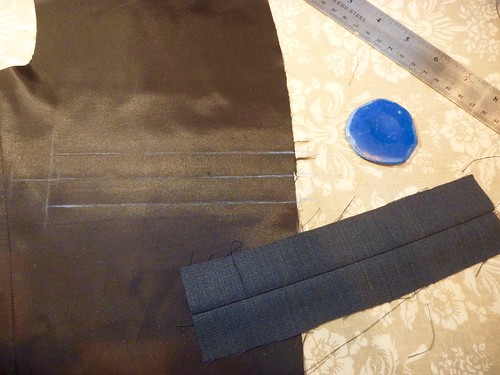
Are there any perfect patterns? Hmmmmm. This pattern, as much as I like it, has its issues. The first issue to rear its head turned out to be the jacket front facing (which becomes the lapel when it's folded back). The lapel edge is curved. Why is this a problem? If you're working with a stripe, the stripe will fall off the lapel rather than be parallel to it. My fabric has a subtle striation to it, so the front facing needs to redrafted.
The original pattern piece is on the bottom. Notice the curved edge. The new pattern piece on top is drawn with a straight edge. Using an iron and LOTS of steam, the new facing is curved to match the original pattern piece. Steam is used to shrink the other side of the facing which will ripple up during the process. This is where working with wool is a wonder!
Once this step is accomplished a new front lining will have to be drafted. Usually I make an inside breast pocket that slightly overlaps onto the facing. This is pretty standard stuff on all RTW jackets. But now all my usual pattern pieces are out the window. Arghhhh, what to do?
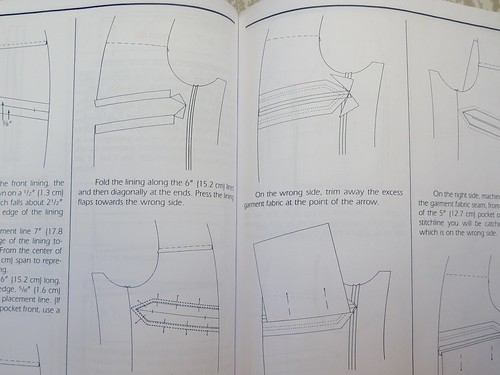
I turn to Cabrera's "Barcelona" pocket.
Confession..... I can get totally freaked out by sewing illustrations.
Just looking at this scares the sh** out of me! In my head I just assume that this is WAY beyond my ability. I've always skipped over these pages of Cabrera's book, and retreated to familiar territory. But this time I'm pretty much forced to confront it. And guess what?
It's way easier than I ever imagined!
Like so many things in tailoring, it really comes down to careful measuring and taking things one little step at a time. Making the Barcelona was actually less work than the usual double piping pocket that I've used in the past. I'm sold! If you can measure and cut a rectangle, you can make this pocket.
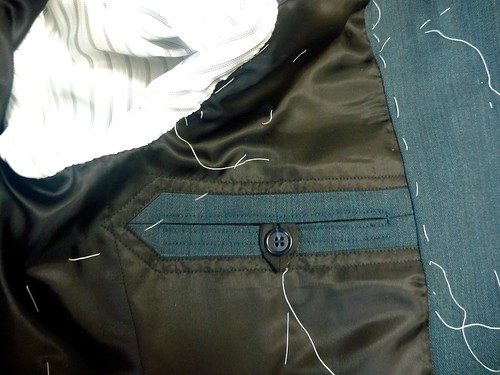
And here is the completed pocket. I did add one extra step....I fused a very lightweight interfacing to the back of the lining. This made it much easier to work with, and I'm all for that.
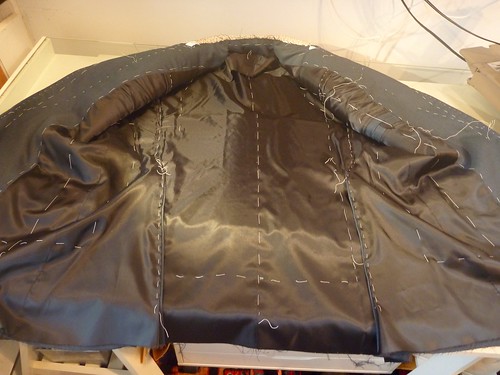
Working along, the jacket pieces get sewn together and the lining pieces are basted into position. I know this isn't everyone's cup of tea. The combination of basting and having extra wide seam allowances on the lining pieces makes this process much easier. This is the essence of "slow fashion", and it can actually be very satisfying. Using silk thread for the slipstiching makes it go so much easier because it's much less inclined to tangle.
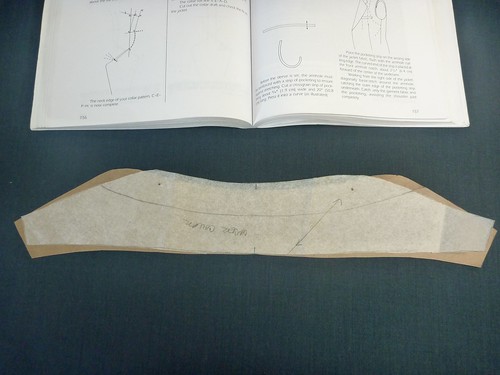
My next issue turned out to be the collar. I've made this jacket a few other times and have fiddled with the pattern piece multiple times. Somehow I've lost the revised pattern, because what I have doesn't come close to fitting the neck opening. GRrrrr. I should take better care of my patterns when I file them away.
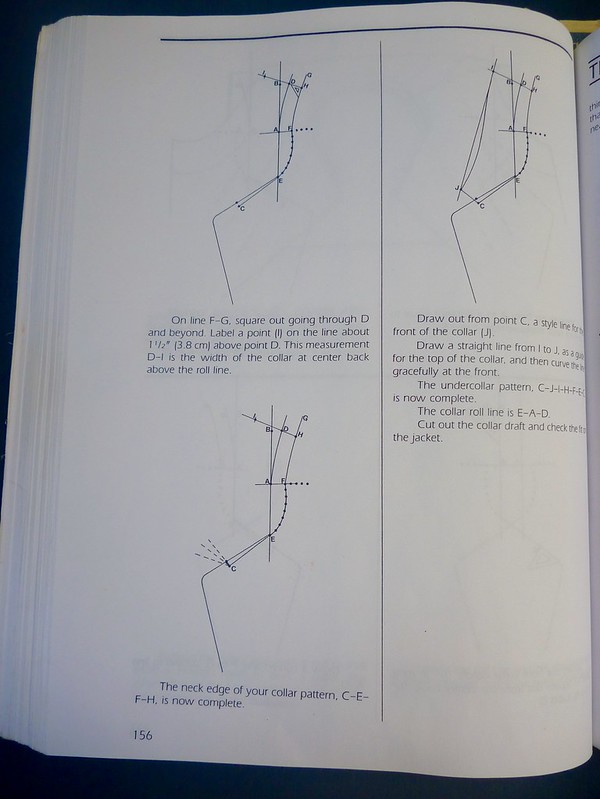
Enter more intimidating illustrations!
This takes me back to the nightmare of Algebra II in highschool. I never dreamed that I'd be using this page from Cabrera, but here I am needing to draft a new collar. And guess what..... this was F'ing easier than the Barcelona pocket!!!
I just followed along step by step, and voila! Here is the original pattern piece (white) sitting on top of the new pattern (brown). Any wonder I couldn't get it to fit? Another new skill obtained.
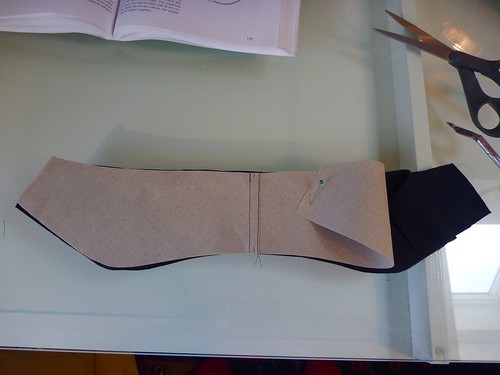
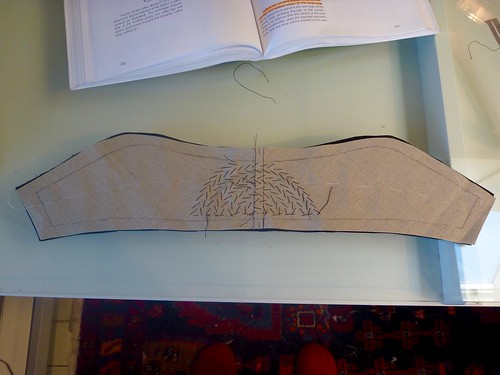
The collar is constructed on a base of French canvas and undercollar felt. It doesn't show in this picture, but a piece of pocketing is sandwiched between the layers at the collar ends to add even additional body.
The whole assembly is pad stitched together in a circular pattern. Because the components are very stiff, it's sort of like pad stitching a cardboard box. Silk thread makes the process easier. After pad stitching the collar it's shaped on a tailor's ham with lots of steam. The result is well worth every bit of effort; and having done it a few times, I wouldn't consider making the collar any other way.
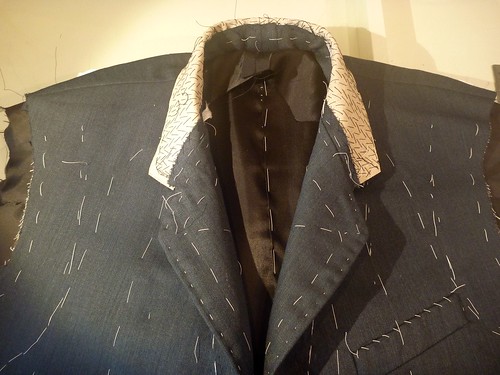
Here is the collar attached to the neckline of the jacket. The newly drafted pattern fit perfectly. This is a good place to stop for now.

‼️‼️ Fascinating process. ‼️‼️
ReplyDeletesome brilliant construction. i know when I am faced with those type of illustrations I have to run to my old tailoring books for a better and longer explanation - not for the faint hearted for sure
ReplyDeleteI agree with the above comment - simply fascinating. It's also good to see you overcome your "fears." :-)
ReplyDeleteThat's a beautiful pocket.
ReplyDeleteI LOVE your blog and all the pictures and detailed process. Thank you for sharing.
ReplyDeleteThis is looking great, Duane!
ReplyDeleteI'm geeking on the details in this post. I'm getting ready to make my son a clone of his ratty old barn coat, complete with fake fur collar and body lining. And I'm adding an inner chest pocket for his phone. I will definitely check out Cabrera!
ReplyDeleteTheresa in Tucson
Very nice tips.
ReplyDeleteHand embroidered tops
Embroidered Tunics
Embroidered Dresses
Artistic clothing
This comment has been removed by the author.
ReplyDeleteThis is amazing and your stitching process was really impressive. Cheers!
ReplyDeleteThank you,
best tailor in bangkok
Nice!! You have explaines the process so amazingly. Thanks for that. Kidoriman Review depict that we provides one of the best and an unique style Jackets at an affordable cost.
ReplyDeleteI am glad to say that this is very useful post. superb and interesting. one of the best post this inspired to. thanks for sharing wonderful information.
ReplyDeleteWork From Home Essentials
Many people are very interested in the call women in Rajendra Place and want to spend the day with them. If you really want to go with them then you can go with them. They think of all their customers as really necessary because they often earn love from you. No escorts will ever disappoint you in any way. And the tricks and techniques of Rajendra nagar Escorts are best suited to please you physically and mentally.
ReplyDeleteRajendra nagar Escorts
hubli escorts
ReplyDeletemajestic escorts
ashok nagar escorts
air hostess escorts
Independent Bangalore Escorts
Bangalore Escorts Services
thanks
ReplyDeleteSuch an amazing technique to make a jacket with proper stitching patterns. I haven't see this information before.
ReplyDeletemechanic work jacket
Thanks and everything is shared in this blog in a unique way. keep it up.
ReplyDeletecustom baseball jerseys builder
I stumbled upon your blog and found your journey of suit progress and learning new skills fascinating. It's always inspiring to see someone dedicated to self-improvement and sharing their experiences with others.
ReplyDeletehttps://www.frugalishness.com/how-old-was-vickie-lynn-swayze-when-she-died/