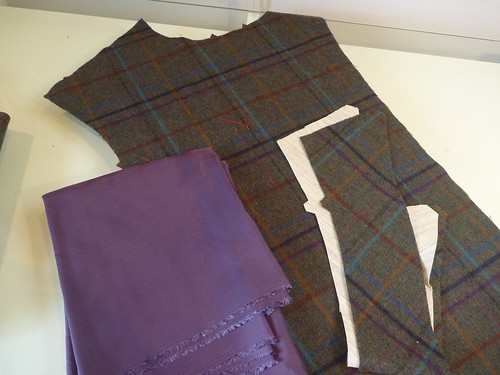
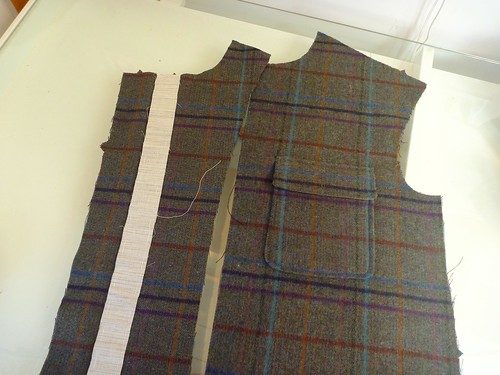
OK, getting down to it. I spent the better part of a day just cutting out the pieces and sewing on two pockets. I kid you not! I've always struggled with matching horizontal stripes or plaids where the sleeve meets the upper chest. Matching at the front "notch" is too low, so Suni's tutorial suggests using the "dot" where the easing begins. But guess what????? Mr. Halston left out the dot! I used a tape measure to establish what I hope will be a good point to match. Time will tell.
To keep things aligned, each piece has to be cut out separately. I only made a few changes in the cutting. I believe that the undercollar and its interfacing should be on the bias, and I had plenty of fabric to do this. I also enlarged the extensions for the vents at both the sleeves and the sides. I can't understand why pattern companies are so skimpy in these areas. It's just a recipe for disaster to believe that a decent vent can be made just using the 5/8" seam allowance.
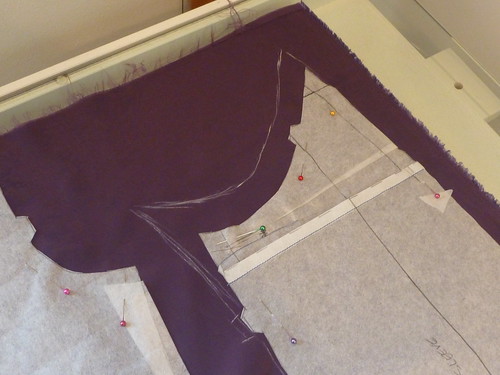
I wanted to be completely done with cutting, so I also tackled the lining. (I usually postpone working with any lining material as long as possible!). Here you see an adjustment to the sleeve lining that I picked up from the Japanese pattern book. I just chalk on some extra length and width at the arm pit area. This works well to prevent the lining's underarm from tearing out. I just eyeball it. Oddly enough it all fits into the armhole without any struggling. How? I don't know. Just go with it.
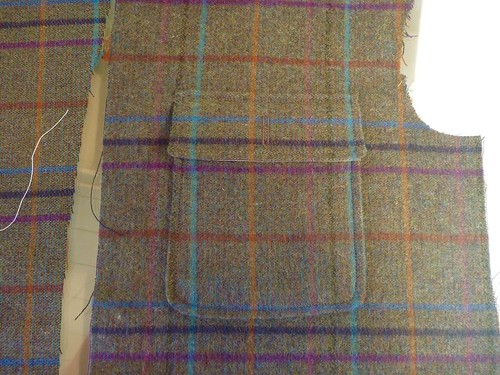
It would have been much easier to make the pockets on the bias; but that can be a little too "lumberjack". I think Halston would have wanted something more sophisticated. So here's my attempt at matching the pocket and flap. Unfortunately, I don't have a walking foot for my Singer 301, so I just have to rely on a ton of basting and hope for the best. It may not be perfect at every point, but overall I'm happy with the result. And isn't perfection overrated anyway?
I lined the inside of the pocket and the flap with some left over fabric from my trench coat. Confession....I have a hard time throwing away my left over scraps. But my compulsion is vindicated! This project is proof positive that they DO come in handy.
The pocket is topstitched on at a 1/4". I hate the tacked on look that results (it's even more pronounced with a heavy wool fabric), so I handstitch the pocket edge to the jacket front from behind. It takes just a few minutes and looks so much better.
Hair canvas interfacing is basted in place. This will eventually become the front band and front facing all in one.
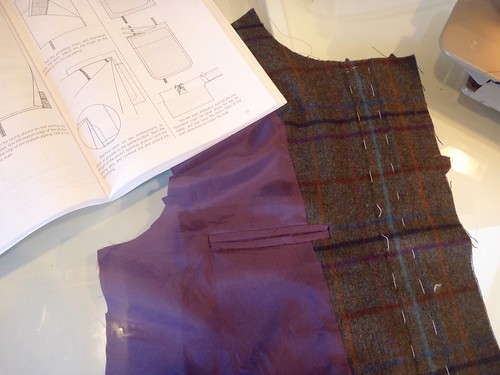
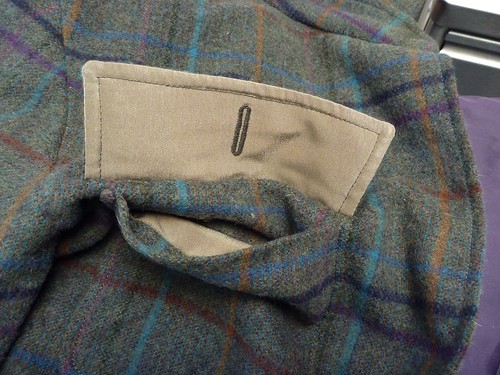
Before leaving the fronts, I decided to add an inside breast pocket that sits right behind the left front patch pocket. I knew I would kick myself forever if I skipped it. Hell, I spent a whole afternoon on two patch pockets, so what's another pocket. Plus, there's no plaid matching to contend with.
I applied a lightweight fusible interfacing to the welt pieces to beef them up a bit and make the construction easier. It would have been hell with the bemberg rayon (it's lovely stuff, but leaves me swearing a blue streak). The instructions in Roberto Cabrera's tailoring book make what looks complicated actually pretty easy. In the end, it's a nice feature to have, and I'll have no regrets every time I put this shacket on.
Contruction from here on out is going to be "by the seat of my pants". Adding the inner pocket has set me on a different path than the directions. Basically, I'll have to assemble the whole lining and then "build" the jacket around it. Where there's a will, there's a way.
I was taught to sew everything, except zippers, on a straight stitch machine with the old plain foot. No walking foot. It is possible to match everything.
ReplyDeleteReally nice. The color of the lining is great.
Now I am really getting an itch to sew something lined and woolen... mhmmm
Nice pocket work. I do think 'from the pockets out' on most clothing. I want them where I want them, I want them to hang well and not show; yes, I am sewing a piece of clothing around the pockets.
ReplyDeleteThe bias plaid chest pockets look so badly considered, particularily on an 'unbalanced' plaid; why use a plaid if you aren't going to try?
Okay, I'll go back to the pocke-holic corner....with a copy of the Cabrera.
I admire that you're not afraid of color yet everything you make is tasteful. This is a phenomenal plaid and you couldn't have chosen a better lining fabric. Like you, I would have hated not having an inside breast pocket.
ReplyDeleteI too am eagerly awaiting the final reveal.