A blog born from the desire for a winter coat in a color other than black. With limited sewing experience and no knowledge of Japanese I've worked through all the patterns in Ryuichiro Shimazaki's book on men's coats. If I can do it, anyone can! But the challenges continue. Join me as I continue to explore the world of menswear. I AM my own luxury brand!
Wednesday, December 30, 2015
"Athleisure" -- it's a thing, kids.
Trendy men can now move effortlessly from their health club to their hip jobs without skipping a beat. Or, with the right pair of sweats, one can create the illusion of fitness and skip the gym all together! But be warned, these are not your father's sweatpants. We've entered an era where a pair of sweats can cost hundreds of dollars.
Don't believe me? Follow the link for sweatpant sticker shock on this pair of very ordinary looking cotton pants. We're living in crazy times.
Here are some examples that are showing up on the runways for Spring. This group is from Greg Lauren, nephew of Ralph. The influence is pretty clear IMO.
Bottega Veneta with a fake fly front. Seriously??? I'm sorry, that's so cheesy. (No comment on the socks and sandals).
I'm not sure what to make of this, but I couldn't help but share it.
The Italians are clearly the kings of the look. This group is Emporio Armani. I'm loving it, especially the brown ensemble on the right.
Somehow this look reminds me of vintage skiwear from the 50's and early 60's. (Can stirrup pants be far behind?).
Canali. Yes, please! But getting back to reality......
I had the chance to try on a pair of these fancy sweats at an Armani A/X outlet store a few weeks ago. They had a zipper fly, a waistband that buttoned and one welt pocket in the back. The fabric was a creamy gray knit with a super loopy reverse. Very nice. The original price was $189 and they were marked down to around $80 I think.
They were a bit slimmer than Thread Theory's Jedediah Pant, but otherwise very similar. Suddenly I'm saying, "I can do this". If I fail, I can always wear them to snowblow the driveway! Now to find the right fabric.
Thursday, December 17, 2015
A flannel shirt to close out the year.
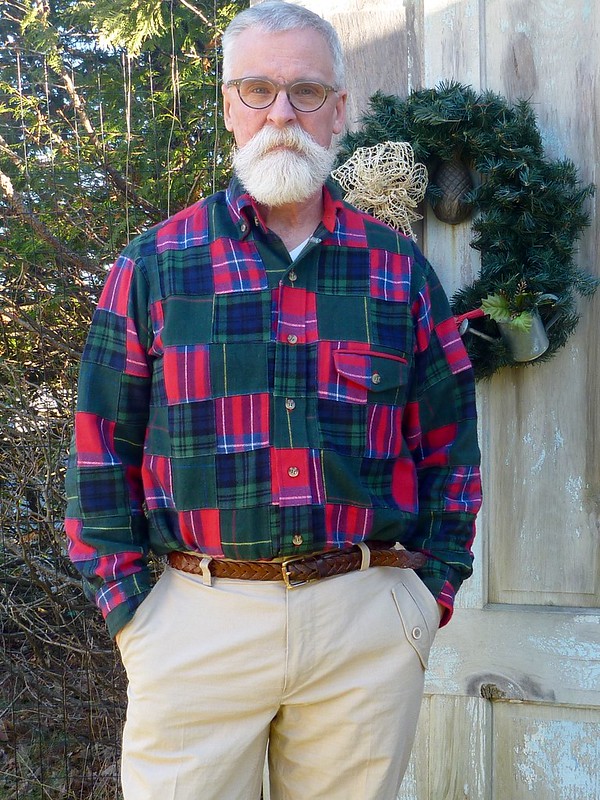
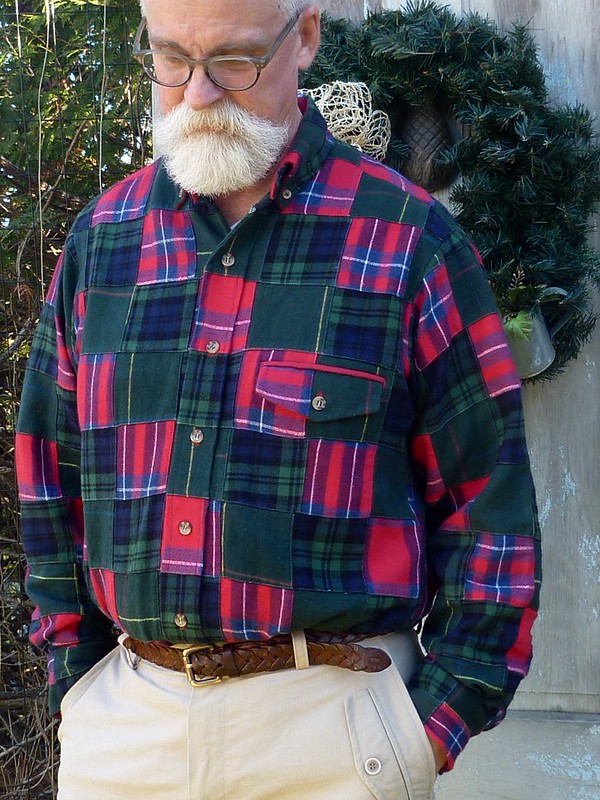
I'm pretty much set for the staff Christmas party / potluck next week. Skip the velvet blazer, bring on the flannel!
I bought the fabric this summer at Peter's MPB day. It's from Metro Textiles and was so inexpensive it's almost embarrassing. It's much beefier than any of the flannel offered at the "LL" store a few miles from here. The pants are a hack of Thread Theory's Jedediah Pants.
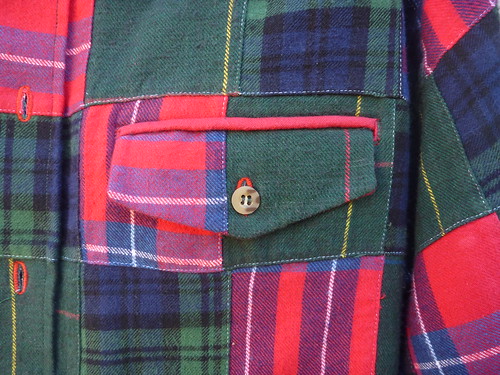
I always like a left chest pocket on my shirts but I'm not crazy about plaid patch pockets cut on the bias. Throw in the patchwork and I envisioned an even bigger mess. My solution was to make a welt pocket with a flap.
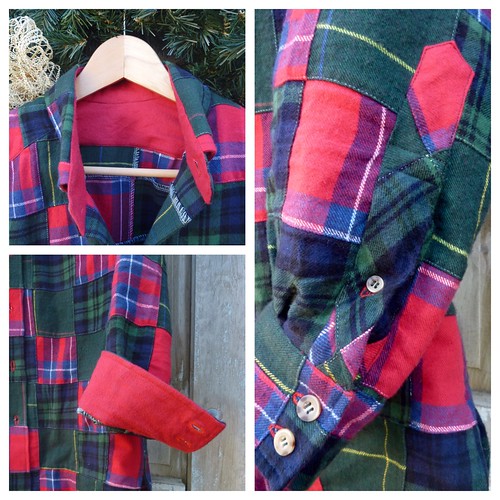
The welt is made with some solid red flannel I picked up at my local JoAnn's. I also used it for the inside collar stand, inside yoke and inside of the cuffs to help reduce bulk. All those patchwork seams can make for a very lumpy shirt.
The pocket bags are black flannel from my stash. I use the instructions from Roberto Cabrera's mens tailoring book. It's actually a double piping pocket for the back of a pair of trousers with just a slight twist. It's surprisingly easy to make, and results in a neat French seamed pocket. I've never posted a tutorial, but if there's any interest in how to sew this type of pocket, I could be talked into it.
As always, I'm greatful for all the friendship and support I've received through the sewing community. See you in 2016!
Peace.
Saturday, October 31, 2015
The Halston Shacket....Already in Heavy Rotation!
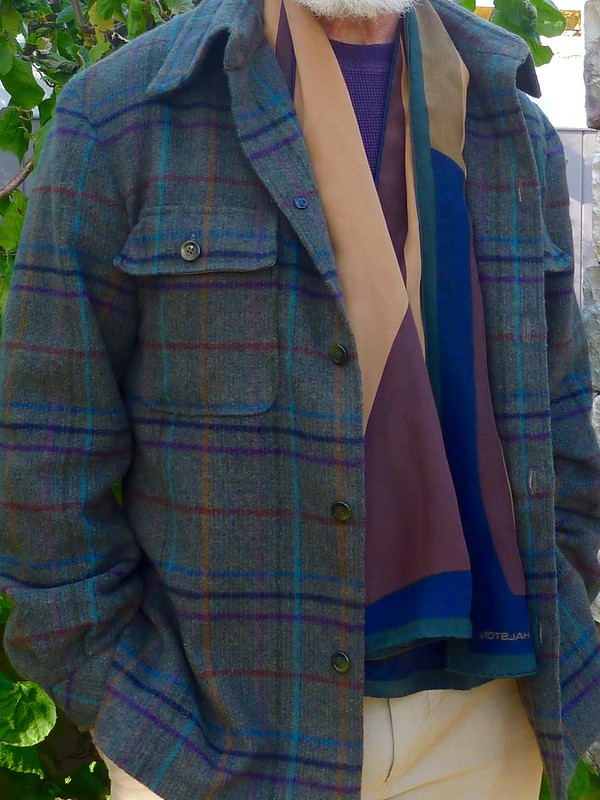
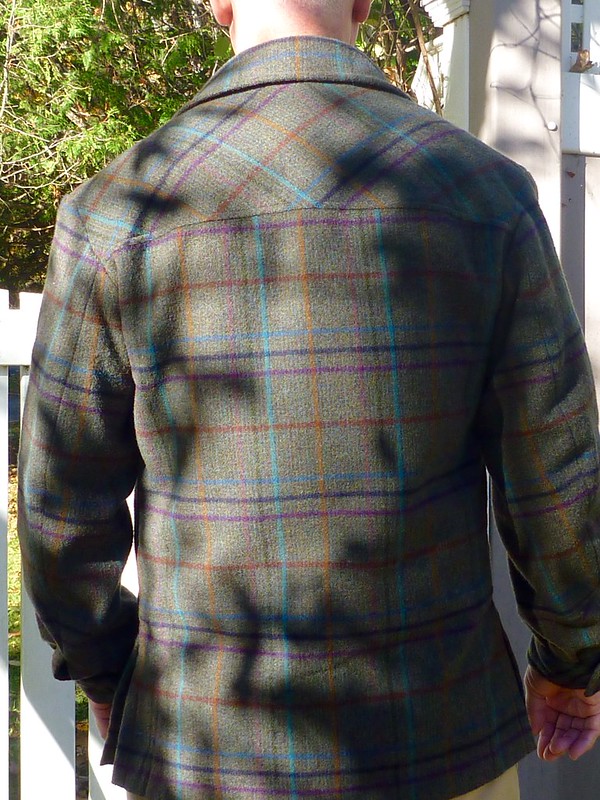
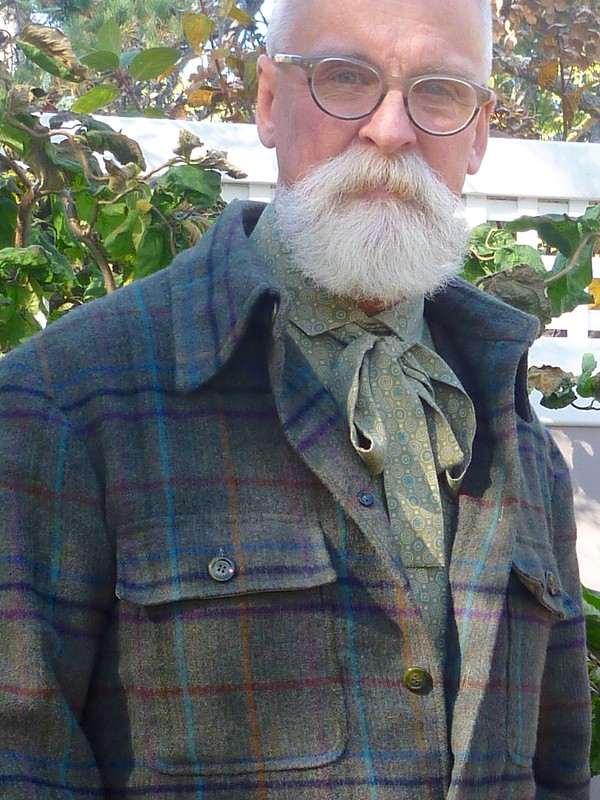
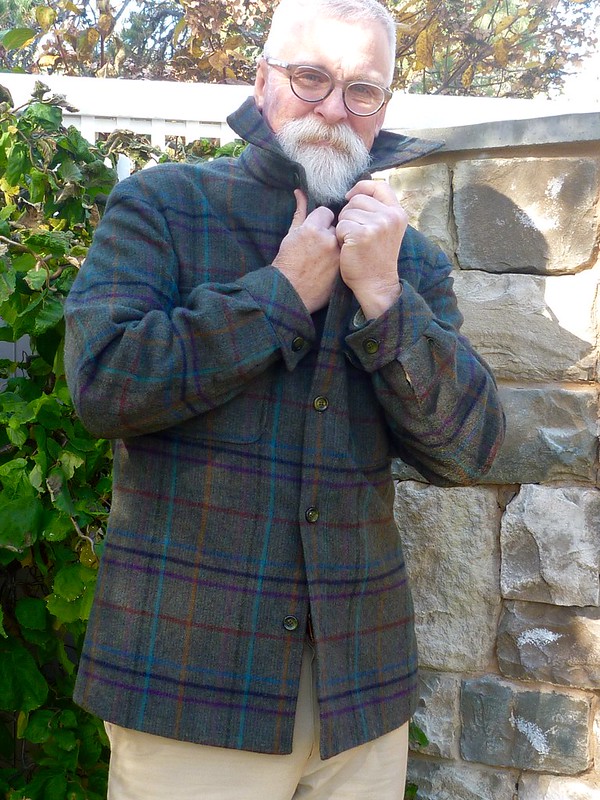
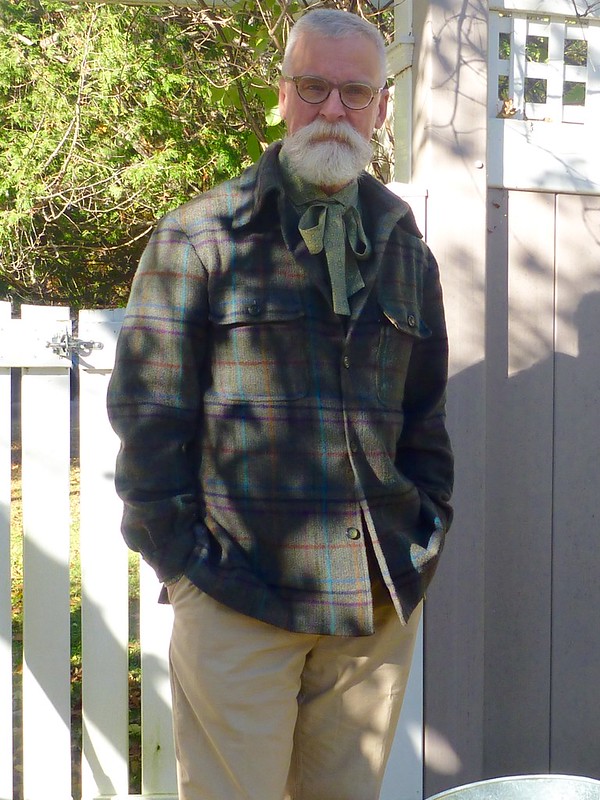
My shacket has been done for a week or two, and I'm wearing it everywhere. It's, hands down, one of the most versatile garments I've ever made.
Part of the photoshoot delay has been waiting for this to arrive from Canada..... Oh, and I also needed a haircut.
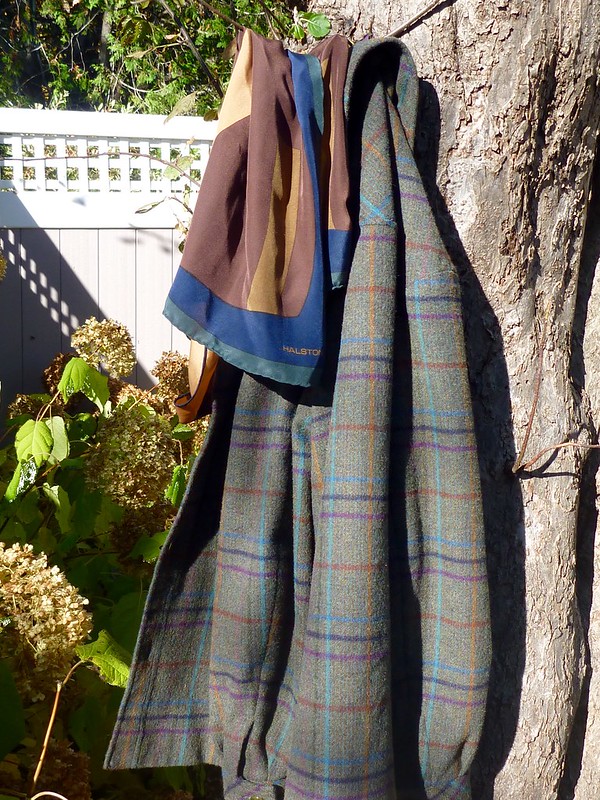
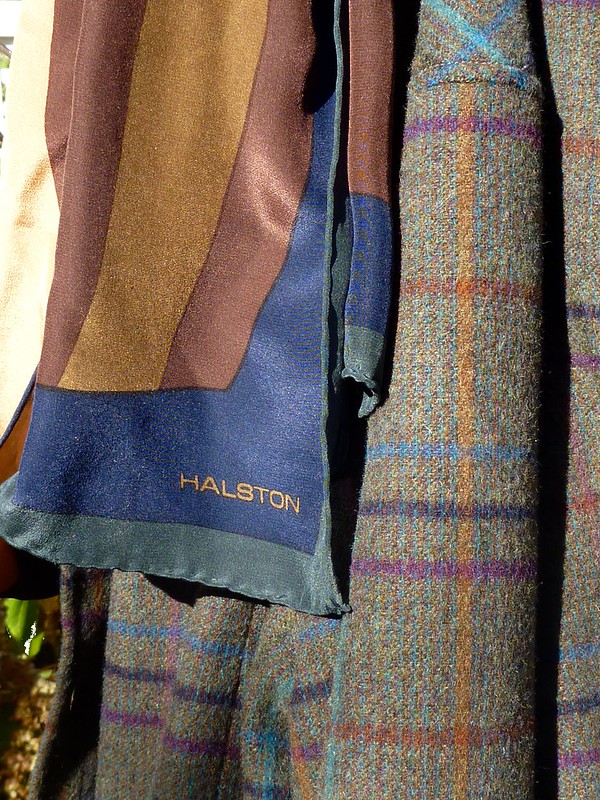
A Halston silk scarf, found on Etsy, which seems to have been made for this shacket. I'm loving it!
Thank you Princessjainascloset for adding a bit of extra panache to this project.
So here it is, a 1970's leisure suit resurrected more than three decades later. Still looking good, Mr. Halston!
Here I'm wearing it with my Foulard shirt from last year. I'm not quite sure Maine is ready for men in "Gucci-esque" pussy bow shirts. Is anyone? Still, I had fun dressing up; knowing that if I lived in a big metropolitan area, I'd totally be sporting this look.
Pretty soon the cold winds are gonna start blowing, and I'll have to retire my shacket. But for now, it's the perfect extra layer.
I just might need another one.
Cheers! And happy Fall sewing!
Sunday, October 18, 2015
The Halston Shacket...Picking up the Pace
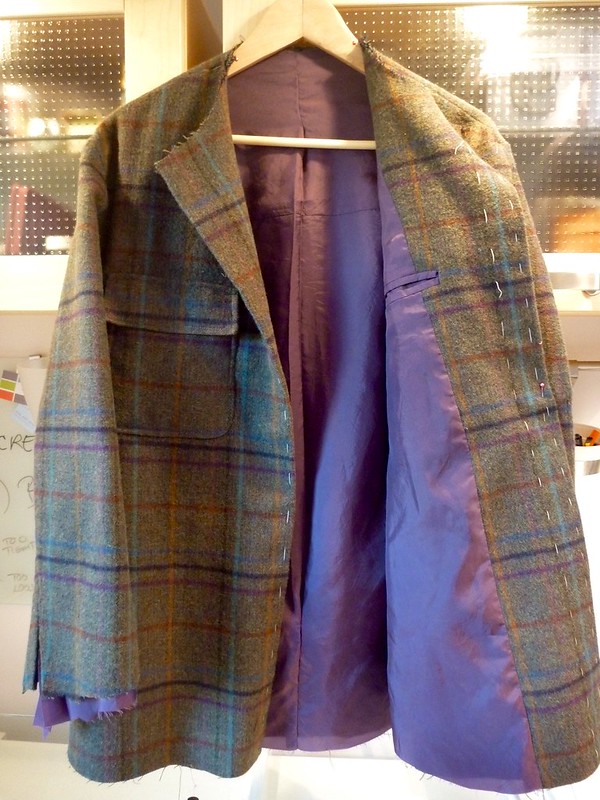
Thankfully, with the pockets out of the way, things moved right along. I continued to assemble the lining to the jacket fronts, which have cut on facings.
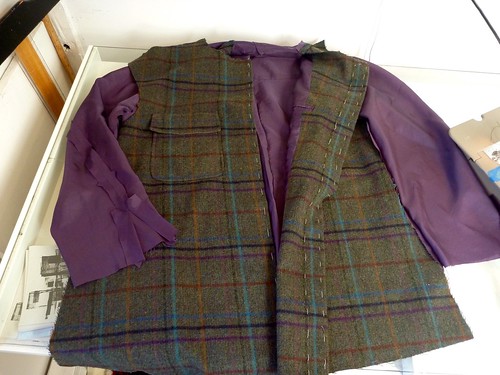
It's a big floppy mess to work with, but it can be done. The next step is to sew the outer jacket while keeping the lining out of the way. This is an even bigger mess, but seam by seam it all comes together.
Sleeves attached and lining all in place without a bit of handsewing. Yay!
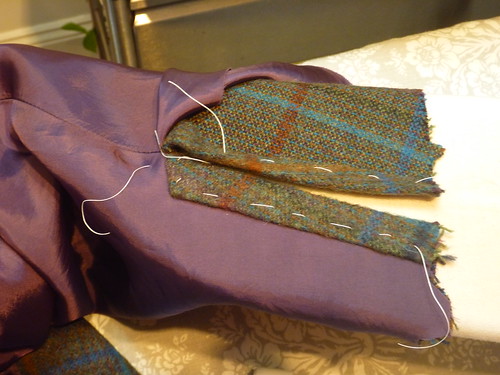
The sleeves on this pattern have a very tiny vent. Thankfully, I had the forethought to enlarge the extensions on both the upper and under sleeves. This made them much easier to form, otherwise it would have been damn near impossible. The lining seam allowances are pressed back and laid under the vent plackets, basted in place and then stitched.
Here is the finished mini vent. The sleeves will be pleated into the cuff, so I stitched the lining to the fashion fabric so they'll act as one. Speaking of the cuffs, this pattern has a curved cuff which I've never encountered before. I've only encountered cuffs on men's shirts, which are always rectangular. I opted to cut the cuffs on the bias because the stripes in the plaid would have run askew. Long story short, they were a PITA to sew, and I would never go that route again. Sorry, Mr Halston.
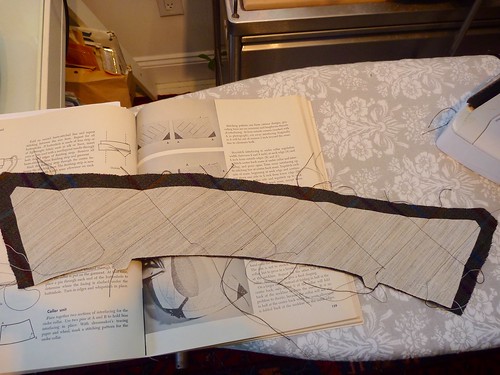
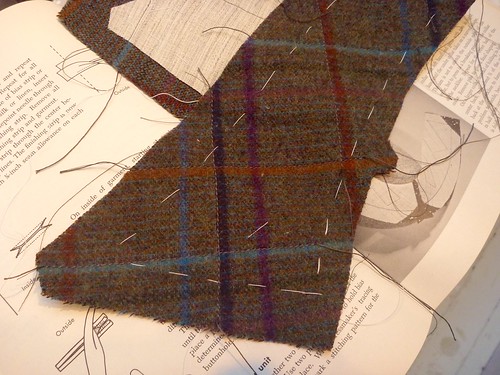
Just for fun I quilted the interfacing to the undercollar. My loose interpretation of Edna Bishop's proper way to make an undercollar, circa 1959.
It's pretty much undetectable, but I thoroughly enjoyed doing it.
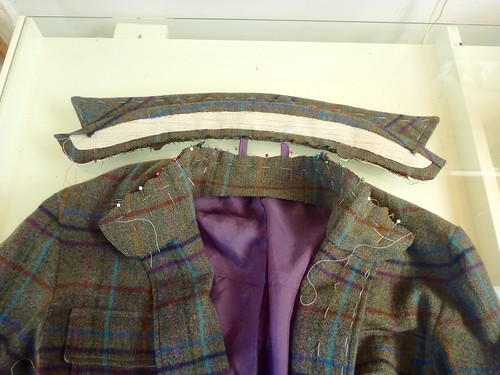
I attached the collar the same as I would on a dress shirt. This is the technique used by Peter in his shirt sewalong. If a technique works for you, stick with it. I've tried to minimize the amount of top stitching on this shacket, so I handstiched the bottom edge of the collar stand at the back. Normally, I would have edgestitched it, but it's just a little too difficult to do well with this wool fabric. I'm erring on the side of caution.
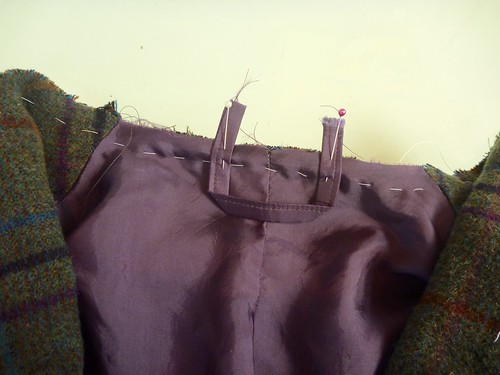
Oh, and I didn't forget the ever important locker loop!
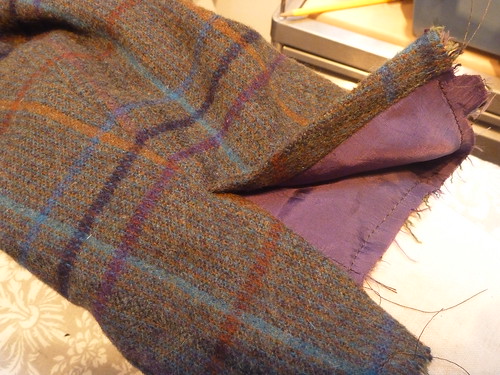
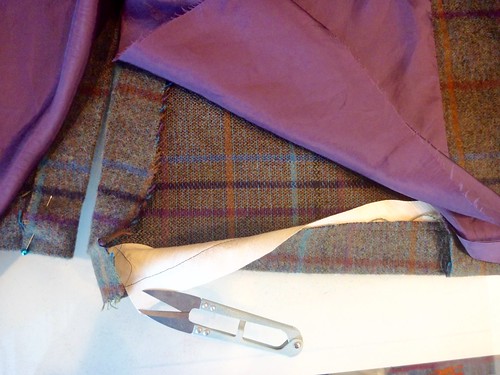
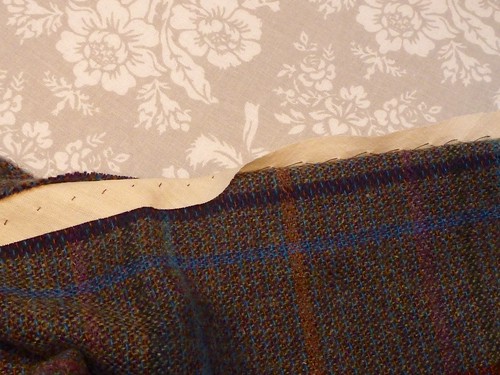
The shacket is hemmed a la Edna Bishop. (The Bishop Method of Clothing Construction). A bias strip of muslin, 1/2" wider than the hem, is sewn into the hem. The stitching should be 1/4" from the raw edge of the hem. The line of stitching will serve as a guide when the lining is finally slipstitched in place. But first things first...
The hem is folded back (folded away from you) and the hem stitch is loosely done (about every 1/2") between the jacket and the muslin. It may look crazy, but it produces a completely invisible hem. I'm totally sold on this technique; and if you try it, you'll be too.
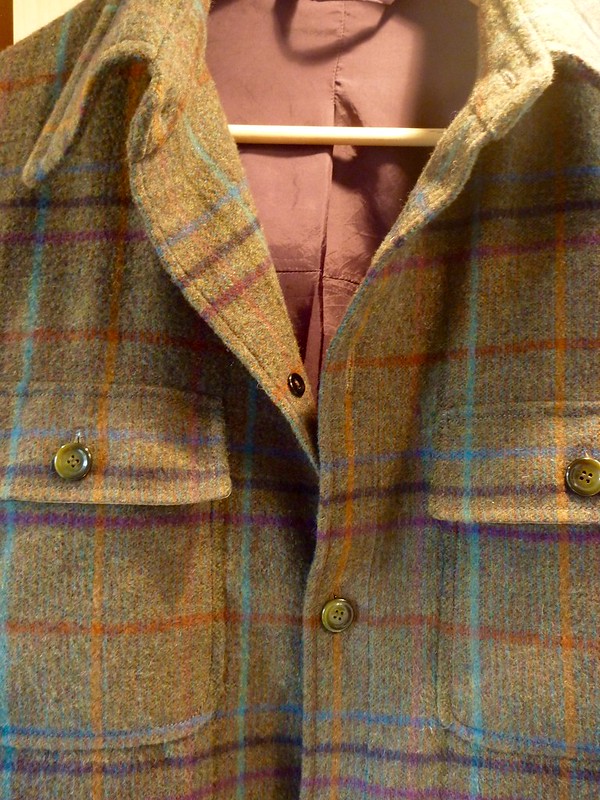
Buttonholes and buttons. Shacket season has arrived!
Thursday, October 15, 2015
The Halston Shacket...Let the Sewing Begin!
OK, getting down to it. I spent the better part of a day just cutting out the pieces and sewing on two pockets. I kid you not! I've always struggled with matching horizontal stripes or plaids where the sleeve meets the upper chest. Matching at the front "notch" is too low, so Suni's tutorial suggests using the "dot" where the easing begins. But guess what????? Mr. Halston left out the dot! I used a tape measure to establish what I hope will be a good point to match. Time will tell.
To keep things aligned, each piece has to be cut out separately. I only made a few changes in the cutting. I believe that the undercollar and its interfacing should be on the bias, and I had plenty of fabric to do this. I also enlarged the extensions for the vents at both the sleeves and the sides. I can't understand why pattern companies are so skimpy in these areas. It's just a recipe for disaster to believe that a decent vent can be made just using the 5/8" seam allowance.
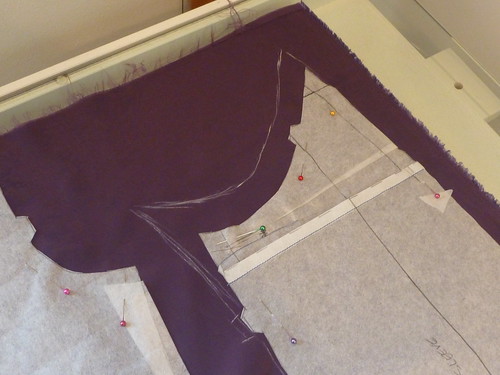
I wanted to be completely done with cutting, so I also tackled the lining. (I usually postpone working with any lining material as long as possible!). Here you see an adjustment to the sleeve lining that I picked up from the Japanese pattern book. I just chalk on some extra length and width at the arm pit area. This works well to prevent the lining's underarm from tearing out. I just eyeball it. Oddly enough it all fits into the armhole without any struggling. How? I don't know. Just go with it.
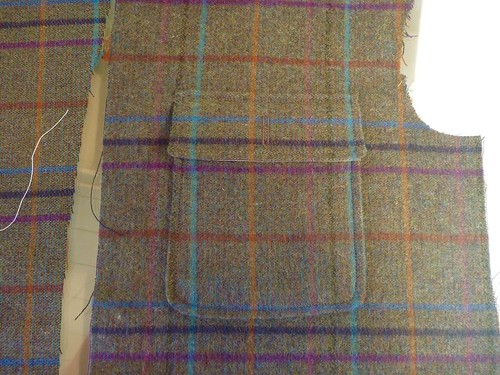
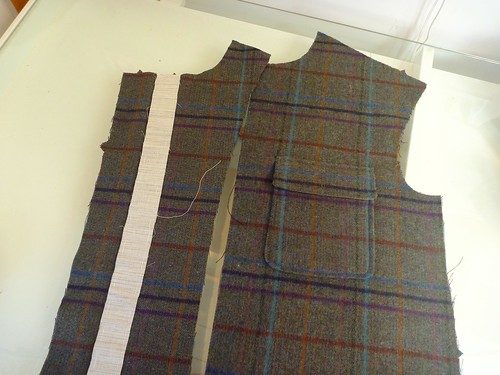
It would have been much easier to make the pockets on the bias; but that can be a little too "lumberjack". I think Halston would have wanted something more sophisticated. So here's my attempt at matching the pocket and flap. Unfortunately, I don't have a walking foot for my Singer 301, so I just have to rely on a ton of basting and hope for the best. It may not be perfect at every point, but overall I'm happy with the result. And isn't perfection overrated anyway?
I lined the inside of the pocket and the flap with some left over fabric from my trench coat. Confession....I have a hard time throwing away my left over scraps. But my compulsion is vindicated! This project is proof positive that they DO come in handy.
The pocket is topstitched on at a 1/4". I hate the tacked on look that results (it's even more pronounced with a heavy wool fabric), so I handstitch the pocket edge to the jacket front from behind. It takes just a few minutes and looks so much better.
Hair canvas interfacing is basted in place. This will eventually become the front band and front facing all in one.
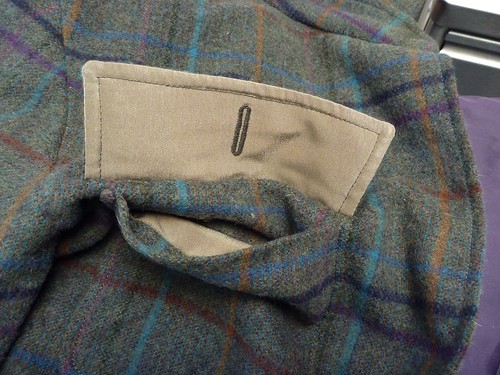
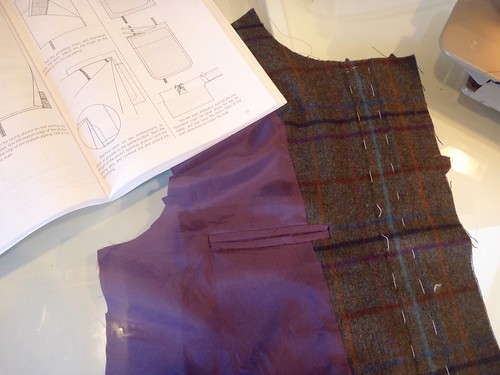
Before leaving the fronts, I decided to add an inside breast pocket that sits right behind the left front patch pocket. I knew I would kick myself forever if I skipped it. Hell, I spent a whole afternoon on two patch pockets, so what's another pocket. Plus, there's no plaid matching to contend with.
I applied a lightweight fusible interfacing to the welt pieces to beef them up a bit and make the construction easier. It would have been hell with the bemberg rayon (it's lovely stuff, but leaves me swearing a blue streak). The instructions in Roberto Cabrera's tailoring book make what looks complicated actually pretty easy. In the end, it's a nice feature to have, and I'll have no regrets every time I put this shacket on.
Contruction from here on out is going to be "by the seat of my pants". Adding the inner pocket has set me on a different path than the directions. Basically, I'll have to assemble the whole lining and then "build" the jacket around it. Where there's a will, there's a way.
Tuesday, October 13, 2015
Halston shacket progress....Jumping in
I went ahead and made a quick and dirty muslin, and I'm SO GLAD I did.
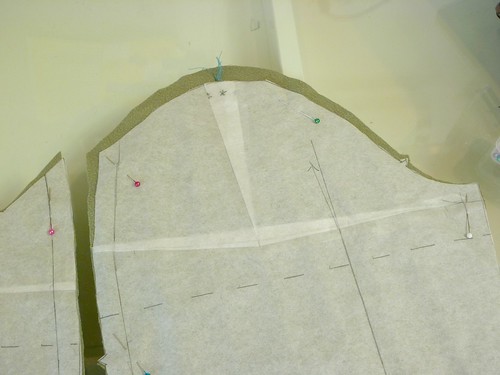
I wasn't far into the process before issues started popping up. First up, the sleeves had way too much ease in the sleeve cap. It might be fine for a leisure suit jacket (some shoulder pads would be in order to fill out the "puffiness"), but I'm wanting this to fit like a shirt. Sorry, no puffy shirts for me. The ease was especially dreadful from the shoulder seam down the back. Eeek! I calculated that there was 1 1/2" of ease in the sleeve cap, so I removed all but 1/4" of it.
Here you see the pattern adjustment and the excess fabric that will be cut away. The sleeves are so much easier to set without all that "pulling up a thread" mishegas, not to mention that it just looks better.
My next problem was with the side seams. The guys at Studio 54 must have been very trim, because there is a large amount of waist suppression to this pattern. There was no way this old man could ever button it up. I don't even think Spanx for men would help.
I reduced the curve of the side seams and the back seams. This provided an extra 2" of wearing ease. Although this picture makes the adjustment look perfectly straight, there's still a very slight curve.
Surprisingly, I didn't have to do a sloped shoulder adjustment.
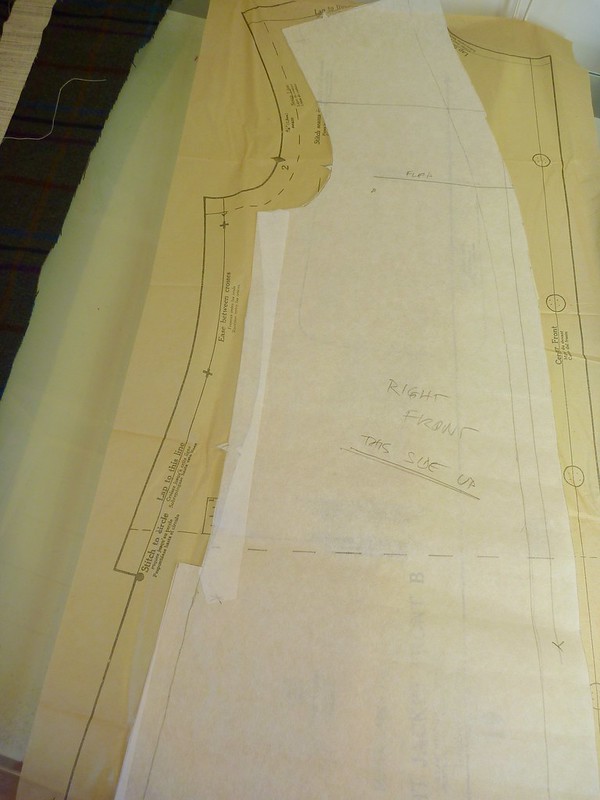
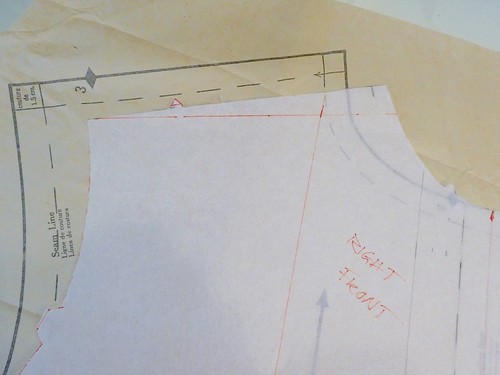
This is my TNT shirt pattern laid over the Halston pattern. The shoulder slopes are just about identical. It was nice to dodge that bullet!
I shortened the sleeves by 1 3/4". I also played around with the collar, and decided that the original 70's version was actually the best.
Having made all the pattern adjustments it was time to cut this bad boy out. Cutting out any plaid garment is a time consuming process, but it can also be intensely satisfying. I relied heavily on the expertise of Suni over at a Fashionable Stitch for this project. I have such huge respect for this woman. Her talent is off the charts, and she was responsible for a large number of people finding my blog back when I was working my way through the Japanese coats.
If you're smitten with plaid this fall, be sure to check out the Plaid Chonicles
Next time I'll have some actual progress to show!
Thursday, October 8, 2015
Getting Started -- The Halston Shirt Jacket
So here it is, resurrected from 1976, McCall's 5009. I guess it's technically a "leisure suit", but I'm calling it a shirt jacket since I'll only be making the top half.
My inspiration is Peter's shacket of last year. You can see it here. I think he made all the guys in the sewing blogosphere want a shacket of their own. I know it had that effect on me. Structured coats are nice, but we all need that simple, "in between" garment, that can just be tossed on to run out to the mailbox, walk the dog or fill the bird feeders. We're entering prime shacket season here in Maine, so the time is right. I need to get a move on.
I'll tell you one thing, this pattern is huge! There are pattern pieces for two jackets (one is specifically for ultra suede, and wouldn't that be something) plus the trousers. The jackets have some nice touches which appeal to me. There's a real collar on a stand, a back yoke and two piece sleeves.
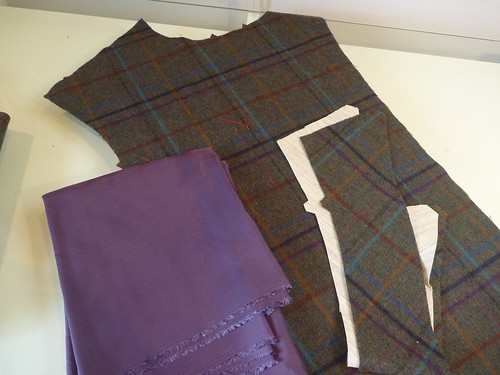
I'll be making the non-ultrasuede version with a wool blend that's been in my stash for a few years now. It's loden green with a multicolor windowpane plaid. I'm sure Mr. Halston wouldn't approve, but I love the colors and it's not 1976! I bought the fabric in one of those unnamed stores in NYC's garment district. It was up in a cramped second floor loft space for $10 / yard. I've been burned on bargain "wool" in the past, so I was glad when a burn test resulted in the stench of burning hair! I'm sure there's also some nylon or polyester in there too.
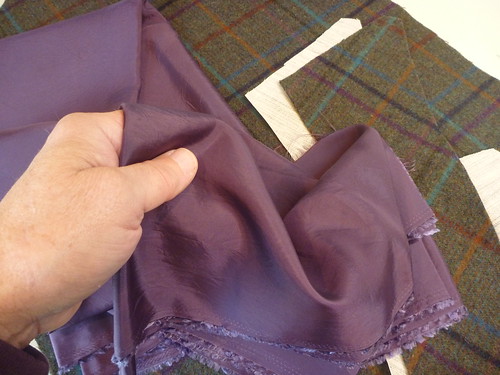
Because I want this shacket to slip on easily, I've decided to fully line it with rayon bemberg. I picked this up at my local Jo-Ann's with a 50% off coupon. They usually only have bemberg lining in black, gray and burgundy, but they've branched out and had this beautiful blackberry and a navy blue. Shocking! I'm a huge green / purple fan. The interfaced bits will be done with a lighter weight hair canvas from Fashion Sewing Supply.
I prepped the fabric using the London Shrink method. Strips of an old cotton sheet are soaked, wrung out and placed between the folded wool. The whole mess is then folded up and allowed to sit for several hours (in my case, overnight).
To keep it from drying out too quickly, I like to wrap it in a plastic drop cloth. The moisture in the sheeting is gradually absorbed by the wool. By morning, it's all a uniform dampness. The sheeting is removed and the wool is air dried.
I'm going to make a quick muslin, and then get down to cutting this project out.


