Thankfully, with the pockets out of the way, things moved right along. I continued to assemble the lining to the jacket fronts, which have cut on facings.
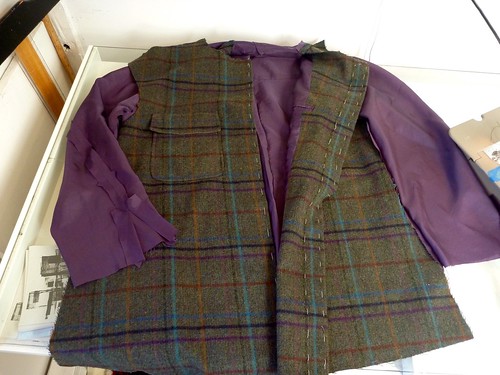
It's a big floppy mess to work with, but it can be done. The next step is to sew the outer jacket while keeping the lining out of the way. This is an even bigger mess, but seam by seam it all comes together.
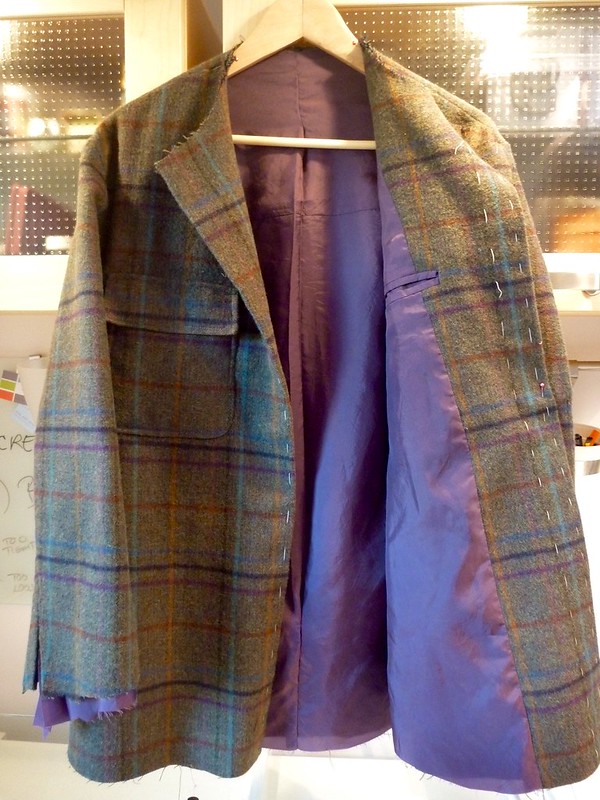
Sleeves attached and lining all in place without a bit of handsewing. Yay!
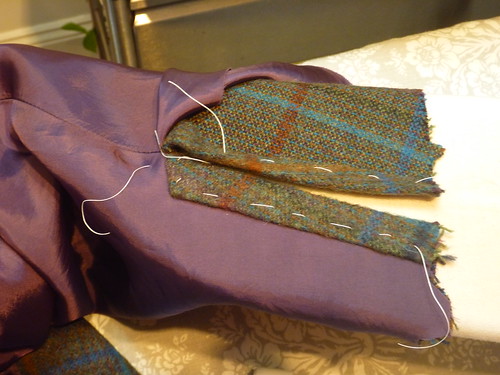
The sleeves on this pattern have a very tiny vent. Thankfully, I had the forethought to enlarge the extensions on both the upper and under sleeves. This made them much easier to form, otherwise it would have been damn near impossible. The lining seam allowances are pressed back and laid under the vent plackets, basted in place and then stitched.
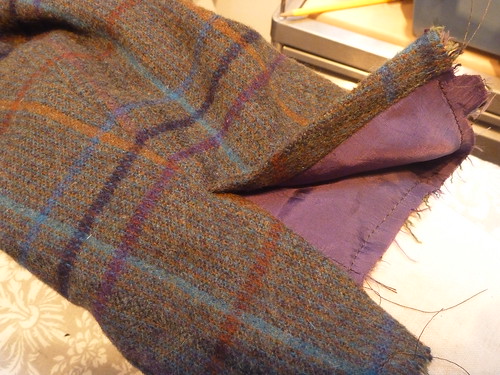
Here is the finished mini vent. The sleeves will be pleated into the cuff, so I stitched the lining to the fashion fabric so they'll act as one. Speaking of the cuffs, this pattern has a curved cuff which I've never encountered before. I've only encountered cuffs on men's shirts, which are always rectangular. I opted to cut the cuffs on the bias because the stripes in the plaid would have run askew. Long story short, they were a PITA to sew, and I would never go that route again. Sorry, Mr Halston.
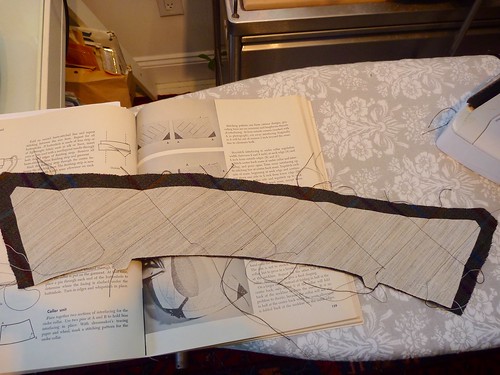
Just for fun I quilted the interfacing to the undercollar. My loose interpretation of Edna Bishop's proper way to make an undercollar, circa 1959.
It's pretty much undetectable, but I thoroughly enjoyed doing it.
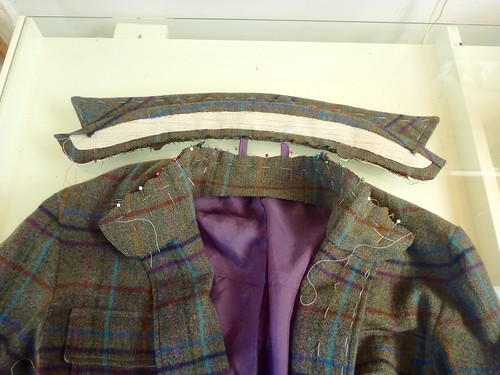
I attached the collar the same as I would on a dress shirt. This is the technique used by Peter in his shirt sewalong. If a technique works for you, stick with it. I've tried to minimize the amount of top stitching on this shacket, so I handstiched the bottom edge of the collar stand at the back. Normally, I would have edgestitched it, but it's just a little too difficult to do well with this wool fabric. I'm erring on the side of caution.
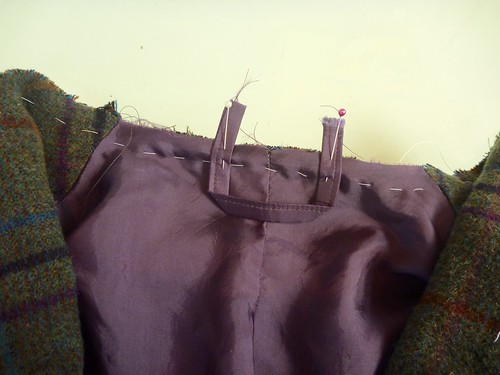
Oh, and I didn't forget the ever important locker loop!
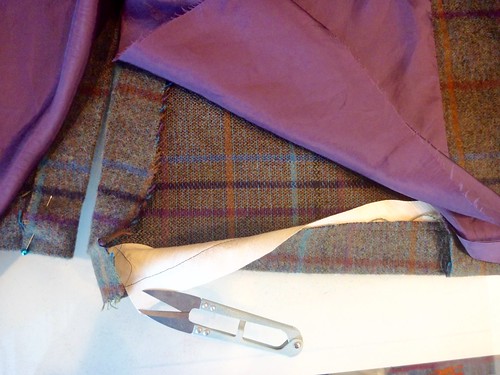
The shacket is hemmed a la Edna Bishop. (The Bishop Method of Clothing Construction). A bias strip of muslin, 1/2" wider than the hem, is sewn into the hem. The stitching should be 1/4" from the raw edge of the hem. The line of stitching will serve as a guide when the lining is finally slipstitched in place. But first things first...
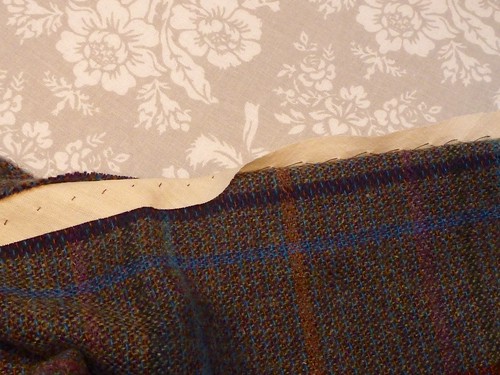
The hem is folded back (folded away from you) and the hem stitch is loosely done (about every 1/2") between the jacket and the muslin. It may look crazy, but it produces a completely invisible hem. I'm totally sold on this technique; and if you try it, you'll be too.
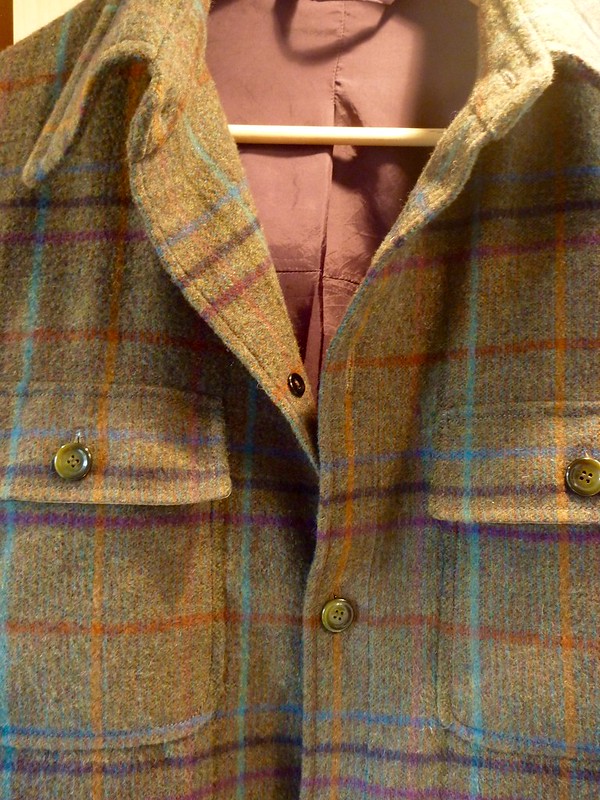
Buttonholes and buttons. Shacket season has arrived!
Your shacket is coming along quite well. Your attention to detail is remarkable! Look at that plaid-pocket matching. Swoon! I look forward to seeing the big reveal. =)
ReplyDeleteIt's looking marvelous, Duane. Can't wait to see the finished shacket!
ReplyDeleteGreat project, looking wonderful (SO glad you didn't cut the pockets on the bias!). Beautiful work, too, of course. Waiting in line to see more:)
ReplyDeleteThis looks great! I'm just curious -- what are the benefits of sewing the hem with the muslin strip in between? Does it prevent the edge of the wool from forming a ridge on the outside of the jacket?
ReplyDeleteExactly! It also adds a little extra structure. This technique is also excellent for jacket cuffs if done with a bias strip of hair canvas.
DeleteYou always do excellent work with terrific tailoring touches. Great job.
ReplyDeleteYou are amazing! I thoroughly enjoy your blog, it's like reading a good book that I never want to put down.
ReplyDelete